Thursday, 24 February 2022

Uniko February 2022 Release - Introducing...Big & Bold You & Stencil Flower Power #7

Good morning

Are you ready for more Uniko goodness?  Today, for Day 2 of the February 2022 release, the team are introducing you to a new stamp set and stencil.  All the products in this release will be available to purchase from the Uniko shop on Sunday, 27 February 2022.

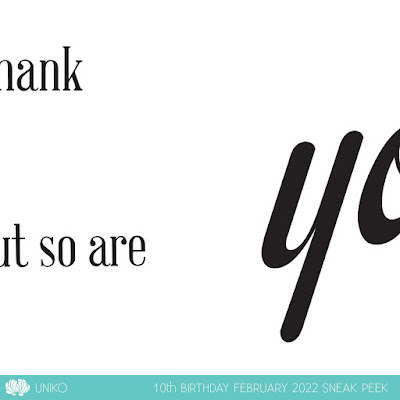
The stamp set is another in the Big & Bold series...Big & Bold You.

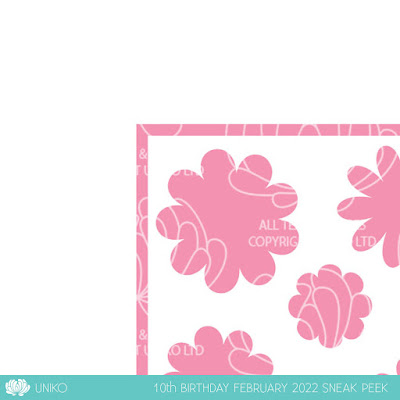
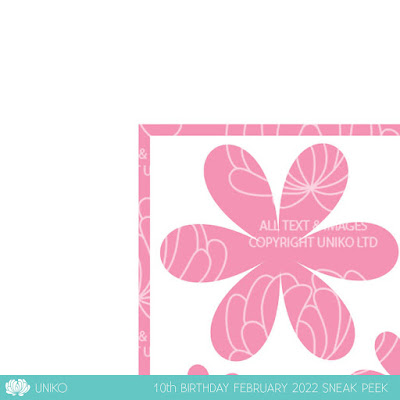
And the stencil is another in the super popular Flower Power series...Flower Power #7.  This stencil also includes the masks.


Here are my makes...


I wanted to have a play using the shifted stencil technique as it's been a while since I did it and I always think this works so well on a kraft background.  I began by stamping the sentiment so I could then add the flowers around it.  For this technique you need to ink blend your coloured flowers first, clean the stencil and then re-ink over the top, slightly shifting the stencil.  It creates these great drop shadows.  Your blending tool/brush is likely to contaminate your white ink pad by taking coloured ink back to it so I find it's best to squidge your white ink pad onto your work surface and take it from there.


Materials used:
  • Stamps: Uniko - Big & Bold You
  • Stencil: Uniko - Flower Power #7
  • Ink: Distress Ink: Wilted Violet, Picked Raspberry, Blueprint Sketch; Hero Arts - Unicorn; Versafine Clair - Nocturne
  • Die: Create a Smile - Cool Cuts Scalloped Rectangles


For the next card I tried some emboss resist combined with the stencil and masks...


I stamped the 'you' first and heat embossed in white.  I then stencilled the large flower in the lighter blue.  With the stencil still in place I anchored the smaller mask with some low tack adhesive and inked up the large flower again with the darker blue.  I then used the large flower mask and added the green ink around the edges.  I then wiped the embossed sentiment with a dry cloth to brighten the white back up.  The 'thank' is from the same set and was heat embossed in white on black.


Materials used:
  • Stamps: Uniko - Big & Bold You
  • Stencil: Uniko - Flower Power #7
  • Ink: VersaMark; Distress Oxide - Salvaged Patina, Mermaid Lagoon, Cracked Pistachio
  • Embossing Powder: Brutus Monroe - Alabaster
  • Die: Create a Smile - Cool Cuts Scalloped Rectangles


For more inspiration please pop over to the Uniko blog where the Brand Ambassadors are sharing more makes.  

I hope you like what you've seen so far, please do stop by tomorrow for Day 3 of the introductions.


(AD - some products kindly gifted for Design Team purposes)

Wednesday, 23 February 2022

Uniko February 2022 Release - Introducing...Background Blocks Cogs, Background Blocks Splatters and Everyday Sentiments

Hi there

Welcome to the first of the introductions for Uniko's 10th Birthday Release. 

I'll get straight to it, I'm sure you'd rather see the products in action than have me waffling on!  And don't forget to pop on over to the Uniko blog where you will find more inspiration from the rest of the team too.

First up is the new Background Blocks Cogs stamp and I've used a sentiment from the new Everyday Sentiments set...


Masculine cards are the kind I find most difficult so I had to have a think and plan this one out.  I decided on layered emboss resist.  I've only used this technique a handful of times but the effects are great.  I masked off a central rectangle and then blended with a few earthy tones of Distress Ink.  After making sure the ink was completely dry and adding some anti-static powder, I stamped the cogs image with VersaMark ink,removed the masks and heat embossed in clear.  I replaced the masks and then blended over the entire background with a darker shade, which then reveals the previous ink colours trapped underneath the embossing.  The sentiment was stamped in a brown shade below.


Materials used:
  • Stamps: Uniko - Background Blocks Cogs, Everyday Sentiments
  • Ink: Distress Ink - Pumice Stone, Rusty Hinge, Brushed Corduroy, Frayed Burlap; VersaMark; Altenew - Moon Rock
  • Embossing Powder: Wow! - Clear Gloss
  • Die: Create a Smile - Cool Cuts Double Stitched Rectangles


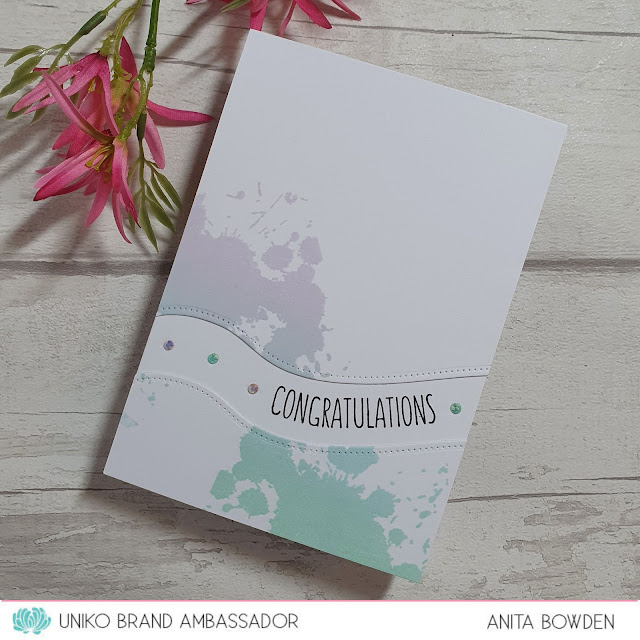
And for my second make I used the new Background Blocks Splatters stamp and another from Everyday Sentiments...


I began with a panel the same size as my card base and stamped the image twice, once with lilac fading into blue ink, and again with blue fading into green ink, to create a continuous flow of colour.  I then used a border die to cut a section away.  The two panels were then adhered to the card base and the sentiment stamped between, curved slightly to follow the shape of the die cuts.


Materials used:
  • Stamps: Uniko - Background Blocks Splatters, Everyday Sentiments
  • Ink: Altenew - Soft Lilac, Sea Glass, Mountain Mist; Versafine Clair - Nocturne
  • Die: Avery Elle - Dotted Border Dies
  • Accents: Little Things from Lucy's Cards - Jewels: Shimmering Pool Mix and Grape Mix


Thanks so much for stopping by today.  I'll be back tomorrow morning to share more makes using more products from this new release.

(AD - some products kindly gifted for Design Team purposes)


Tuesday, 22 February 2022

Brand Ambassador for Uniko!

Hi there

I've been keeping a secret for a little while but I can finally let the cat out of the bag...I'm joining Uniko as a Brand Ambassador!


At the beginning of the year I explained how I'd made the decision to step down from all my challenge blog Design Team roles.  I wasn't planning on joining any teams again for a while but then Bev (the owner of Uniko) approached me asking if I'd like to join the Uniko family and I just had to say yes!  I've had lots of fantastic Uniko products in my stash for many years so it was a complete no-brainer...thanks so much, Bev, for inviting me to promote your fabulous company.


The 10 year celebrations have been taking place all this month over at the Uniko blog and they are finishing the Birthday Celebrations with a February 2022 release.

There are 5 new clear stamp sets and 3 new stencil/mask designs.  All the new products will be available to purchase from Uniko on Sunday 27 February 2022 at 10am GMT.  Here are some sneak peeks for you.

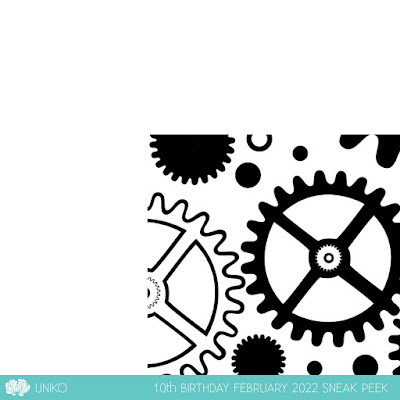
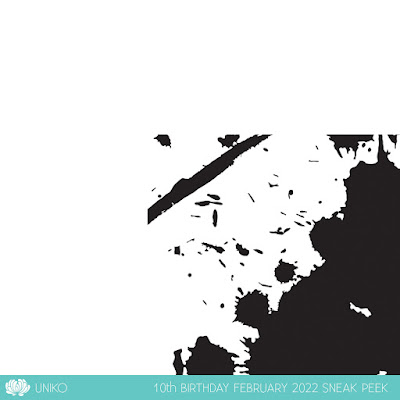
There are two new additions to the Background Blocks series...


An addition to the Big & Bold series...


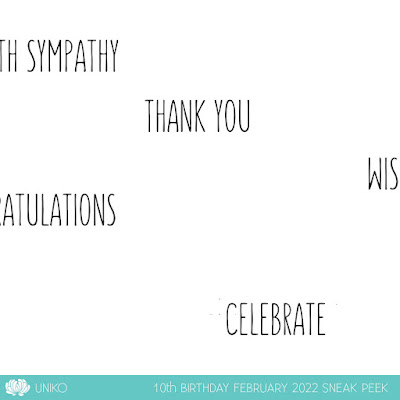
A new sentiment set...


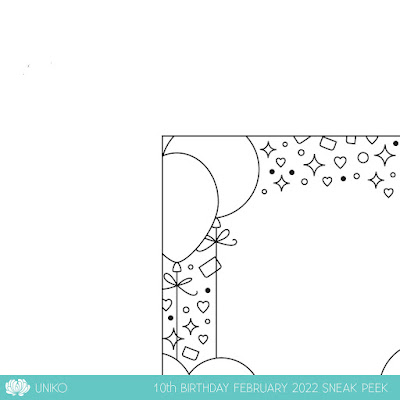
A new addition to the Framed series...


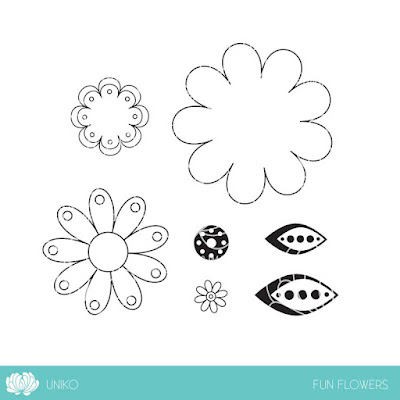
The retired Fun Flowers stamp set is making a comeback...


and three new Stencils/Masks...


Please do come back over the next few days when I'll be sharing some projects using these new designs, and don't forget to also visit the Uniko blog and follow the links to my fellow Brand Ambassadors where they will be sharing more of their projects.  I've seen some already, there's so much inspiration for you!

And talking of my fellow Uniko Brand Ambassadors...what a wonderful team to be part of.  I've had the pleasure of working alongside some of these ladies previously, and was lucky enough to meet a couple in the past too.  Thank you so much for the warm welcome, ladies.


(AD - some products kindly gifted for Design Team purposes)

Sunday, 6 February 2022

Skull and Cross Buns - Valentine's New for 2022

Hi there

I finally have some cards to share with you, my first of 2022!  Better late than never, eh!

I've been having a play with some of the New for 2022 Valentine's stamps from Skull and Cross Buns Rubber Stamps, combined with some existing SACB products and some other crafty bits from my stash.

Ok, for this first card I combined a few of the heart stamps...


On some white cardstock I stamped the Solid Heart, the Mini Hearts Outline (from a previous release) and the Happy Valentine's Day Heart Shape in a repetitive pattern in various shades of pink.  One of the solid hearts I stamped in a lighter shade then over-stamped with the sentiment stamp, which fits exactly over the top.  I then die cut using a stitched heart before adding some tiny smooth silver gems.  For some interest, before adhering the heart on foam to my card base, I scored five vertical lines directly onto the card base front.


Materials used:
  • Stamps: Skull and Cross Buns - Solid Heart, Mini Hearts Set (outline), Happy Valentine's Day Heart Shape
  • Ink: Altenew - Pinkalicious, Pink Diamond, Rose Quartz
  • Die: MFT Die-namics - Stitched Heart Stax
  • Gems from stash


Next up, the first of the fun new Valentine's Gonks...


On a die cut rectangle I stamped the Heart Boy Gonk in Copic friendly red ink and then added a little detailing with my Copic markers, just a little grey shading and gave him a pink nose.  I stamped a mask, covered him up and then stencilled over the background using the Brush Heart Pattern Stencil (discontinued) fading the hearts out towards the bottom.  I then used VersaMark ink to stamp the new You're The Best! sentiment and heat embossed it in silver.  After adhering the panel I added some Glossy Accents to the central heart.


Materials used:
  • Stamps: Skull and Cross Buns - Heart Boy Gonk; You're The Best
  • Stencil: Skull and Cross Buns - Brush Heart Pattern (discontinued)
  • Ink: Memento - Lady Bug; Distress Oxide - Worn Lipstick; VersaMark
  • Die: Create a Smile - Double Stitched Rectangles
  • Embossing Powder: Wow! - Metallic Silver
  • Accents: Glossy Accents, Copic markers


And the cute second Valentine's Gonk...


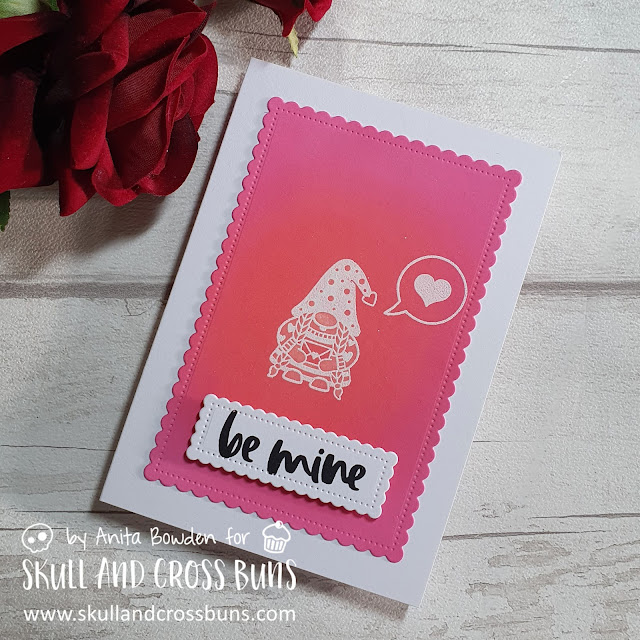
I stamped the new Envelope Girl Gonk and the new Love Heart Speech Bubble with VersaMark ink and heat embossed in white.  I then used the emboss resist technique and blended the whole background with red and pink Distress Oxide ink then buffed up the images to bring the white back.  I die cut this out using a scalloped rectangle die and adhered flat to the card base.  I die cut a smaller scalloped rectangle and stamped the sentiment from the existing Brush Hearts clear stamp set (reduced to clearance price) in black ink.  To finish, I 'painted' sections of the image using water, and blotted away the colour, leaving the envelope within the image a little more prominent.


Materials used:
  • Stamps: Skull and Cross Buns - Envelope Girl Gonk, Love Heart Speech Bubble, Brush Hearts clear set
  • Ink: VersaMark; Distress Oxide - Abandoned Coral, Picked Raspberries; Versafine Clair - Nocturne
  • Dies: Create a Smile - Scalloped Rectangles
  • Embossing Powder: Brutus Monroe - Alabaster White


And a few more of the new stamps for my final card...


A very simple stamped card here using the new for 2022 Heart Present, Solid Heart and Circle Heart stamps, together with the outline heart from the existing Mini Hearts set and a sentiment from the Contemporary Sentiments clear stamps set (reduced to clearance price), stamped in shades of blue and green.  To finish, I added some tiny hearts confetti.


Materials used:
  • Stamps: Skull and Cross Buns - Heart Present, Solid Heart, Circle Heart, Mini Hearts set (outline), Contemporary Sentiments clear set
  • Ink: Altenew - Desert Night, Volcanic Lake, Ocean Waves, Mountain Mist, Sea Glass; Versafine Clair - Nocturne
  • Accents: Little Things from Lucy's Cards - Sprinkles: Sky Blue Hearts


Challenge entries:

Card 1
Addicted to CAS - Challenge #213 - Hearts

Card 2
We Love Stamping - February Challenge - Anything Stamped with Option: Stencilling
NBUS - Challenge #35 - both new stamps

Card 4
Just Add Ink - Challenge #589 - Just Add Minimalist


Thanks for visiting today.  Please do take a look over at Skull and Cross Buns where you will find the new designs for 2022, as well as a great selection of rubber stamps, some of which can be personalised.  Also, all the clear stamp sets, stencils and embellishments are at greatly reduced prices, don't miss out!


(AD - some products kindly gifted for Design Team purposes)

Wednesday, 2 February 2022

February 2022 Bullet Journal Set Up

Hi there

Sorry I've not shared any cards with you so far this year, I hope to find time to get creative very soon.  I've just been trying to catch on boring things at home so crafting has unfortunately been at the bottom of the list since Christmas.

But, I do have another bullet journal set up to share with you today, my February pages.

Once again I used some stamps from my stash for these spreads.  As February is Valentines month I chose a roses and flowers theme, and again, kept it all very simple.


I used a mix of stamps from Altenew and Skull and Cross Buns for these spreads.  It was all going great until I coloured the images.  I tried to watercolour with my Zig Clean Color Real Brush Markers and, although these pages are thick enough to take water, the mix of the ink used for the stamped images, water and the colouring medium caused the colour to bleed through the page.


So, as you can see below, I had to patch up a section!  I had some pages left in my 2021 journal so I cut a section from there and used my glue runner to adhere in place.  Yes, I can see it but it doesn't bother me as much as the big pink blob!

So for the remaining spreads I used my Derwent Inktense pencils with minimal water to add some very sketchy colour to the flowers and leaves.

Just a simple monthly layout here, I really don't need anything more detailed.


Next up are my weekly spreads.  Last month I used two pages for each week but I just don't need that much space at the moment.  So, here, the days of the week are big enough sections for appointments, birthdays, etc. (I don't have a whole lot going on right now!), and the weekly rolling task list still works perfectly for me.


...and pretty much the same layout for the last two weeks of February.  I even managed to squeeze the rogue Monday in at the bottom!


Materials used:
  • Stamps: Altenew - Amazing You, 365; Skull and Cross Buns - Days and Months, Planner Banner
  • Ink: Versafine - Onyx Black (waterproof once dry)
  • Coloured with Derwent Inktense pencils

Thank you for popping by, I hope to be sharing projects more regularly very soon.


Thursday, 13 January 2022

January 2022 Bullet Journal Set Up

Hi guys

I'm back with my bullet journal January 2022 set up as promised...albeit later than I hoped!

I've kept it super simple but still used some of my craft supplies to add some minimal detail.

For now, until I'm back in the swing of using it, I've just kept it to a cover page, monthly calendar and weekly spreads.  I've previously created habit trackers but I found I just don't fill them in so I've decided against creating them for now.

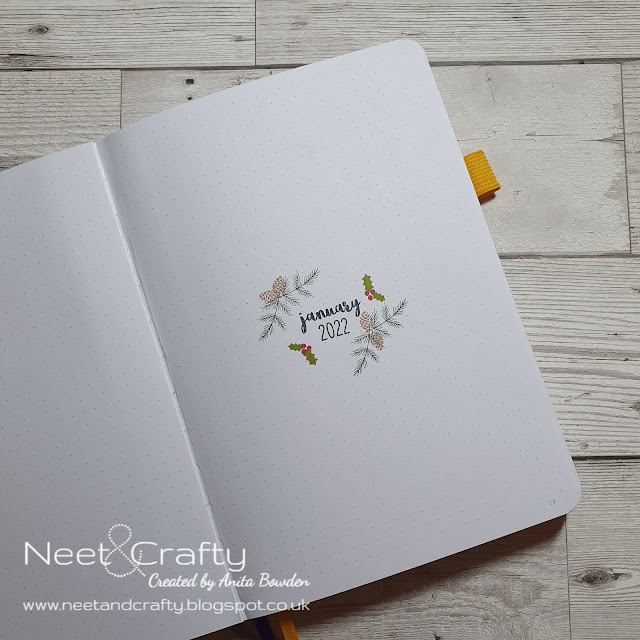
So, for January I've chosen a winter foliage theme, here's my minimal cover page created purely with stamps and ink...


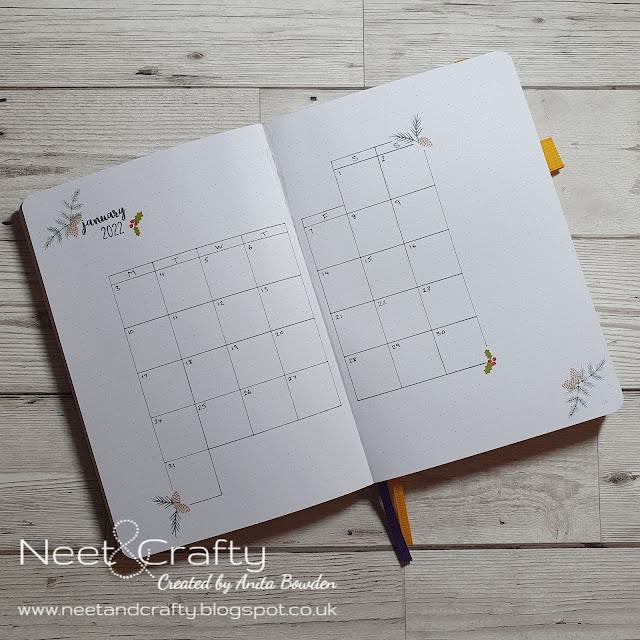
And then my monthly calendar where I'll transfer anything from my Future Log and use for further appointments, events, reminders, etc.


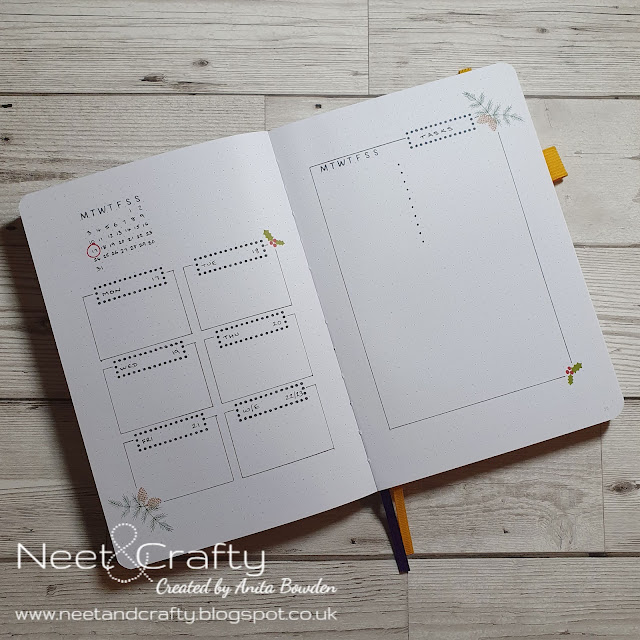
And here's one of my weekly spreads (they are all the same layout for January).  I found in my previous journals that a rolling weekly task list works best for me (using the Alastair Method).  You just assign a bullet under the day you want to complete whichever task and then cross them off or, if applicable, migrate them to the following week.  Here I used some stamps and some was handwritten.  


Materials used:
  • Stamps: Uniko - Background Builders: Vines Winter Additions; Skull and Cross Buns - Planner Banner; Altenew - 365
  • Ink: Memento - Tuxedo Black; Altenew - Evergreen, Moss, Mocha, Velvet

Thanks so much for taking a look.  Hopefully using the journal will make me organised so that I can share my February set up ahead of time!  


Tuesday, 4 January 2022

2022 Bullet Journal Set Up

Hi there

And a very Happy New Year to you, thanks for stopping by.

I have something a little different to share today.  If you follow me on Instagram you may have seen my very few and far between posts showing my bullet journal set ups.  I've dabbled in bullet journaling over the last couple of years but never used the system to its full potential.  It think with the various lockdowns and not living normally, this has hampered it a little but fingers crossed I can start getting the system going a little better this year.  There were spreads I created in my previous journals that I just didn't use so I've not included them this time.  But the great thing about bullet journaling is that you just create as you go, so if I think of something that may be useful, I can just add it in and reference it in the index.

As I'm a cardmaker I have a fair stash of stamps, dies and stencils so I like to try to incorporate them in my journal.  I'm not going to lie, it does take a lot more time to set it up using these products rather than just creating everything by hand, but once the main set up is done, the rest is easy.  I don't like my handwriting (and hand lettering is something I plan to learn more about this year) so by using my craft supplies, especially for my yearly spreads, it's much more aesthetically pleasing, and hopefully this will encourage me to reach for it more.  I'll detail the products I've used at the end of this post.

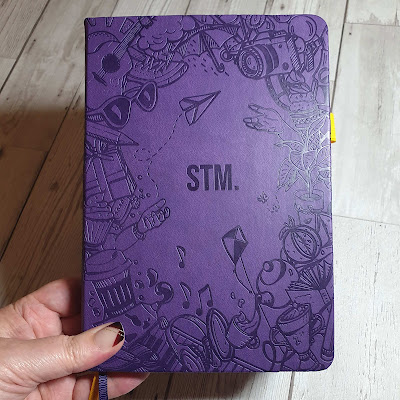
For the last two years I've used journals by Scribbles that Matter and they are great quality so I've chosen the same brand again this year.  I've chosen the Iconic Dotted Journal (160gsm) in Aubergine (looks a little bluer in this photo for some reason).  I've stuck with the 160 gsm pages so I have the option to perhaps try watercolouring or other mediums throughout the year, which the thicker paper can withstand.


Ok, onto my 2022 cover page, and this is the theme I've used for my yearly spreads...stencilled brush strokes.  I simply ink blended through the stencil apertures with three shades of Distress Ink.  I've also used die cut letters, but these spreads did take hours to create as I had to glue all the letters in position individually!  I love the result but I won't be doing that again for my monthly pages, it was far too time consuming!


After trawling YouTube and Instagram I've chosen a Dutch door layout for my future log as this means I only had to create the header once, and I put my calendar stamps to good use here to save me writing out all the dates!  These were stamped onto die cut squares.  In my previous journals I've also had a Year at a Glance page but it's not really required if you have the calendars in the Future Log spread.

I made a continuation of the stencilling on all three views here, so whichever four month view is on display, the brush strokes continue across the pages, I hope that makes sense.  I also created tabs for this spread simply by cutting away the edges to create the tabs and I masked and ink blended them.


Here's a further view of the Dutch door layout...


The next two spreads are pretty self-explanatory.  I used a further brush stroke from the stencil for my box headers.


Next up are my Wish List and Purchases spreads.  Once gain, pretty self-explanatory.  Over the last couple of years I've been making a lot more purchases online as I was wanting to stay away from busy shops so this is a great way to keep track of what's been ordered and when, and if it's been received.


Another spread I've used previously and found really useful is the When Did I Last... spread.  This is great for thinks like, when I last had a hair cut, when I changed my toothbrush or when the window cleaner visited.  I've previously just put some dashes alongside items so I could write the date in but this time I thought I'd add the months of the year.  For each entry I have four squares available for each month so I can just write the relevant date in each box.  So I can then also use this for keeping track of cleaning, etc.


Another fairly self-explanatory page, just somewhere I can keep track of TV series I would like to watch and can mark off episodes as I watch them.


The following spread is for following the Konmari process...the Marie Kondo way of decluttering.  If you've not read her book, the Life Changing Magic of Tidying Up, I strongly recommend it as a way of organising your home.  I have followed the process previously but never got to the end so I'm going to start from the very beginning again and work through the categories, it's very satisfying.  I've yet to fill in all the sub-categories but you get the idea.


And finally, a spread I revert back to all the time...my master grocery shopping list.  Obviously this still needs to be filled in but it's so helpful when completing your shopping list.


Here are the products I used from my craft stash:
  • Stencil: Clearly Besotted - Brush Strokes
  • Ink: Distress Ink - Speckled Egg, Victorian Velvet, Dusty Concord; Memento - Tuxedo Black
  • Stamps: Taylored Expressions - Playful Alpha; Skull and Cross Buns - Days & Months; Altenew - 365
  • Dies: MFT - Bottle Cap Letters, Pierced Square Stax
  • Lilac and black cardstock from stash

Thanks for taking a look.  I'll be back soon to share my January set up....once I've decided on a theme and actually created it!  I was hoping to get it all ready to go before the New Year but time just disappeared and 2022 arrived so fast!  

I hope you'll pop back again soon.


Related Posts Plugin for WordPress, Blogger...