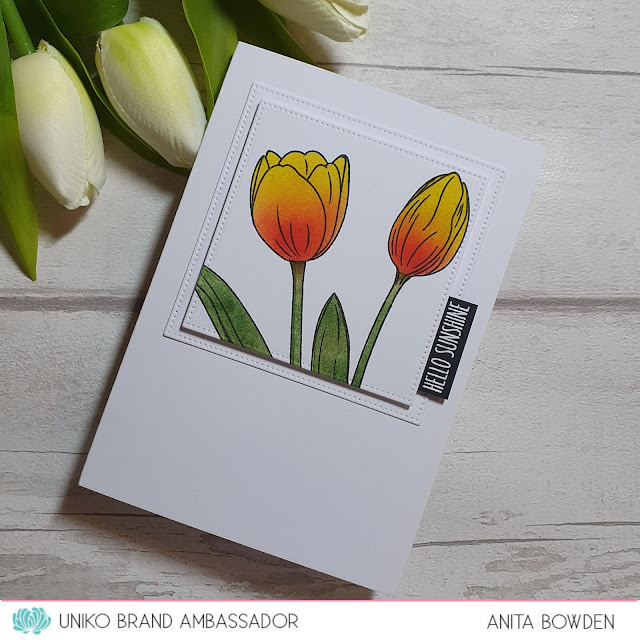
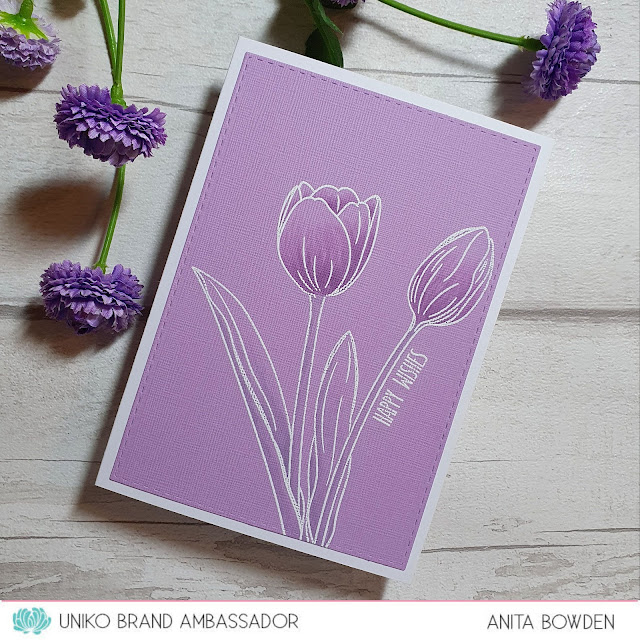
Showing posts with label Hello Cards. Show all posts

Sunday, 29 June 2025

Uniko Flippin' Fabulous Ink & Flip Masculine Inspiration Brand Ambassador Blog Hop & Giveaway

Hi there

Yes, I'm still here!  So sorry for the silence, it's been a busy couple of months so I've not managed to find time for any crafting but I'm back today to join in the finale of the masculine themed month with Uniko.

Today the team are showcasing the Ink & Flip stencils and giving them a masculine touch.

And, by visiting each of the Brand Ambassadors along the hop, starting at the Uniko blog, here, as well as commenting on our socials, you're in with a chance of winning an Ink & Flip stencil of your choice.  

I have two stencilled cards to share today, one using an Ink & Flip stencil and another using another stencil from Uniko.


Ok, here's my first where I've chosen the Ink & Flip Christmas Star as it offers a fantastic central focal point for any card...


I inked up both sides of the stencil, first in Pumpkin Pie ink and then with Dusk ink, which created the star and a darker green shade where the the colours overlap.  Next I stamped the sentiment from the Mid Century Modern Birthday stamp set in a darker blue, and then finished with the Background Blocks Linear image stamped in each corner in black.

Materials used:
  • Stencil: Uniko - Ink & Flip Christmas Star
  • Stamps: Uniko - Mid Century Modern Birthday; Background Blocks Linear
  • Ink: Altenew - Pumpkin Pie, Dusk, Desert Night; Versafine Clair - Nocturne


And for my second masculine make I've used the Mid Century Modern Circles & Stars stencil...


This love using the shifted stencil technique with this stencil, it creates the illusion of so much dimension on a flat panel.  So I began with a dark orange panel of cardstock and inked through the stencil in a dark blue ink.  I then shifted the stencil slightly downwards and to the right and then inked through again with a white pigment ink.  This created the lighter blue and makes the original inking look like shadows.  I die cut the panel and adhered it flat to my card base then found an unused die cut circle in my stash so stamped the sentiment from the Mid Century Modern Everyday Sentiments set in black. The card was finished with some co-ordinating enamel dots.

Materials used:
  • Stencil - Uniko - Mid Century Modern Circles & Stars
  • Stamps: Uniko - Mid Century Modern Everyday Sentiments
  • Ink: Altenew - Dusk; Hero Arts - Unicorn; Versafine Clair - Nocturne
  • Die: Create a Smile - Cool Cuts Double Stitched Rectangles; circle from stash
  • Accents: Doodlebug Sprinkles - Tangerine and Blue Jeans Assortments


Thanks for visiting today and good luck if you comment along the hop.  

I appreciate you looking and plan to be back again very soon :)


Thursday, 27 June 2024

Uniko June 2024 Release - Introducing...Background Blocks Offset Stripes

Hi there

Another introduction from the June release from Uniko and today is the turn of another series addition...Background Blocks Offset Stripes.

I've made two super clean and simple, one layer cards to showcase this one.  The Background Blocks from Uniko are always a hit and we hope you'll love this one too.


I've combined four Uniko stamp sets to create this CAS card...


I used the stripes stamp and created a gradient of colours by stamping repeatedly keeping the stamp in my Misti.  I then simply stamped the flower, vertical lines and sentiment all in black for contrast.

Materials used:
  • Stamps: Uniko - Background Blocks Offset Stripes, Background Builders Arts Decoratifs (lines), Paradise (flower), Flower Power #9 (sentiment)
  • Ink: Altenew - Aqualicious, Sweet Leaf, Warm Sunshine; Versafine Clair - Nocturne


And for my second card I used just one half of the stripes stamp to create a row of candles...


I inked up each "candle" in a different colour, masking each one off as I went.  I then used the flame from the Big & Bold Wish stamp set and inked this up with orange and yellow.  I finished the card by adding a sentiment from the Simply Said Blocks II set.  I love a card with lots of white space.

Materials used:
  • Stamps: Uniko - Background Blocks Offset Stripes, Big & Bold Wish, Simply Said Blocks II
  • Ink: Altenew - Cloudy Sky, Parrot, Orange Cream,Coral Berry, Hydrangea, Warm Sunshine, Autumn Blaze; Versafine Clair - Nocturne


There is lots more over at the main Uniko blog, here.  Please do check out what my fellow Brand Ambassadors have been creating.  And by clicking on their links there may be even more projects over on their personal blogs.

The entire release will be available to purchase from 9am BST on Saturday 29 June 2024. 

I'll be back tomorrow to introduce the final stamp set in this release.  I hope you can take a look.


Thursday, 17 March 2022

Uniko - Brand Ambassador Inspiration - Spring Botanicals Tulip

Hi guys

I'm over on the Uniko blog toay with my very first Brand Ambassador Inspiration post!

I'm sharing a trio of cards using the Spring Botanicals Tulip stamp set.  For full details on how I made these you can find the information over on that blog post, here.


For this first card the background was masked and the image coloured with ink blending...


Materials used:
  • Stamps: Uniko - Spring Botanicals Tulip
  • Ink: Versafine Clair - Nocturne; Distress Ink: Mustard Seed, Candied Apple, Forest Moss, Rustic Wilderness; VersaMark
  • Embossing Powder: Brutus Monroe - Alabaster
  • Dies: MFT Die-namics - Pierced Square Stax
  • Other: Inkadinkado - Stamping Mask Paper


For this next card I used very simple tone on tone colouring...


Materials used:
  • Stamps - Uniko - Spring Botanicals Tulip
  • Ink: Altenew - Wisteria; VersaMark
  • Coloured with Copic markers
  • Embossing Powder: Brutus Monroe - Alabaster
  • Die: Create a Smile - Cool Cuts Double Stitched Rectangles


And for my third of this trio I left the image uncoloured and just added colour to the background...


Materials used:
  • Stamps: Uniko - Spring Botanicals Tulip, Large Background French Script
  • Stencil: Uniko - Stylised Floral
  • Ink: Versafine Clair - Nocturne; Distress Ink - Victorian Velvet; Altenew - Industrial Diamond; VersaMark
  • Embossing Powder: Brutus Monroe - Alabaster
  • Die: MFT Die-namics - Wonky Stitched Rectangle Stax
  • Other: Inkadinkado - Stamping Mask Paper


Challenge entries:

Card 1
Allsorts - Week 667 - Spring is in the Air
Stamping Sensations - March Challenge - Spring
We Love Stamping - March Challenge - Spring

Card 2
Sweet Stampin' - KISS! (keep it simple)
STAMPlorations - March CAS Challenge - Anything CAS Goes

Card 3
Addicted to Stamps and More - Challenge #425 - Die Cuts / Stencils
Happy Little Stampers - March Stencil Challenge - Anything Goes
NBUS - Challenge #36 - all new stamps and stencil
STAMPlorations - March Stencil Challenge - Anything Goes


Thanks so much for taking a look today, sending crafty hugs.


AD - some products kindly gifted for Design Team purposes.

Wednesday, 14 April 2021

Perfectly CAS April 2021 Challenge

Hi there

The April challenge at Perfectly CAS is now up and running and here's this month's cue card...


After making this card I've realised I'm just a touch over the 1/3 rule.  If I'd brought my masking tape in a few millimetres it would have complied!  So please follow the challenge guidelines, and don't do as I've done! lol

These dragonflies are so cute though...


I first masked off a vertical section of the card base and ink blended the background with a cloud stencil and added a little green ink at the base.  Next I stamped and coloured all the images with Copics before die cutting with their co-ordinating dies.  The grass and bulrush images were adhered flat at the base and the dragonflies were popped up on 3D foam.  The simple sentiment, from a different set, was then stamped in black and I added some sparkle to their wings using a shimmer pen.


Materials used:
  • Stencil: My Favourite Things - Mini Cloud Edges
  • Ink: Distress Oxide - Tumbled Glass, Cracked Pistachio; Memento - Tuxedo Black; Versafine - Onyx Black
  • Stamps: Pretty Pink Posh - Darling Dragonflies (and co-ordinating dies); Simon Says Stamp - Baby (hello sentiment)
  • Coloured with Copic markers: E15, BV02, BV04, YG09, YG17, BG000, BG13, BG15 
  • Accents: Spectrum Noir Shimmer Pen - Clear

Challenge entries

CASology - Week 388 - Hello
Happy Little Stampers - April Stencil Challenge - Anything Goes
NBUS - Challenge #25 - first use of the dragonfly stamps and dies sets


As always with Perfectly CAS, the challenge will close a couple of days before the next one goes live so you have almost a month to play along.  I hope you can join in.


Saturday, 20 March 2021

Less is More - Challenge #439

Hi there, Happy Saturday!

It's new challenge day over at Less is More and we're back with a Recipe challenge this time.  


We're looking for any kinds of inking, used in a clean and simple way .

It's been a while since I did the ghosting technique on a card and it's one of my favourite techniques.  I've also added quite a few new stencils to my stash in recent months so wanted to use one here...


I began by die cutting a small stitched rectangle and I masked off around all the edges before blending the area with three shades of Distress Inks.  Although Distress Oxides also react with water, I much prefer using the original Distress Inks for this technique.  I laid down my stencil over the inked area and spritzed with a fine mist of water, keeping the spray quite far away.  I then lifted the stencil away and blotted with a paper towel to lift away the colour.  Once completely dry I stamped and heat embossed the sentiment in white, using an anti-static powder tool first.  Before adhering in place on the card base, I scored one line, as if continuing the line of the sentiment design.


Materials used:
  • Die: Create a Smile - Cool Cuts Double Stitched Rectangles
  • Ink: Distress Ink - Twisted Citron, Peacock Feathers, Blueprint Sketch; VersaMark
  • Stencil: Funky Fossil - In a Spin
  • Stamp: Lawn Fawn - Scripty Sayings
  • Embossing Powder: Brutus Monroe - Alabaster White

Challenge entries:

My Time to Craft - Challenge #453 - Stencil It!
Addicted to Stamps and More - Challenge #401 - Make Your Mark
Addicted to CAS - Challenge #193 - Shapes
Happy Little Stampers - March Stencil Challenge - Anything Goes
NBUS - Challenge #24 - (New stencil)
STAMPlorations - March CAS Challenge - Anything Goes


If you need more inspiration for this challenge, please do pop over to the main LIM challenge post where my teamies are sharing their projects, and if you click on their individual links they may have even more to share.

Thanks so much for visiting, have a wonderful weekend.


Thursday, 5 September 2019

Skull and Cross Buns - Hochanda Showcase Selection 4

Good morning

Just a quick reminder that Skull and Cross Buns will be launching on Hochanda TV here in the UK this afternoon at 4pm (Sky 673 / Freeview 85).

I have a few more makes to share with you, using some of the products which you can see in more detail during the show.

Here's the first...


For this one I've used the ghosting technique with the Honeycomb Hexagon Large Stencil.  To create this effect I blended Distress Inks in two yellow shades from the corner and faded it out.  I placed the stencil over the top, spritzed with water, removed the stencil and then blotted away the colour with a paper towel.  After die cutting the panel with a stitched rectangle die I then stamped the bee and its trail from the Spring Motifs set and the hello from Quirky Sentiments.  I coloured the bee and added some shimmer to its wings before popping the panel up on fun foam.


Materials used:

  • Ink: Distress Ink - Wild Honey, Mustard Seed; Memento - Tuxedo Black
  • Stencil: Skull and Cross Buns - Honeycomb Hexagon Large Stencil
  • Die: Create a Smile - Double Stitched Rectangles
  • Stamps: Skull and Cross Buns - Spring Motifs, Quirky Sentiments
  • Accents: Coloured with ProMarker; Spectrum Noir Sparkle Pen - Clear


Next up I used the same Honeycomb Hexagon stencil but using a different technique...


This time I gently inked up the corner area of the stencil directly from the ink pads, spritzed with water and then laid the stencil over my panel.  Once dry I die cut the panel with a stitched rectangle die.  I used a honeycomb die to cut the opposite corner and inked up the card base behind.  I wanted to incorporate one of the acrylic elements from the range so I decided to turn this card into a shaker by die cutting an aperture from the top panel, aligning the 'life is sweet' embellishment from the Retro Sweets Embellish! set and adhering this to the card base, then creating the shaker, trapping some co-ordinating jewels in the shaker window.


Materials used:

  • Stencil: Skull and Cross Buns - Honeycomb Hexagon Large Stencil
  • Ink: Distress Ink - Wild Honey, Mustard Seed
  • Dies: Create a Smile - Double Stitched Rectangles; Tim Holtz - Mixed Media; Spellbinders - Classic Rectangles
  • Accents: Skull and Cross Buns - Retro Sweets Embellish! set; Little Things from Lucy's Cards - Jewels (Lemon mix and Cherry mix)

Challenge entry:

Always Fun - Challenge #126 - Shaker Cards


After a long day of crafting, the next card was the last one I made on that particular day.  I wasn't going to share it as it's a bit busy and quite frankly, I think I was losing my mind...it's a bit bonkers!  But it's quite fun so here it is... lol


What's the best thing to have at a tropical party?  Quite clearly, a flamingo with a pineapple on its head!  I don't know what I was thinking, this isn't my style at all, but I wanted to showcase the stamp set and the fun embellishments that co-ordinate with it.  The card base was stamped around the edge with leaves from the Tropical Party set and the flamingo scene stamped and coloured where the aperture would be.  I die cut the panel with the stitched window and stamped the sentiment in black.  Once adhered in position I then finished by adhering the acrylic elements from the Tropical Party Embellish! set.


Materials:

  • Stamps: Skull and Cross Buns - Tropical Party
  • Die: MFT Die-namics - Rectangle Peek-a-boo Window
  • Ink: Altenew - Pinkalicious, Moss, Parrot, Lagoon
  • Coloured with Faber Castell Polychromos pencils
  • Accents: Skull and Cross Buns - Tropical Party Embellish! set


Thanks so much for looking.  If you're unable to watch the show, don't forget, you can watch it on catch up over on the Hochanda website :)


(AD - some products kindly gifted for design team purposes)

Thursday, 11 July 2019

Designing for Honey Doo Crafts - Peony Crest, Hello Sunshine and Paint Splodges

Good morning

I have more Honey Doo Crafts goodness for you this morning.

For these cards I've paired floral sets, Peony Crest and Hello Sunshine with one of the larger sets, Paint Splodges, and used the solid paint splodge images as my colouring medium.

Here's Peony Crest...


I was clearly in the mood for rainbow colours when I made this one!  As I still had some linen cardstock out on my desk I thought paint splodges would work great to give the effect of a painter's canvas.  First I stamped the floral crest image and the sentiment in black ink.  I then worked my way from one end of the image to the other, stamping some of the different paint splodge images in colours of the rainbow.  I felt that nothing more was needed so the panel was popped up on fun foam onto the card base for dimension.


Materials used:
  • Stamps: Honey Doo Crafts - Peony Crest, Paint Splodges
  • Ink: Versafine - Onyx Black; Altenew - Puffy Heart, Lavender Fields, Turquoise, Forest Glades, Warm Sunshine, Orange Cream, Crimson
  • Linen cardstock from stash

Challenge entries:

Addicted to Stamps and More - Challenge #349 - CAS
Try It On Tuesday - Colours of the Rainbow
Stamping Sensations - July Challenge - The Earth Laughs in Flowers
STAMPlorations - Summer CAS Card Challenge - AG CAS
{PIN}spirational - Challenge #242 - Photo inspiration (below)


And Hello Sunshine...


I had the same idea for this card, but this time I stamped the floral image directly onto the card base.  I used various images from the paint splodges set to replicate the colours of sunflowers, but giving it a very abstract look.  The sentiment was heat embossed in white onto a black strip and was then adhered on 3D foam.

Materials used:

  • Stamps: Honey Doo Crafts - Hello Sunshine, Paint Splodges
  • Ink: Versafine - Onyx Black; Altenew - Honey Drizzle, Dark Chocolate, Moss; VersaMark
  • Embossing Powder: Wow! - Opaque Bright White

Challenge entries:

Penny Black and More - July Challenge - Summer Colours
Time Out - Challenge #139 - Inspired by Words
STAMPlorations - Summer Theme and Sketch Challenge - Stamps and Anything Goes
Inkspirational - Challenge #190 - 3 or 5 of something (3 flowers/3 colours)


And don't forget, if you are able please tune in to Hochanda tomorrow, Friday 12 July, at 10am and 3pm when Amanda of Honey Doo will be showing the products in detail and doing some demos (Sky 673 / Freeview 85).

I'll be back this evening to share my final two sample cards, I hope you can pop back and take a look.  Happy Thursday!

Related Posts Plugin for WordPress, Blogger...