Showing posts with label Woodware. Show all posts

Wednesday, 29 December 2021

Christmas Card Multiples - Solitary Twiggy Tree


Hi there

I hope you've all had a wonderful Christmas with your nearest and dearest and a well-earned break.  The approach to Christmas seems so long yet it's all over so fast isn't it?  I'm just enjoying a couple of days leave from work before returning again on Friday.  

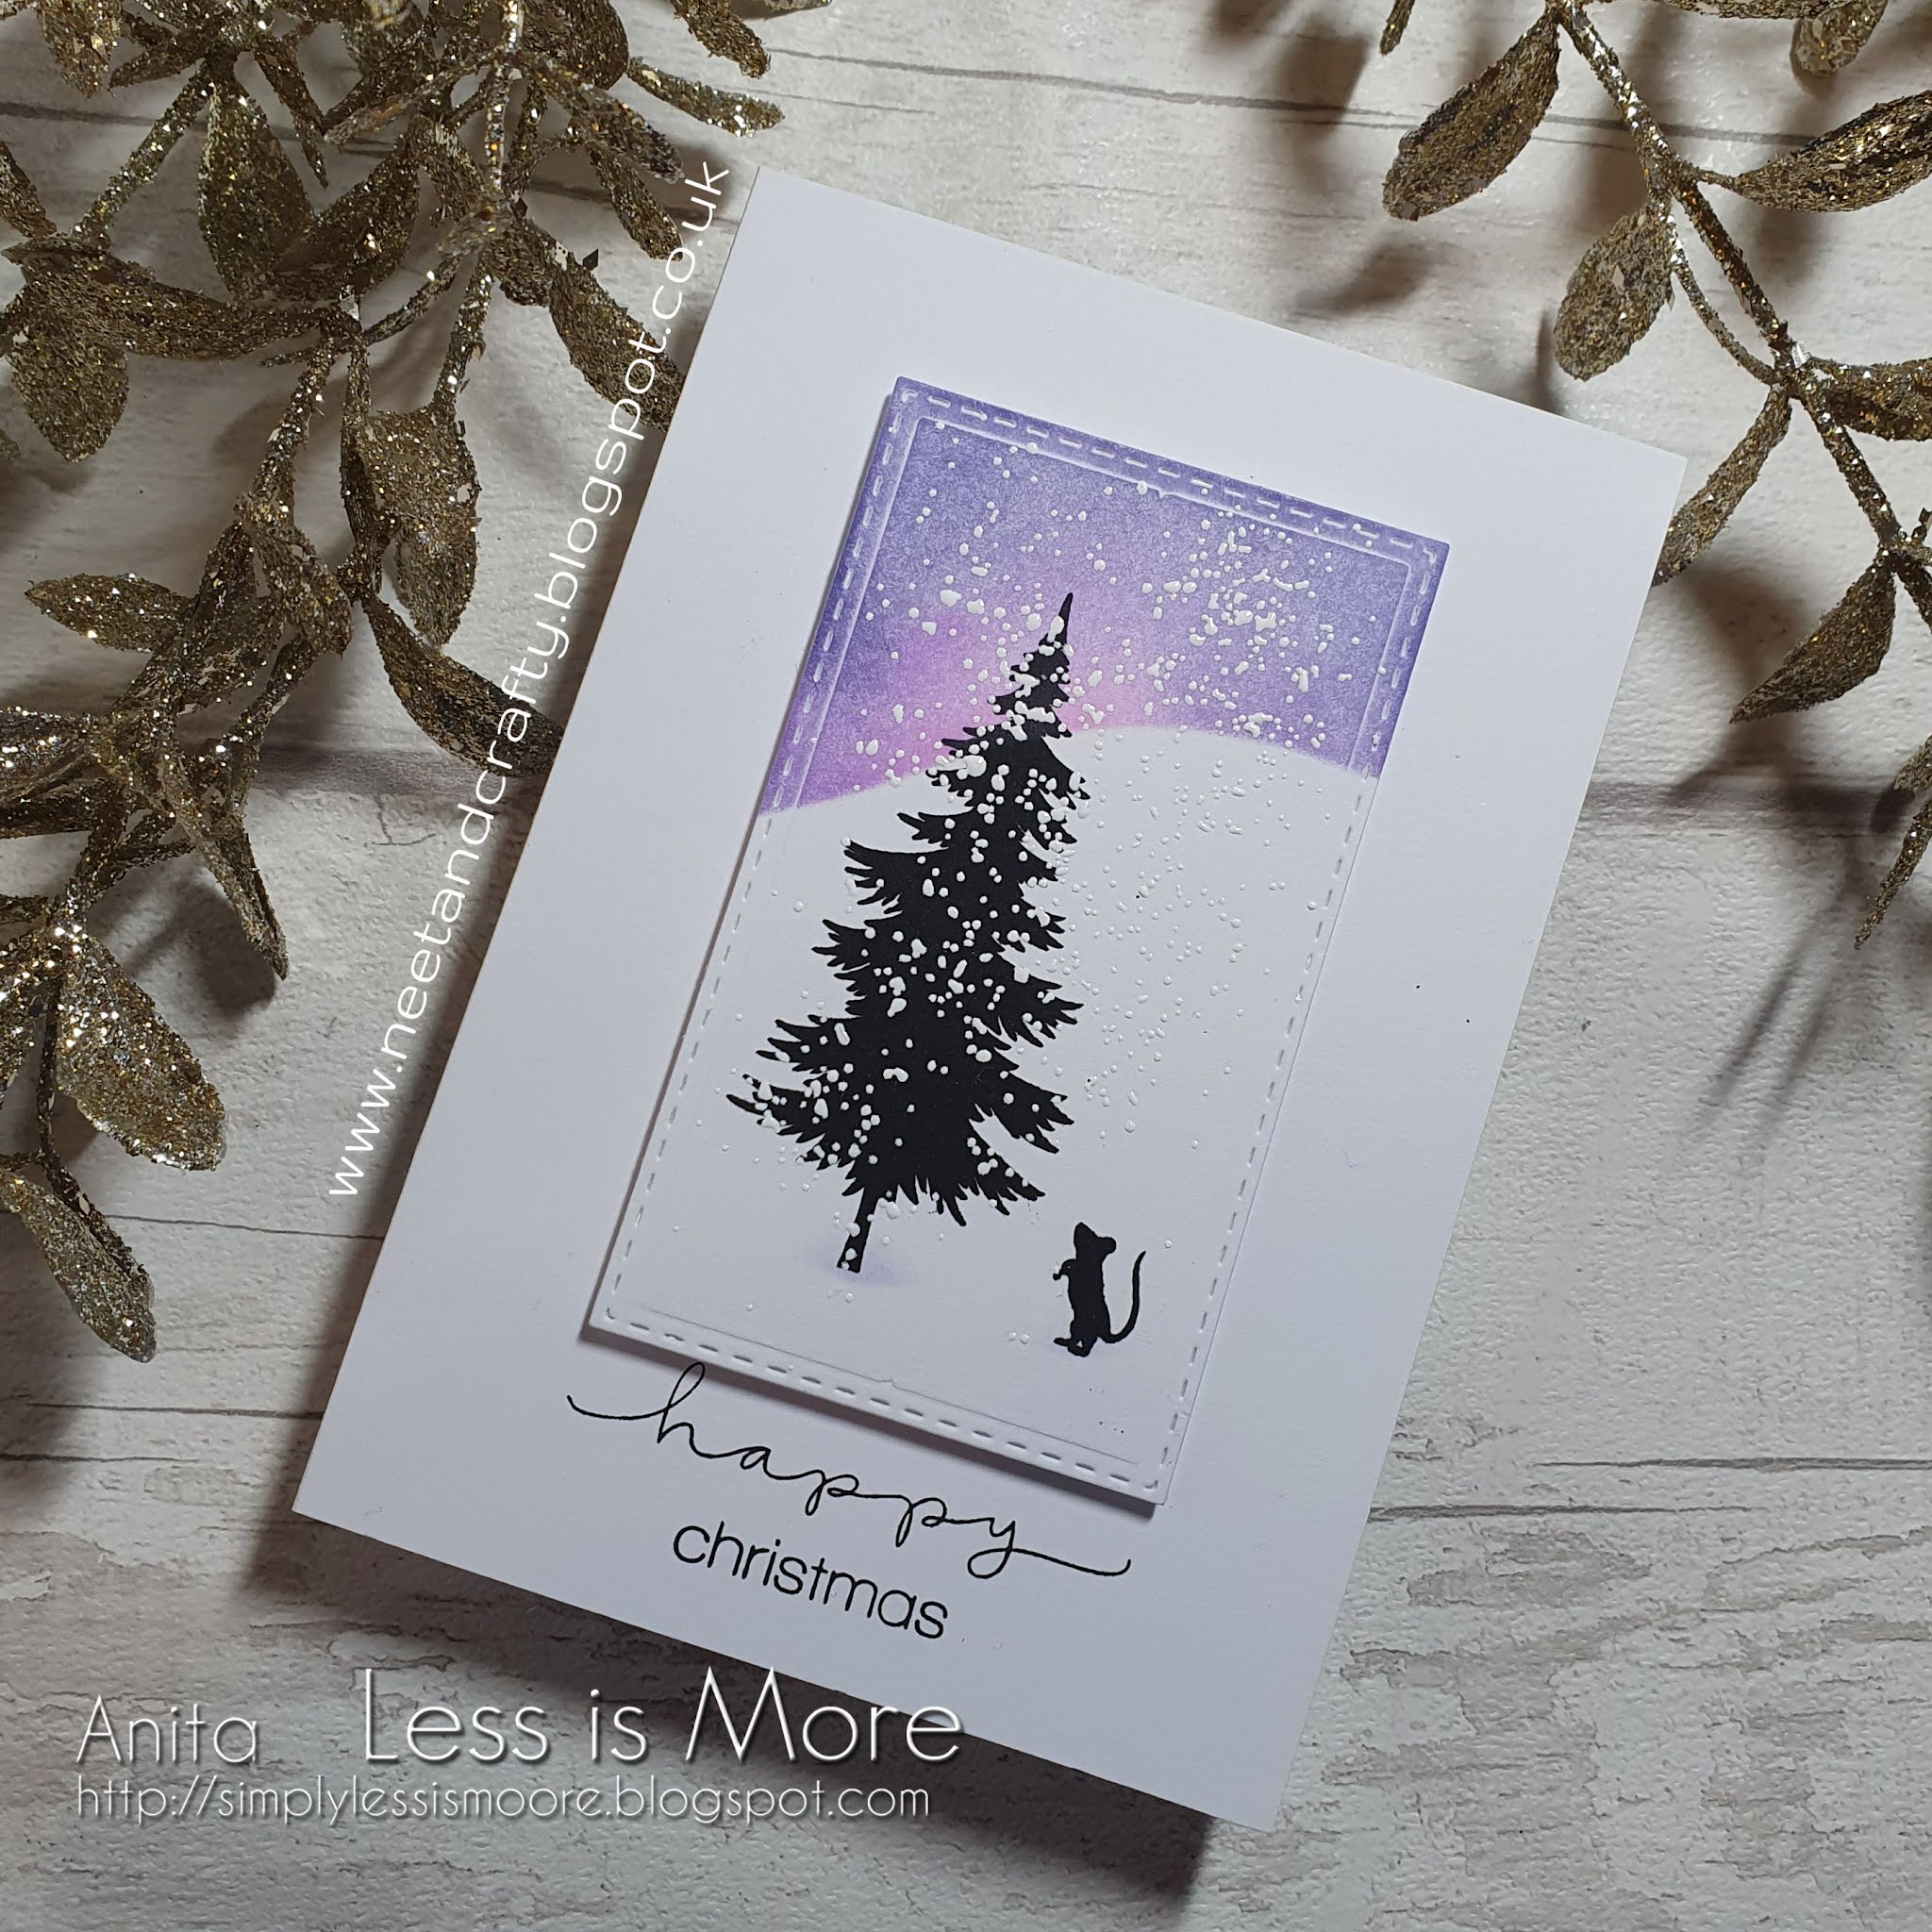
Over the next few posts I'll be sharing the remaining Christmas cards I made this year.  

Every year I say I'll start much earlier but this year I was worse than ever, I didn't start the bulk of my Christmas makes until a week into December!  I always make my individual cards from sheets of cardstock as the quality of the card is far superior to ready-made cards, but I do have a box full of card and envelope sets I've accumulated over the years so that's what I now use when making batches of Christmas cards.

I decided I had to go super simple with my main multiples this year and I made 55 of this design all in an hour and a half one evening, and each also had a paper insert!  The MISTI was definitely my best friend here!

For the majority I used kraft card bases...


The solitary tree and the sentiment stamp were both stamped at the same time with black ink.  I just slotted one card after another into the corner of my MISTI and off I went.  I then added different colour smooth adhesive stars to the top of each tree.  And that was it!  I love the design of this tree, I think it's perfect for CAS designs.


Materials used:
  • Stamps: Woodware - Mini Tall Twiggy Tree; Clearly Besotted - Simple Script
  • Ink: Versafine Clair - Nocturne
  • Accents: Papermania Adhesive Gems - Sparling Stars Assorted Brights
  • Card bases from stash

I then had a rummage through my box of cards and envelopes and found some coloured bases, so cracked on and made more of the same design.  I love that these aren't traditional Christmas colours.

Mint bases with pink stars...


and pink bases with blue stars...


Challenge entries:

AAA Cards - Game #205 - Christmas
Happy Little Stampers - December Christmas Challenge - Anything Goes
NBUS - Challenge #33 - tree stamp is new
Sweet Stampin' - Anything Christmas
CHNC - Challenge #574 - Anything Goes Christmas


Thanks for popping by to take a look, I'll be back later with more of my Christmas makes


Saturday, 13 November 2021

Less is More Challenge #456

Good morning

Welcome to Saturday and a new challenge over at Less is More.  Today it's a Theme challenge, here's the cue card...


We have our September winner joining us as a Guest Designer today, the super talented and wonderful CAS card creater, Asa.  Please do pop over to her blog to take a look at her card and to say hi.


As always at this time of year I'm behind with making my Christmas cards so if the theme fits, that's what I'm making! :)


I began with a die cut stitched rectangle and then ink blended the skyline.  I figured out where the tree and mouse would be stamped and added a little ink blending to ground them.  These were then both stamped in black.  Next I sprinkled over some embossing enamel to create some snow, heating from the underside so the heat gun didn't blow it out of position.  I then adhered the panel onto the card base using fun foam before stamping the sentiment below.


Materials used:
  • Die: Create a Smile - Cool Cuts Double Stitched Rectangles
  • Ink: Versa Color - Neptune, Heliotrope, Lilac; Versafine Clair - Nocturne
  • Stamps: Card-io - Magical Christmas (mouse); Woodware - Three Trees; Simon Says Stamp - Happy
  • Accents: Stampendous Deep Impression Embossing Enamel - Chunky White

Challenge entries:

Stamping Sensations - November Challenge - Christmas
We Love Stamping - November Challenge - Christmas
Happy Little Stampers - November Christmas Challenge - Anything Goes: Make a Scene


There's lots of inspiration from my teamies over at the Less is More challenge blog, and as always the challenge link is open for two weeks.  Hope to see your cards in the gallery.


Sunday, 11 October 2020

Autumn Botanicals

Hi there


Just a quick post tonight to share the birthday card I made for my lovely my,


I've only used this Altenew stamp set once before and wanted to ink up the leaves in autumnal shades this time.


I love the co-ordinating dot layers in this stamp set and wanted to emboss them.  So on a die cut panel I stamped the leaves in orange and brown around a central sentiment.  I blasted the images with my heat gun and used some anti-static powder before then inking up the dot layers with VersaMark and heat embossing in gold.  I adhered the panel onto the card base on fun foam.  I was going to add some sequins and gems but it looked too busy with the metallic dots so I decided to call this one finished.


Materials used:
  • Stamps: Altenew - Dot Botanicals; Woodware - Big Birthday Words
  • Ink: Altenew - Autumn Blaze, Mocha; Versafine - Onyx Black
  • Embossing Powder: Wow! - Metallic Gold Rich
  • Die: Create a Smile - Cool Cuts Double Stitched Rectangles

Challenge entries:

STAMPlorations - October Theme - Stamps and Autumn Colours
My Time to Craft - Challenge #442 - Autumnal Colours
Stamping Sensations - October Challenge - Autumn Glory
Sunday Stamps - Challenge #241 - Earthy Tones (brown/orange/gold)


Thanks so much for taking a look, your visits are always appreciated.


Tuesday, 14 January 2020

Perfectly CAS January 2020 Challenge

Hi guys

It's time for the first challenge of 2020 over at Perfectly CAS

Our challenge rule of using one third of the card or less is a great way to keep your designs clean and simple.  Another way is to just use the card base, with no additional layers, and that's what this month's challenge is all about.


Some crafters find one layer cards very daunting as there's nowhere to hide.  But depending on the techniques you use, they can be very quick to make, they just need a little forward planning.

I chose simple masking, stencilling and stamping for my sample card and I completed this in less than ten minutes...


I used low tack masking tape to section off a horizontal panel at the top of my card base.  I had some Christmas pennies to spend so I treated myself to some Taylored Expressions blender brushes and wanted to give them a go here...and I love them!  Firstly I blended the whole section with Spun Sugar Distress Ink, before laying a floral stencil over the top and then blending with Picked Raspberry.  This stencil is also new to my stash, isn't it lovely?  Sarah has some lovely stencils (and also stamps) over at Funky Fossil Designs, you can check them out here.  I then removed the stencil and masking tape and stamped the sentiment in black.  To finish I added a few flat glazed silver gems scattered about.


Materials used:

  • Stencil: Funky Fossil - Pretty Petals
  • Ink: Distress Ink - Spun Sugar, Picked Raspberry; Versafine - Onyx Black
  • Stamp: Woodware - Big Birthday Words
  • Gems from stash

Challenge entries

Always Fun - Challenge #145 - One Layer
Dream Valley - Challenge #216 - Something New (crafty bits)
My Time to Craft - Challenge #413 - New Stash
Allsorts Challenge - Week #554 - Say It With Flowers
CAS Stencil Challenge - January 2020 - New Stencil
STAMPlorations - January Stencil Challenge - Anything Goes


The challenge link will close a couple of days before the next one begins so you have almost a month to play along.  Looking forward to seeing your one layer creations.

Saturday, 23 November 2019

Less is More Challenge #409

Happy Saturday, folks!

We have a new Recipe challenge for you just starting over at Less is More, and it's an interesting one.  Here are the details...


For this challenge we are looking for you to use only one triangle from either of the following 2 layouts for your design.

 i.e. your whole design should be contained in the one triangle you select to use


The fabulous Catherine Pooler is our November sponsor...

Catherine Pooler, LLC

...and just by playing along will put you in the running for our monthly prize :)

Our September winner, Tristan Dawes (Tinstar) is joining us for this challenge as our Guest Designer, please do pop over to her blog to check out her project and say hi.


For my first card I've contained my design in the top triangle of the first layout...


On a die cut rectangular panel I stamped the baubles image in black ink and coloured with ProMarkers.  The sentiment was stamped and heat embossed in silver.  After adhering the panel on fun foam I then added some glue to the baubles using a slim glue pen and added some fine glitter for some sparkle.


Materials used:

  • Die: Create a Smile - Cool Cuts Double Stitched Rectangles
  • Stamps: Woodware - Reindeer Bells; Clearly Besotted - Ornamental Style
  • Ink: Memento - Tuxedo Black; VersaMark
  • Accents: ProMarkers; Cosmic Shimmer Diamond Frost - Frosty Dawn

Challenge entries:

Addicted to Stamps and More - Challenge #368 - Holiday
{PIN}spirational - Challenge #252 - Photo challenge
Penny Black and More - November Challenge - Christmas


My next two cards are basically the same design, just using different colour palettes.  I have used the second layout, turned 90 degrees...


On a panel of black cardstock I spread some translucent paste through a tree stencil and sprinkled over with some fine green glitter.  Once dry I cut the panel down and added some red glitter glue to the 'baubles'.  The panel was adhered flat to a green card base and a sentiment strip added across the centre.


Materials used:

  • Stencil: Imagination Crafts - Merry Christmas Trio
  • Embossing Paste: Sweet Poppy - Stencil Dimensions Translucent
  • Glitter: Sweet Poppy - Super Fine Satin Glitter in Moss Green
  • Stamp: Paula Pascual - Christmas Messages
  • Accents: Dovecraft Glitter Glue - Ruby

Challenge entries:

Just Add Ink - Challenge #483 - 'Choose Two' (I chose spots and sparkle)
Uniko - Challenge #56 - Christmas (option: tree)
STAMPlorations - November Stencil Challenge - Anything Goes


And the second card with a similar design...


For this card I used a panel of teal textured cardstock and used the same stencil but this time added iridescent glitter....and I can honestly say it was a nightmare to photograph! :D  It sparkles beautifully in real life.  I adhered the panel flat over the entire surface of the card base then added the sentiment at the base using white pigment ink.


Materials used:

  • Stencil: Imagination Crafts - Merry Christmas Trio
  • Embossing Paste: Sweet Poppy - Stencil Dimensions Translucent
  • Glitter: Sweet Poppy - Super Fine Satin Glitter in Crystalina Rainbow
  • Stamp: Paula Pascual - Christmas Messages
  • Ink: Hero Arts - Unicorn


I'm looking forward to seeing your creations in our gallery using the different triangles of these layouts.  And for info, this will be the last challenge at Less is More for 2019 to give the Design Team a little break in the lead up to Christmas.  


Saturday, 2 December 2017

Less is More Week #357

Good morning!

And this morning I'm introducing this week's new challenge over at Less is More which is a Colour challenge.  This week we want to see...


Any projects will do but this is perfect for those traditional
Christmas cards if you still need to create more....I know I do!


Our Sponsor for this month is the fab Happy Little Stampers so do play along
with our challenges this month for a chance to win the monthy prize.


I have two samples for you today, and that's two more to add to my Christmas stash!

Here's the first, and another I made whilst away at the Happy Little Stampers craft retreat where we were having fun with light up cards using Chibitronics LEDs...


On a panel of watercolour card I stamped the image in VersaMark and heat embossed in gold.  I then watercoloured the leaves and berries with Zig markers.  I stamped the sentiment from the same set in black, and the sentiment is the push point to activate the light.  You can find a tutorial here where Kylie of Happy Little Stampers explains how to create a light up card.  I pierced a number of holes around the berries to allow the light to shine through, and chose a red LED to add more colour.


Materials used:
  • Stamps: Woodware - Sprig of Holly
  • Ink: VersaMark; Versafine - Onyx Black
  • Embossing Powder: Wow! - Metallic Gold Rich
  • Watercoloured with Zig Clean Color Real Brush Markers
  • Tools: Chibitronics - Red LED Circuit Sticker (adhesive copper tape and battery)

Challenge entries:

Christmas Cards All Your Round - December Challenge - Anything Goes
CAS on Friday - Challenge #122 - Christmas
AAA Cards - CAS Game #104 - Christmas
Uniko - Challenge #44 - Christmas


And next up, another Christmas card and this one using stamps by our sponsor...


A classic layout and fairly simple to execute.  The poinsettia was stamped in alcohol friendly ink and coloured with ProMarkers.  The sentiment was stamped in VersaMark and heat embossed in gold.  I double matted the panel to add some border interest and finished by adding some detail with gold Stickles to the centre of the bloom.


Materials used:
  • Stamps: Christmas Joy and Mixed Christmas Sentiments
  • Ink: Memento - Tuxedo Black; VersaMark
  • Embossing Powder: Wow! - Metallic Gold Rich
  • Coloured with ProMarkers
  • Accents: Stickles - Gold

Challenge entries:

Crimbo Crackers - Challenge #146 - Anything Goes
Fusion - Red Christmas (challenge photo)


For more inspiration please do pop over to the challenge blog to view my teamies' projects this week, and click on their links where you could find even more makes this week.

Thanks so much for stopping by, I so appreciate your visits and comments.

I'll be back this evening to tell you all about this month's Happy Little Stampers CAS Challenge, hope to see you then.

Related Posts Plugin for WordPress, Blogger...