Monday, 28 July 2025

Uniko Christmas in July 2025 - Introducing...Ink & Flip Christmas Tree Pattern and Ink & Flip Snowflake Pattern

Hi there

It's day three of the Uniko introductions from the Christmas in July release.

And today the team are showcasing two new additions to the Ink & Flip family...Christmas Tree Pattern and Snowflake Pattern.  These are standalone stencils which will help you to create quick and fun Christmas backgrounds.

First up, here's my sample card using the Ink & Flip Christmas Tree Pattern stencil...


The stencil creates half of the trees, with a vertical split, and then you flip it to complete the trees.  I used four colours of Distress Oxides here.  I inked up the first side using Iced Spruce fading into Pine Needles, then the flip side using Mowed Lawn fading into Rustic Wilderness.  I then heat embossed the large Merry onto vellum and fussy cut this out, then heat embossed the rest of the greeting in gold on a white strip, both of which I adhered on 3D foam.  These were from the Big & Bold Merry set.  I finished with a single enamel star on one of the trees.

Materials used:

  • Stencil: Uniko - Ink & Flip Christmas Tree Pattern
  • Stamps: Uniko - Big & Bold Merry
  • Ink: Distress Oxide - Iced Spruce, Pine Needles, Mowed Lawn, Rustic Wilderness; Versafine Clair - Nocturne; VersaMark
  • Embossing Powder: Wow! - Clear Gloss, Metallic Gold Rich
  • Vellum and enamel star from stash


And now my card using the Ink & Flip Snowflake Pattern, paired with a sentiment from the Background Builders Winter Wonderland set...


Placing the stencil on the diagonal, I inked up through the first side of the stencil with Tumbled Glass Distress Oxide, before flipping and inking through with Shaded Lilac.  I then die cut the panel with a stitched rectangle die.  I then stamped and heat embossed the sentiment in silver before adhering the panel flat to my card base.


Materials used:
  • Stencil: Uniko - Ink & Flip Snowflake Pattern
  • Stamp: Uniko - Background Builders Winter Wonderland
  • Ink: Distress Oxide - Tumbled Glass, Shaded Lilac; VersaMark
  • Embossing Powder: Wow! - Metallic Silber
  • Die: Create a Smile - Cool Cuts Double Stitched Rectangles


Be sure to check out the Uniko blog, here where you'll find many more projects from Bev and the Brand Ambassadors  I'll be back tomorrow to introduce another of the new products.

All the new products will be available on Thursday 31 July 2025 from 9am BST.

I appreciate you taking a look and hope to see you soon.


Sunday, 27 July 2025

Uniko Christmas in July 2025 - Introducing...Background Blocks Merry Christmas Scramble

Hi there

Back for day two of the new release introductions from Uniko and today it's a fun new addition to the Background Blocks collection...Background Blocks Merry Christmas Scramble.

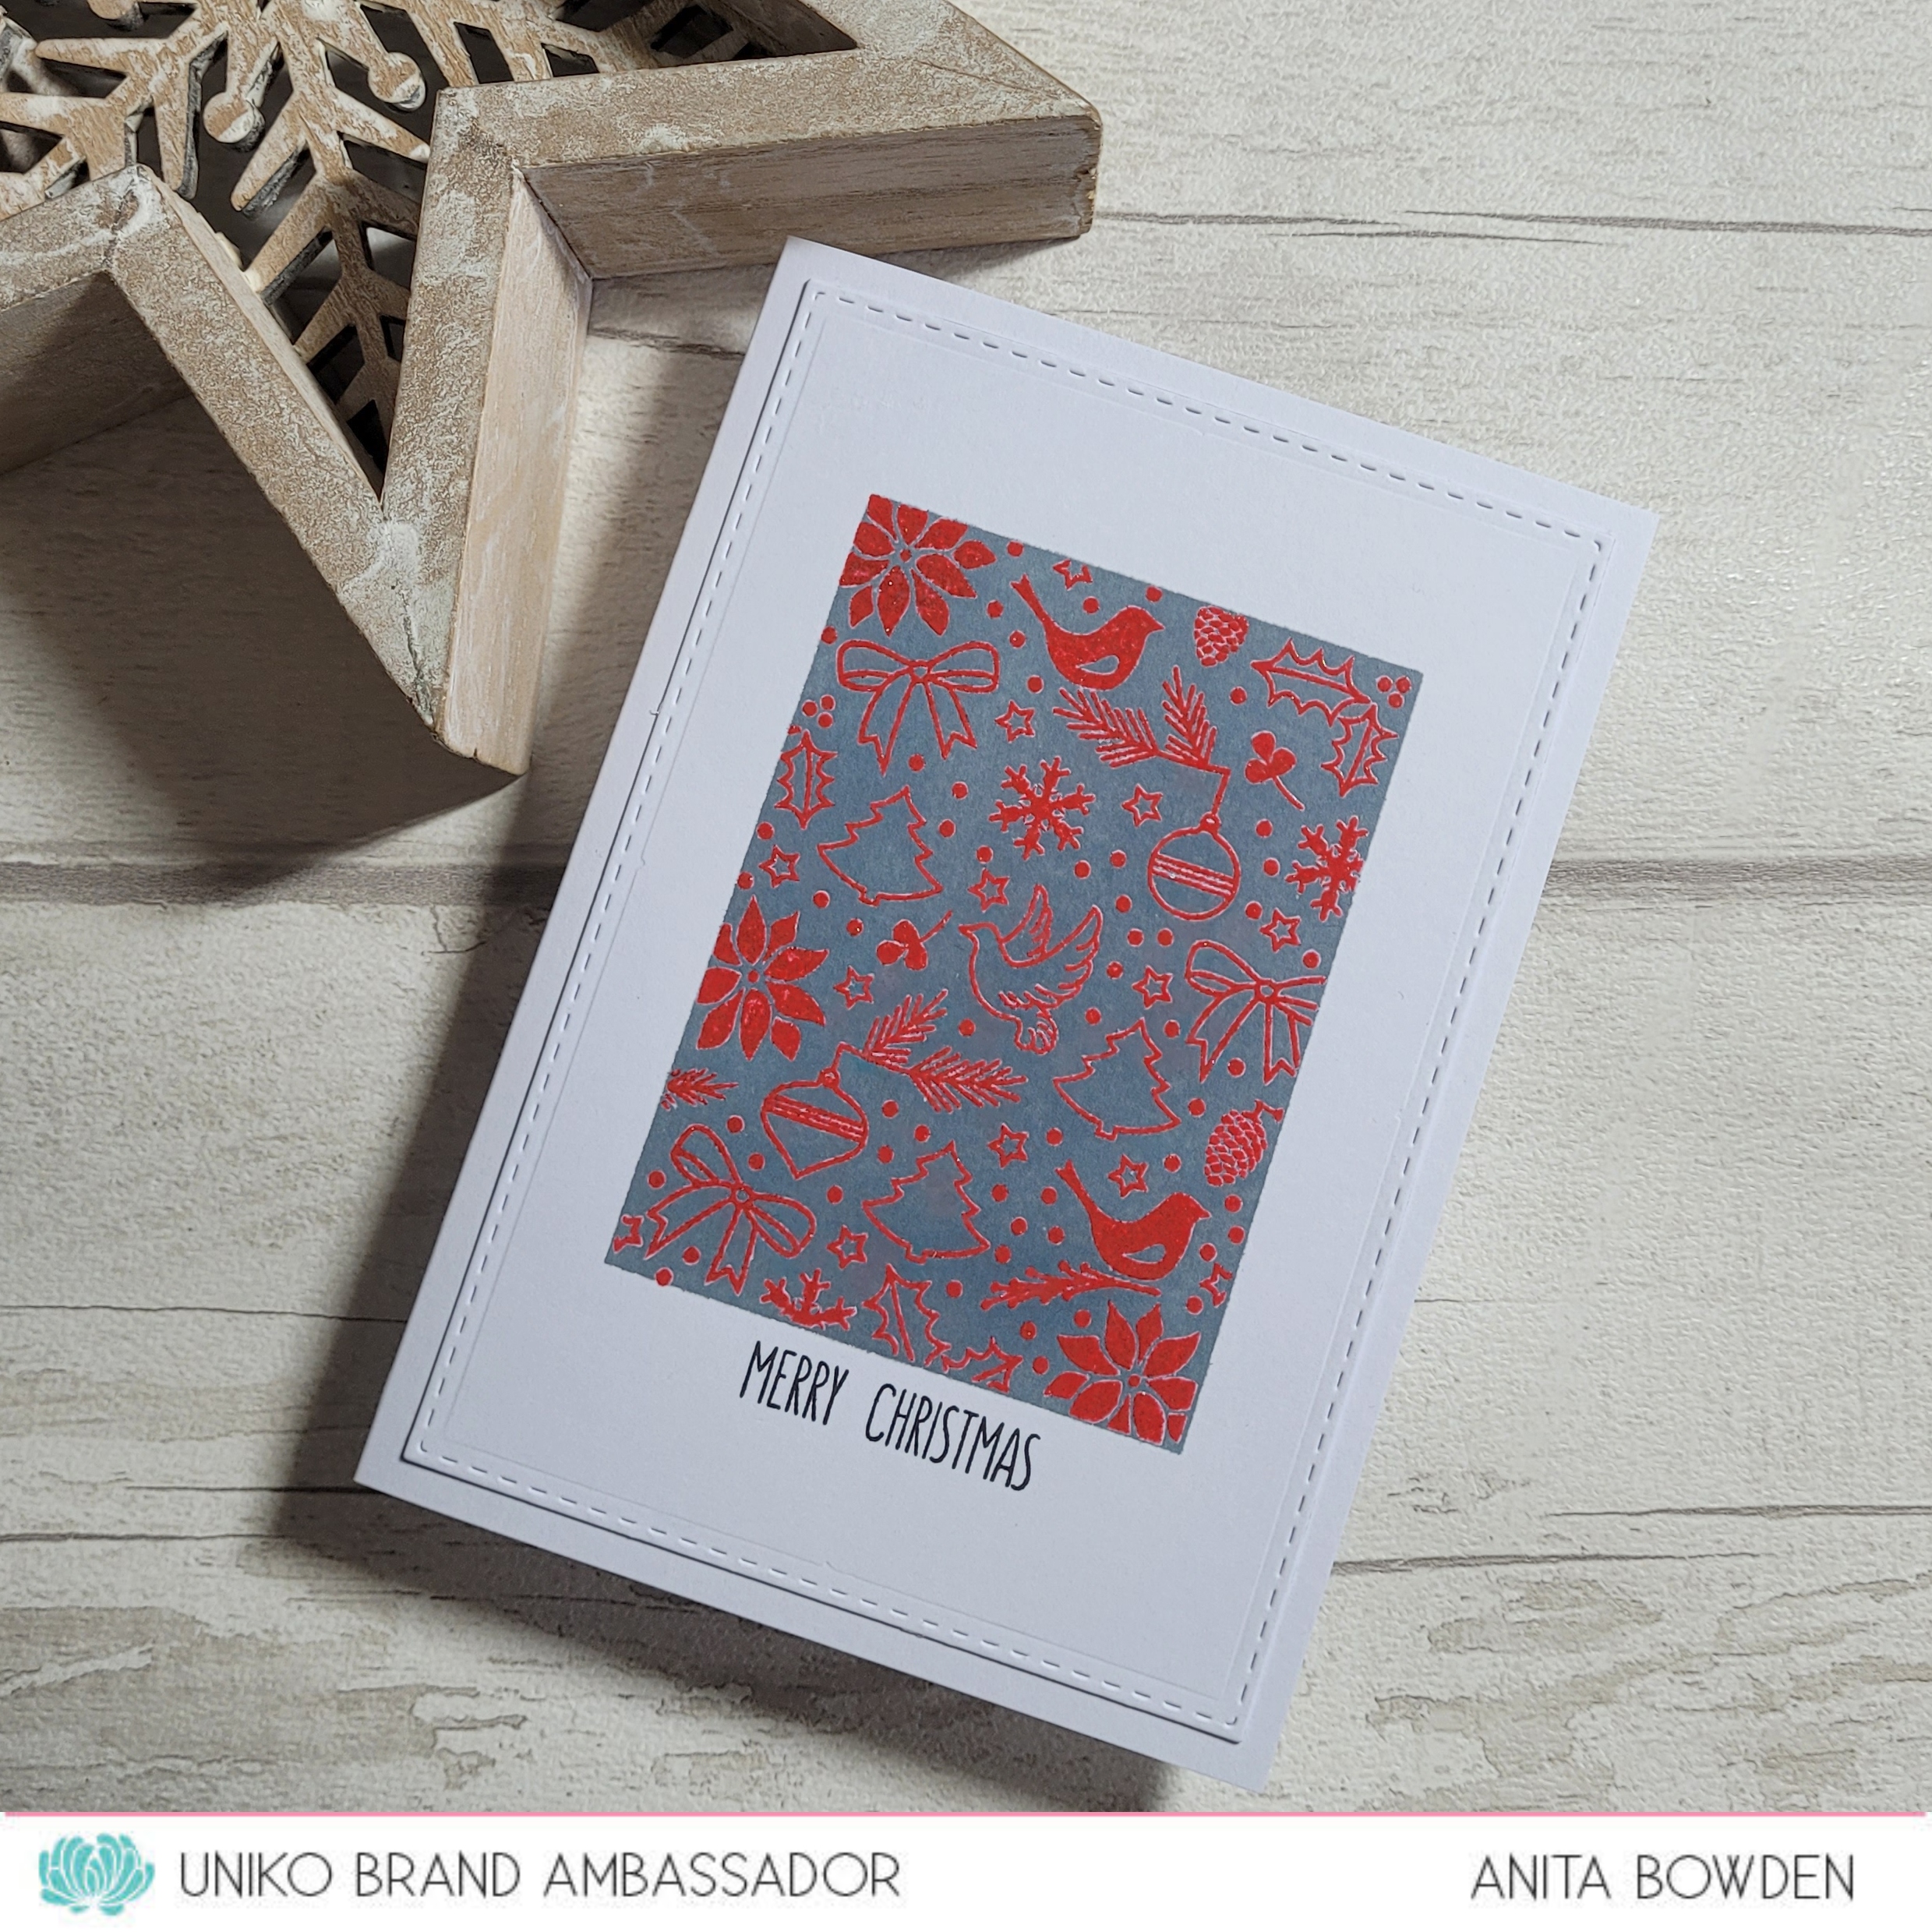
Here's my first card and I chose the emboss resist technique...


I began by inking up the image in VersaMark and then heat embossing in white.  I then ink blended the background using three shades of Distress Oxide ink to create a frosty vibe.  To add a snowy feel I splattered with some water droplets and then blotted with a paper towel which lifted away the colour.  I used a stitched rectangle to die cut from the inked panel and then adhered this flat to my card base.


Materials used:
  • Stamp: Uniko - Background Blocks Merry Christmas Scramble
  • Ink: VersaMark; Distress Oxide - Salvaged Patina, Peacock Feathers, Mermaid Lagoon
  • Embossing Powder: Brutus Monroe - Alabaster White
  • Die: Create a Smile - Cool Cuts Double Stitched Rectangles


And now my second card, I embossed it again but this time in gold...


I stamped and heat embossed the image in gold in the top left corner of my card base.  I then ink blended down from the corner using two shades of Distress Ink, fading it out.  I'm not entirely happy with this one.  I ran out of my white cardstock and couldn't find the same brand again.  This new pack I bought is a lovely weight but obviously not as smooth as you can see from the ink blending.  It's great when using Oxides but not such a great result with dye inks.  I'll have to continue my hunt for A4 cardstock which is great for ink blending and Copic colouring!


Materials used:
  • Stamp: Uniko - Background Blocks Merry Christmas Scramble
  • Ink: VersaMark; Distress Ink - Candied Apple, Aged Mahogany
  • Embossing Powder: Wow! - Metallic Gold Rich


Don't forget to check out the Uniko blog, here where my fellow Brand Ambassadors are sharing their fabulous makes.  You'll find so much more inspiration there.  I'll be back tomorrow to introduce more from the release - in fact it's two new products tomorrow!

All the new products will be available from Thursday 31 July 2025.

Thanks for visiting.


Saturday, 26 July 2025

Uniko Christmas in July 2025 - Introducing...Stencil Layering Christmas Bauhaus Blocks

Hi there

So, did you see the sneak peeks yesterday?

It's day one of the new Uniko introductions and it's all about festive goodies in this upcoming release.

We're kicking off with a brand new introduction to the Bauhaus series...Layering Christmas Bauhaus Blocks, which is a set of three stencils.  If you love the previous products in the Bauhaus series this one should be right up your street.

Here's my first card using the set, with a sentiment from the Festive Sentiments set...


Here I inked up the design using the three stencils, without building any further.  I used three shades of Distress Oxide ink here, I think Oxides and stencils work brilliantly together.  I kept this as a simple one layer card and nestled in the greeting from the Festive Sentiments set.

Materials used:
  • Stencils: Uniko - Layering Christmas Bauhaus Blocks
  • Stamps: Uniko - Festive Sentiments
  • Ink: Distress Oxide - Iced Spruce, Lumberjack Plaid, Uncharted Mariner; Versafine Clair - Nocturne


For my second card I built the design to fill the entire card...


I chose a peach shade of cardstock for my card base and used three shades of ink, one of which was white.  I didn't want the background parts of the images to be white this time.  So I used two shades of Distress Oxide and a white pigment ink.  I inked up the initial eight blocks and then moved the stencil around to add the additional blocks.  I finished with a die cut sentiment strip, heat embossing the greeting which is from a new set we'll be introducing in a few days.


Materials used:
  • Stentils: Uniko - Layering Christmas Bauhaus Blocks
  • Stamp: Uniko - Flower Power #12
  • Ink: Distress Oxide - Peacock Feathers, Saltwater Taffy; Hero Arts - Unicorn; VersaMark
  • Die: MFT Die-namics - Stitched Rectangle Stax
  • Embossing Powder: Wow - Opaque Bright White
  • Cardstock from stash


For lots more inspiration from the rest of the team using this stencil set, take a look at the Uniko blog, here.  I'll be back tomorrow to introduce another of the new products.

All the new products will be available from next Thursday 31 July 2025 at 9am BST.

I hope you'll pop back over the next few days to check out the other new products.


Friday, 25 July 2025

Uniko Christmas in July 2025 - Sneak Peeks

Good morning and happy Friday!

It's still all about...


Have you been keeping up with all the Christmas inspiration throughout this month?  I hope you've found some inspiration and who knows, you may have even made a start on your Christmas cards!  Well, what better way to end the month than with a new release!  And yes, Bev is of course bringing you a festive release!

So let's get to it with the usual sneak peeks.

First up there are two new additions to the Background Blocks series, and of course festive ones...


The next little sneak peek is the final addition to the Flower Power series...


Now onto the new stencils.  First up is a great little builder set and if you know Uniko designs, I think you'll recognise the style of this set...


And without FLIPPIN' further ado, we also have these two...


So there you have it for this great little release.

The introductions and showcases will follow from the team from tomorrow and over the next few days.  Then all these products will be available at 9am BST Thursday 31 July 2025.

I'll be back tomorrow with the first of the introductions.


Thursday, 17 July 2025

Uniko Christmas in July Brand Ambassador Inspiration - Scandinavian Christmas

Hi guys

I'm over on the Uniko blog today with some Christmas in July inspiration using two Scandinavian Christmas products.  I have included full details of how these were made over on the Uniko post, here.


The two products I have showcased are the Background Blocks Scandinavian Christmas clear stamp and the Scandinavian Christmas stencil.  

I have three cards for you with very different looks.  


Materials used:


And another using the stamp...


Materials used:
  • Stamps: Uniko - Background Blocks Scandinavian Christmas, Festive Sentiments
  • Ink: Altenew - Crimson, Nimbus; VersaMark; Versafine Clair - Nocturne
  • Embossing Powder: Wow! - Clear Gloss
  • Die: Create a Smile - Cool Cuts Double Stitched Rectangles


For my final card I used the Scandinavian Christmas stencil...


Materials used:
  • Stencil: Uniko - Scandinavian Christmas
  • Stamp: Uniko - Pattern Building Christmas Tree
  • Ink: Distress Oxide - Candied Apple; VersaMark
  • Embossing Powder: Wow! - Opaque Bright White
  • Die: Create a Smile - Cool Cuts Double Stitched Rectangles; Lil Inker - Stitched Ovals
  • Accents: Signo Uniball pen - white


I hope you're enjoying Christmas in July this month, there's still lots more to come from Bev and the team.

Thanks for visiting today - happy crafting!

Take care


Sunday, 29 June 2025

Uniko Flippin' Fabulous Ink & Flip Masculine Inspiration Brand Ambassador Blog Hop & Giveaway

Hi there

Yes, I'm still here!  So sorry for the silence, it's been a busy couple of months so I've not managed to find time for any crafting but I'm back today to join in the finale of the masculine themed month with Uniko.

Today the team are showcasing the Ink & Flip stencils and giving them a masculine touch.

And, by visiting each of the Brand Ambassadors along the hop, starting at the Uniko blog, here, as well as commenting on our socials, you're in with a chance of winning an Ink & Flip stencil of your choice.  

I have two stencilled cards to share today, one using an Ink & Flip stencil and another using another stencil from Uniko.


Ok, here's my first where I've chosen the Ink & Flip Christmas Star as it offers a fantastic central focal point for any card...


I inked up both sides of the stencil, first in Pumpkin Pie ink and then with Dusk ink, which created the star and a darker green shade where the the colours overlap.  Next I stamped the sentiment from the Mid Century Modern Birthday stamp set in a darker blue, and then finished with the Background Blocks Linear image stamped in each corner in black.

Materials used:
  • Stencil: Uniko - Ink & Flip Christmas Star
  • Stamps: Uniko - Mid Century Modern Birthday; Background Blocks Linear
  • Ink: Altenew - Pumpkin Pie, Dusk, Desert Night; Versafine Clair - Nocturne


And for my second masculine make I've used the Mid Century Modern Circles & Stars stencil...


This love using the shifted stencil technique with this stencil, it creates the illusion of so much dimension on a flat panel.  So I began with a dark orange panel of cardstock and inked through the stencil in a dark blue ink.  I then shifted the stencil slightly downwards and to the right and then inked through again with a white pigment ink.  This created the lighter blue and makes the original inking look like shadows.  I die cut the panel and adhered it flat to my card base then found an unused die cut circle in my stash so stamped the sentiment from the Mid Century Modern Everyday Sentiments set in black. The card was finished with some co-ordinating enamel dots.

Materials used:
  • Stencil - Uniko - Mid Century Modern Circles & Stars
  • Stamps: Uniko - Mid Century Modern Everyday Sentiments
  • Ink: Altenew - Dusk; Hero Arts - Unicorn; Versafine Clair - Nocturne
  • Die: Create a Smile - Cool Cuts Double Stitched Rectangles; circle from stash
  • Accents: Doodlebug Sprinkles - Tangerine and Blue Jeans Assortments


Thanks for visiting today and good luck if you comment along the hop.  

I appreciate you looking and plan to be back again very soon :)


Sunday, 11 May 2025

Uniko May 2025 Non-Release Brand Ambassador Blog Hop & Giveaway!

Good morning!

Uniko have another blog hop and giveaway for you this month.  Bev gets so busy as she runs Uniko single-handedly so on the months where there isn't a new product release, she likes to mix things up a bit.

So this month she has challenged myself and my fellow Brand Ambassadors to choose a favourite or favourites from any of the 2025 releases to date and to share our projects in this blog hop.

By commenting along the way, you could be the lucky person that wins a £25 eGift card!

I found it difficult to pick just one product as my favourite, so I chose two, both of which happen to be layering stencil sets.

First up, I just had to ink up the Layering Picked Posies again...


I wanted to use the stencils to create a border so I found a scalloped stencil mask in my stash and used that to mask the centre of my card base.  I ink blended around the border so it had a definite edge but didn't want it to interfere too much with the pattern so used a very light hand.  I then inked through the various elements of the stencils to create the floral border.  I chose to fill the central area with a larger sentiment from the Birthday Wishes stamp set and then finished by adding a few co-ordinating jewels.

Materials used:
  • Stencils: Uniko - Layering Picked Posies; Clearly Besotted - Small Scallops
  • Stamp: Uniko - Birthday Wishes
  • Ink: Distress Oxide - Salvaged Patina, Lost Shadow, Peacock Feathers, Scattered Straw, Tumbled Glass; Versafine Clair - Nocturne
  • Accents: Little Things from Lucy's Cards - Jewels: Shimmer Pool and Lemon mixes


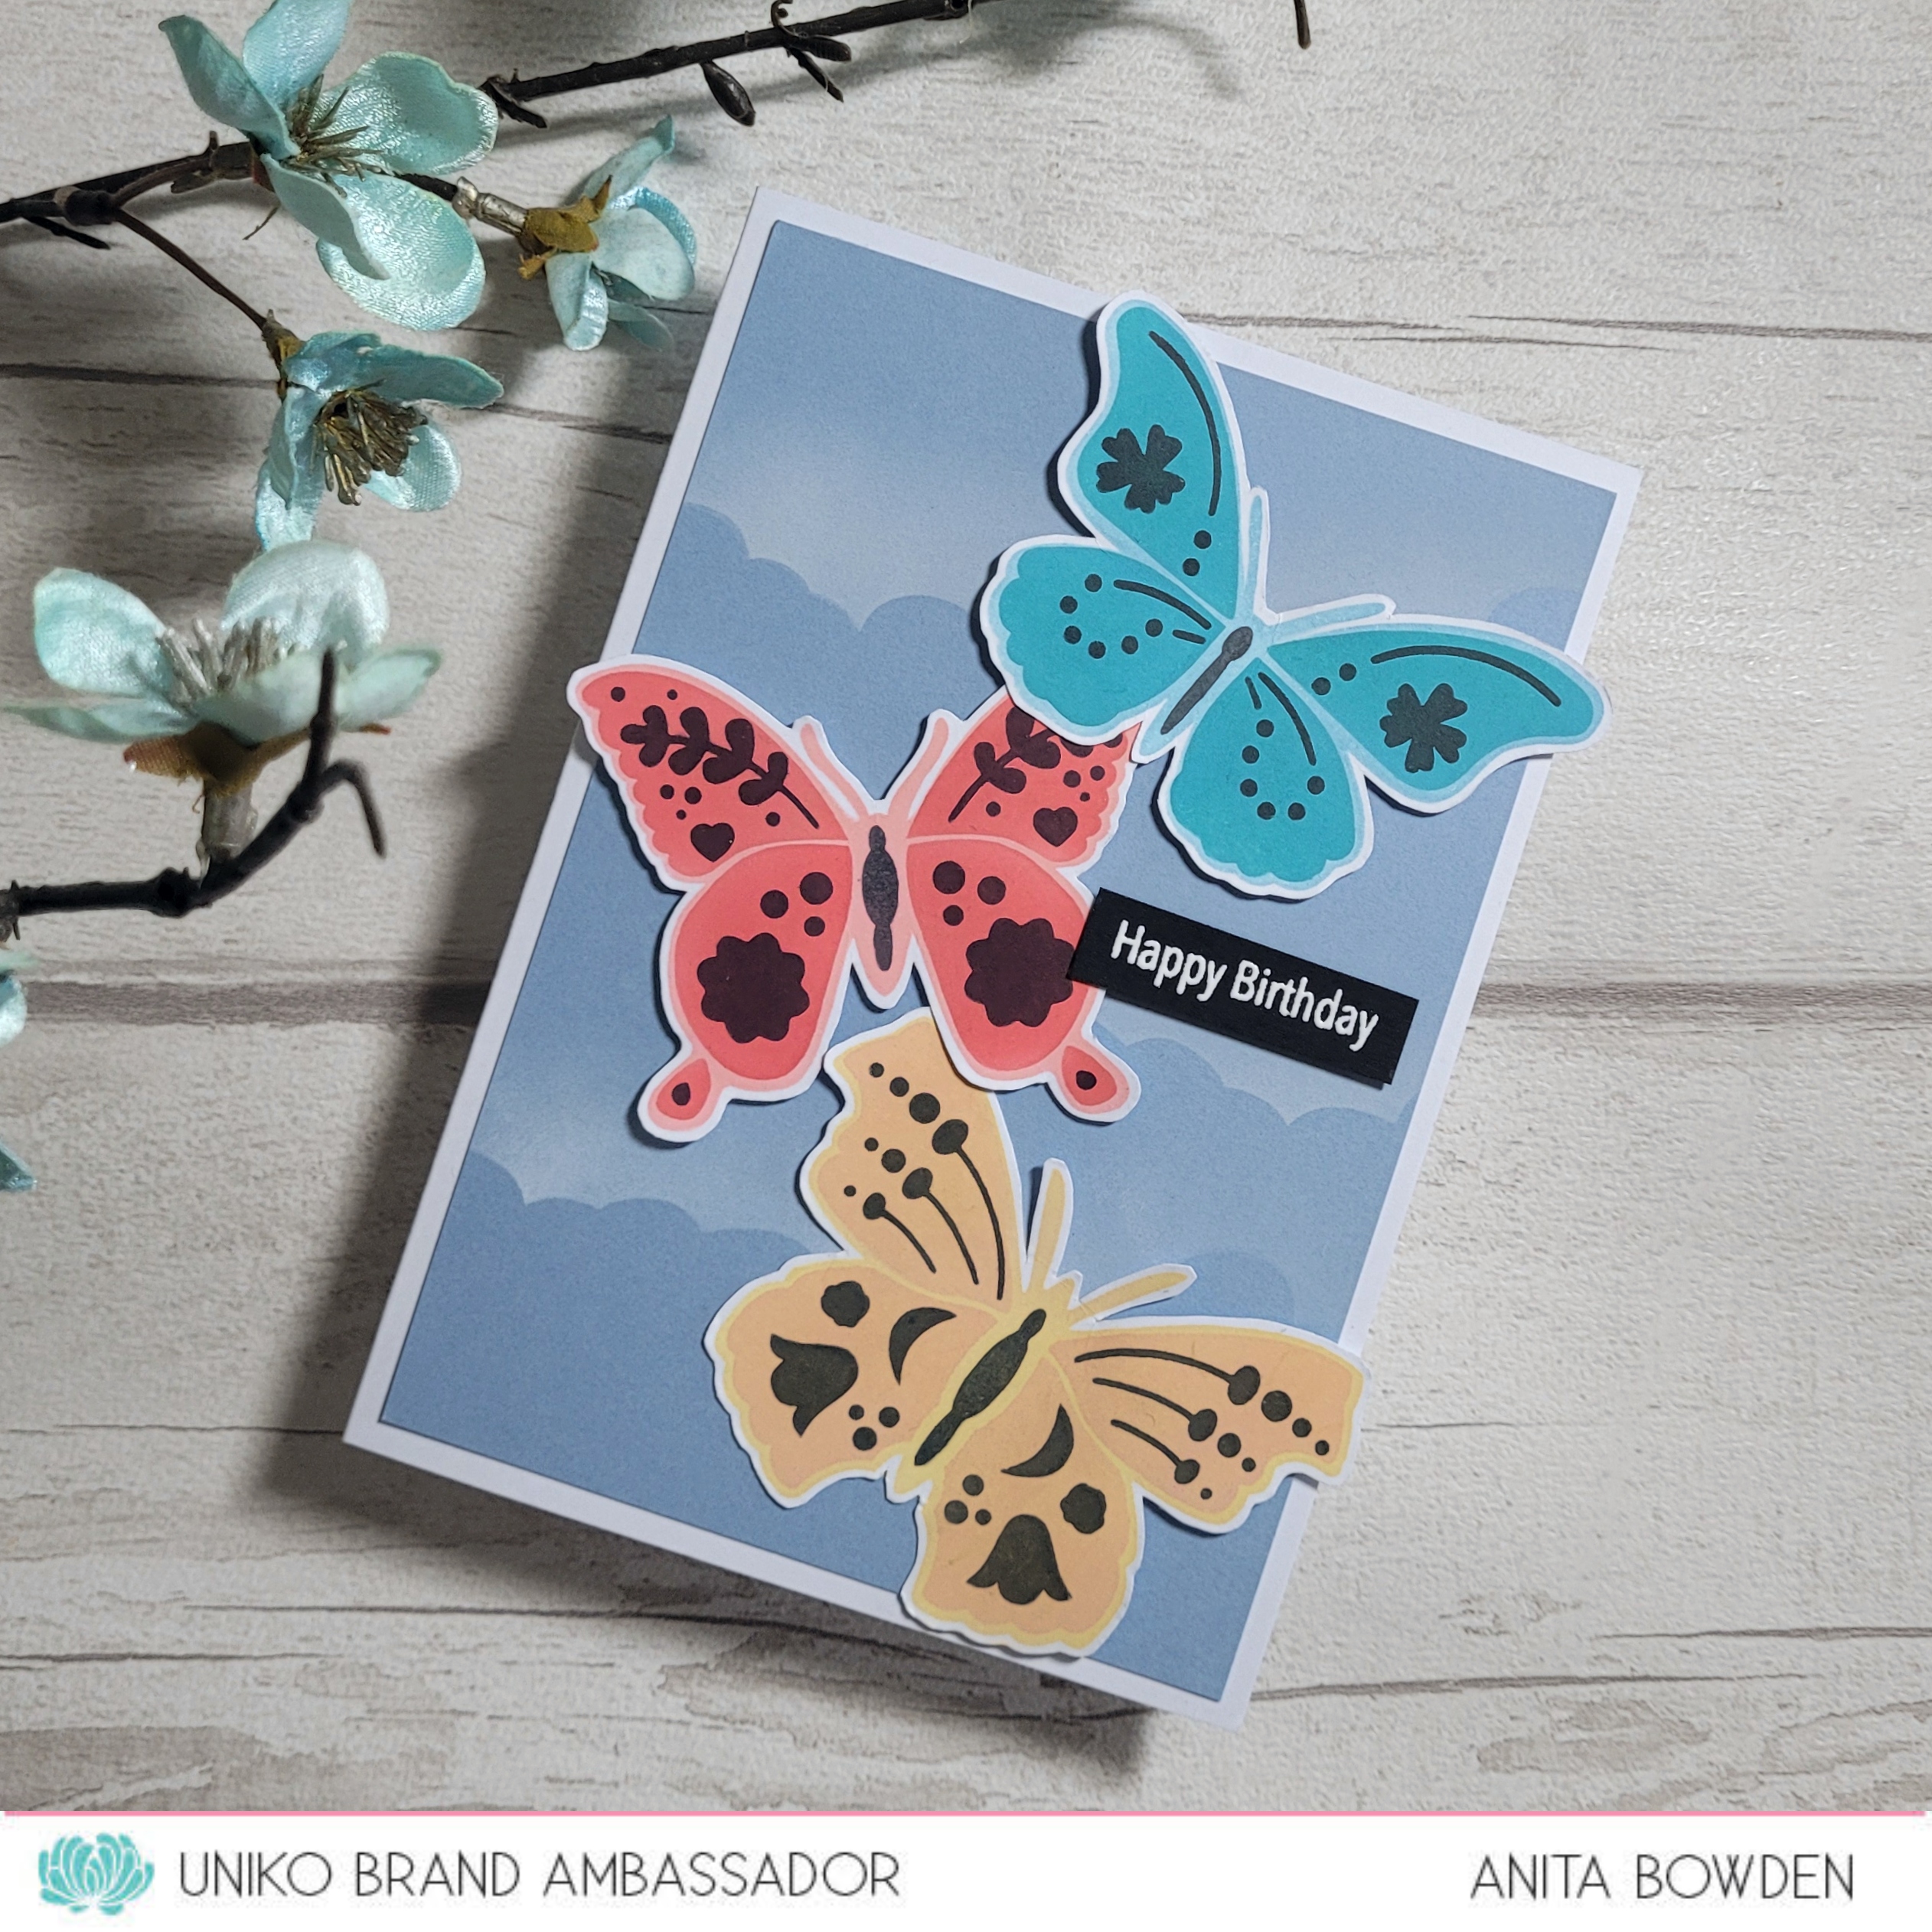
And as I loved the Layering Bright Butterflies, I inked them up again to create this one...


I inked up all three butterflies using the layering stencils and then fussy cut them out.  I used the Cloud 9 stencil to add clouds with white ink to the blue cardstock background.  I adhered all the butterflies to the card base, overlapping them and using some 3D foam for some dimension.  I finished by heat embossing the sentiment in white on a black strip, which is from the Originally Organic Flower Garden stamp set.

Materials used:
  • Stencils: Uniko - Layering Bright Butterflies, Cloud 9
  • Stamp: Uniko - Originally Organic Flower Garden
  • Ink: Distress Oxide - Saltwater Taffy, Festive Berries, Scattered Straw, Dried Marigold, Tumbled Glass, Peacock Feathers; Versafine Clair - Nocturne; VersaMark; Hero Arts - Unicorn
  • Embossing Powder: Wow! - Opaque Bright White


Be sure to leave some comments on the Brand Ambassador blogs or social media.  You can find all the links over at the Uniko blog, here.  By leaving comments along the way you will be in with a chance of winning the eGift card.  Bev will randomly choose a winner on 26 May 2025.

Thanks for visiting today and please do visit my fellow Brand Ambassadors, not only to comment, but I'm sure you can find some crafty inspiration from them.

Related Posts Plugin for WordPress, Blogger...