Showing posts with label Ripping and Tearing. Show all posts

Sunday, 10 February 2013

Less is More Week 106 OLC Music

Hiya

I want to start by saying a huge thank you to my first 10 followers, it means so much to me so thank you *little claps* :)

Well despite being sat in front of the laptop for what seems like two whole days on eBay I managed to find some time to enter this week's challenge at Less is More.  This challenge is to create a One Layer Card with a reference to Music.

My heart sank when I read what this new challenge was as I knew I had no stock whatsoever that referred to music...or so I thought.  I then had a brainwave and as it turns out...some peel-offs came to my rescue!  Yes, REALLY!  I raided a pack of partly-used peel-offs I'd listed on eBay yesterday, one of which had musical instruments on it.  Yay!

This is what I came up with...
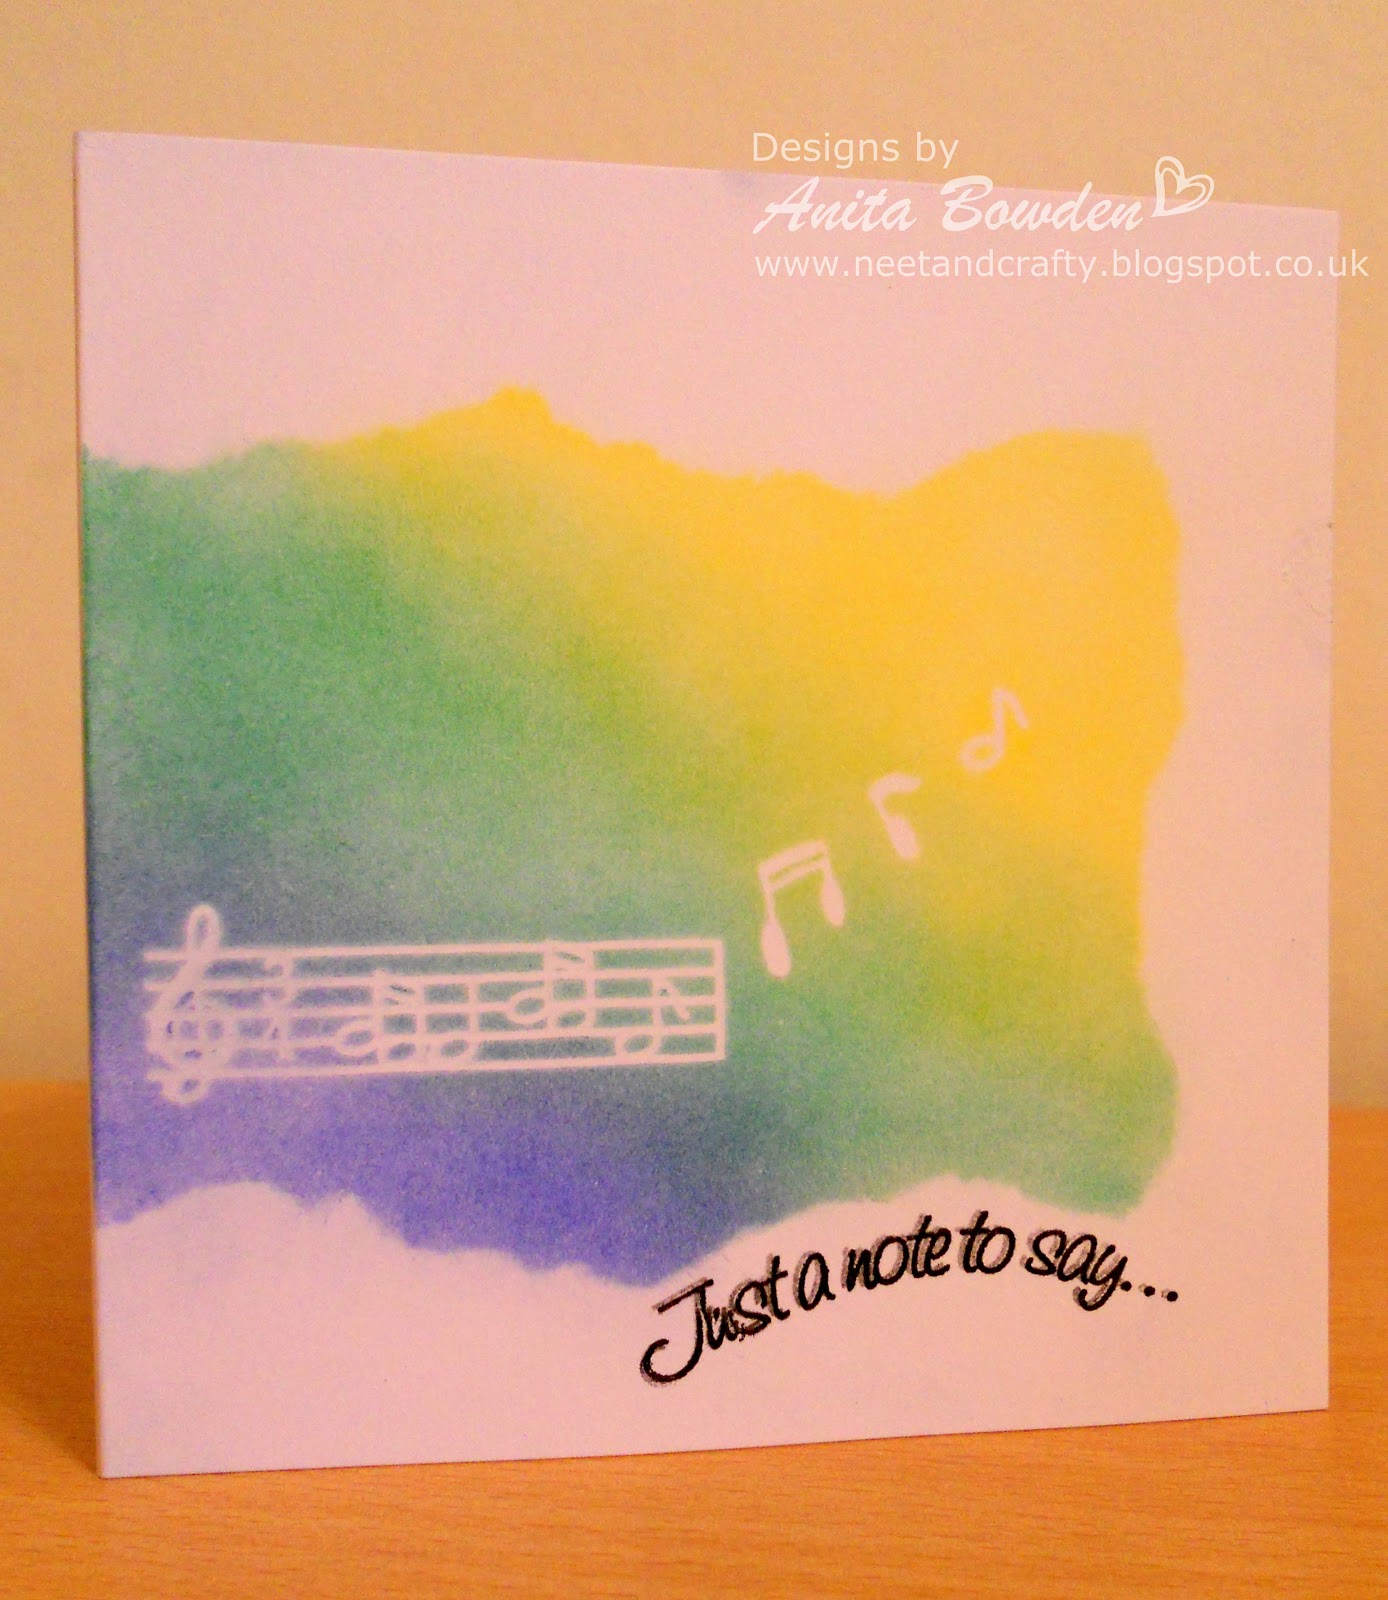
 

I ripped some paper and masked off an area of the card, then stuck the musical note peel-offs in this area before carefully chalking in three colours applied with cotton wool.  I then removed the paper and carefully uplifted the peel-offs with a pokey tool.

And a closer view...


I then curved a clear sentiment stamp to match the contour of the chalked edge but to my horror I made a bit of a boob when stamping it.  Panic set it as I had no more peel-offs.  I tried to rescue my card by re-stamping to correct my mistake (why, I'll never know as this never works!) but I was delighted when this happened! 
 
 
As I hadn't lined up the image properly it created a faded shadow behind the original impression and I actually love it.   I think it makes a lovely soft effect alongside the chalk.
 
Now that I look at the completed card I think I should have made the chalked area smaller as I don't think I've left enough white space for this challenge.
 
Materials used:
  • Chalks: Decorating Chalks by Craf-T Products
  • Peel-offs: Musical notes - unknown brand
  • Stamp: SP & Company - Just a Note stamp set
  • Ink: Versafine - Onyx Black
 
So there you have it, learning from my mistakes all the time! :)  Thanks for visiting as always.
 
Neet x


Saturday, 19 January 2013

Oldies...When Peel-Offs Ruled!

Hi guys

Today I thought I would share with you some of my cards from back in the day, when I first started creating.  I used to work in a large office and colleagues would buy cards from me so I always kept a stock of cards with me.  I now wish I'd taken photos of them all because I can now only share the ones that nobody wanted! :)

I was a bit scared of stamping back then so used to use many peel-offs.  I still have hundreds which have now been pretty much abandoned since I've discovered how beautiful cards can be when using stamps.  That said, these cards are quite handy to look back on as I really like some of the layouts.

So here we go:
No. 1
I actually love this little card.


I used a slim pearlescent card base and glittered transparent peel-offs which I adhered to clear vellum and coloured from behind and matted on mirri card
 
 
No. 2
Same peel-offs as No. 1 matted onto a mottled base card, with yes you've guessed it, more peel-offs behind the mats to add interest.  I secretly quite like this one too!


No. 3
A bit of ripping and tearing, metallic peel-offs coloured with permanent pens and a few quilled toppers
 
 
No. 4
I trimmed the edge of this card and overlapped the topper over the outside edge.  The image is a glossy embossed rub-on
 
 
No. 5
This is a textured silver card base with a debossed panel.  I added a topper, gem, bow and of course a peel-off!
 
 
No. 6
Simple slim card with die cut shapes and peel-offs
 
 
No. 7
A peel-off matted and layered over mulberry paper
 
 
No. 8
Another glossy embossed rub-on as in No. 4, layered over adhesive ribbons
 
 
No. 9
 Embossing using brass stencils over a light box then basic matting and layering, and vellum secured with brads 
 
 
No. 10
This is a tiny little notecard and on this occasion not a peel-off in sight!  I stamped with black ink and embossed with clear embossing powder before colouring with glaze pens
 
 
No. 11
Coloured metallic peel-off and again, the edge of the card was trimmed to show the back inside edge
 
 
No. 12
An attempt at creating a masculine card.  The ribbon on the tag was tied through an eyelet
 
 
No. 13
I was shown how to fold this little shirt by a demonstrator at a local craft exhibition.  I have my 'master' copy in a safe place so I can always refer back to it.  I used brads to create the shirt buttons.  And yes, more peel-offs!


Well there you have it, I hope you didn't find these too cringeworthy! 
 
I still can't part with my many peel-off sheets, perhaps they'll make another appearance on my blog, watch this space!
 
Thanks as always for visiting.
 
Neet x 
Related Posts Plugin for WordPress, Blogger...