Showing posts with label Lil' inker Designs. Show all posts

Sunday, 10 August 2025

Uniko August 2025 Release Day

Good morning!

It's Release Day over at Uniko and I'm here to reveal the whole release and share another card.

Here's the final card I made, using the new Ink & Flip Mid Century Leaves stencil...


The stencil is intended to be inked up and then flipped over sideways.  I changed things up and flipped it vertically to create a really interesting design.  So this was super simple and quick to make, I inked up the turquoise and blush shades first, then flipped and inked up the ochre and navy.  I then finished with a greeting from the Mid Century Modern Everyday Sentiments set on a die cut oval.

Materials used:
  • Stencil: Uniko - Ink & Flip Mid Century Leaves
  • Stencils: Uniko - Mid Century Modern Everyday Sentiments
  • Ink: Altenew - Aqualicious, Pink Pearl, Yellow Ochre, Dark Night; Versafine Clair - Nocturne
  • Dies: Lil' Inker Designs - Stitched Ovals


So, now to reveal the new products in full.First up are the new stamps, starting with Background Builders Mid Century Modern...


Background Blocks Bauhaus...


Background Blocks MOD Circle Builder...


Background Blocks Swiss Dots...


and finally the new stencils, Layering Retro Stripes...


and Ink & Flip Mid Century Leaves...


I love this release, such great designs and many to create quick cards too.  The products are available from the Uniko store now, here. 


Be sure to leave some comments on the Brand Ambassador blogs or social media.  You can find all the links over at the Uniko blog, here.  By commenting along the hop you're in with a chance of winning a £25 eGift Certificate to spend in store.  

Thanks for visiting today and for your lovely comments here and on my socials.

Thursday, 17 July 2025

Uniko Christmas in July Brand Ambassador Inspiration - Scandinavian Christmas

Hi guys

I'm over on the Uniko blog today with some Christmas in July inspiration using two Scandinavian Christmas products.  I have included full details of how these were made over on the Uniko post, here.


The two products I have showcased are the Background Blocks Scandinavian Christmas clear stamp and the Scandinavian Christmas stencil.  

I have three cards for you with very different looks.  


Materials used:


And another using the stamp...


Materials used:
  • Stamps: Uniko - Background Blocks Scandinavian Christmas, Festive Sentiments
  • Ink: Altenew - Crimson, Nimbus; VersaMark; Versafine Clair - Nocturne
  • Embossing Powder: Wow! - Clear Gloss
  • Die: Create a Smile - Cool Cuts Double Stitched Rectangles


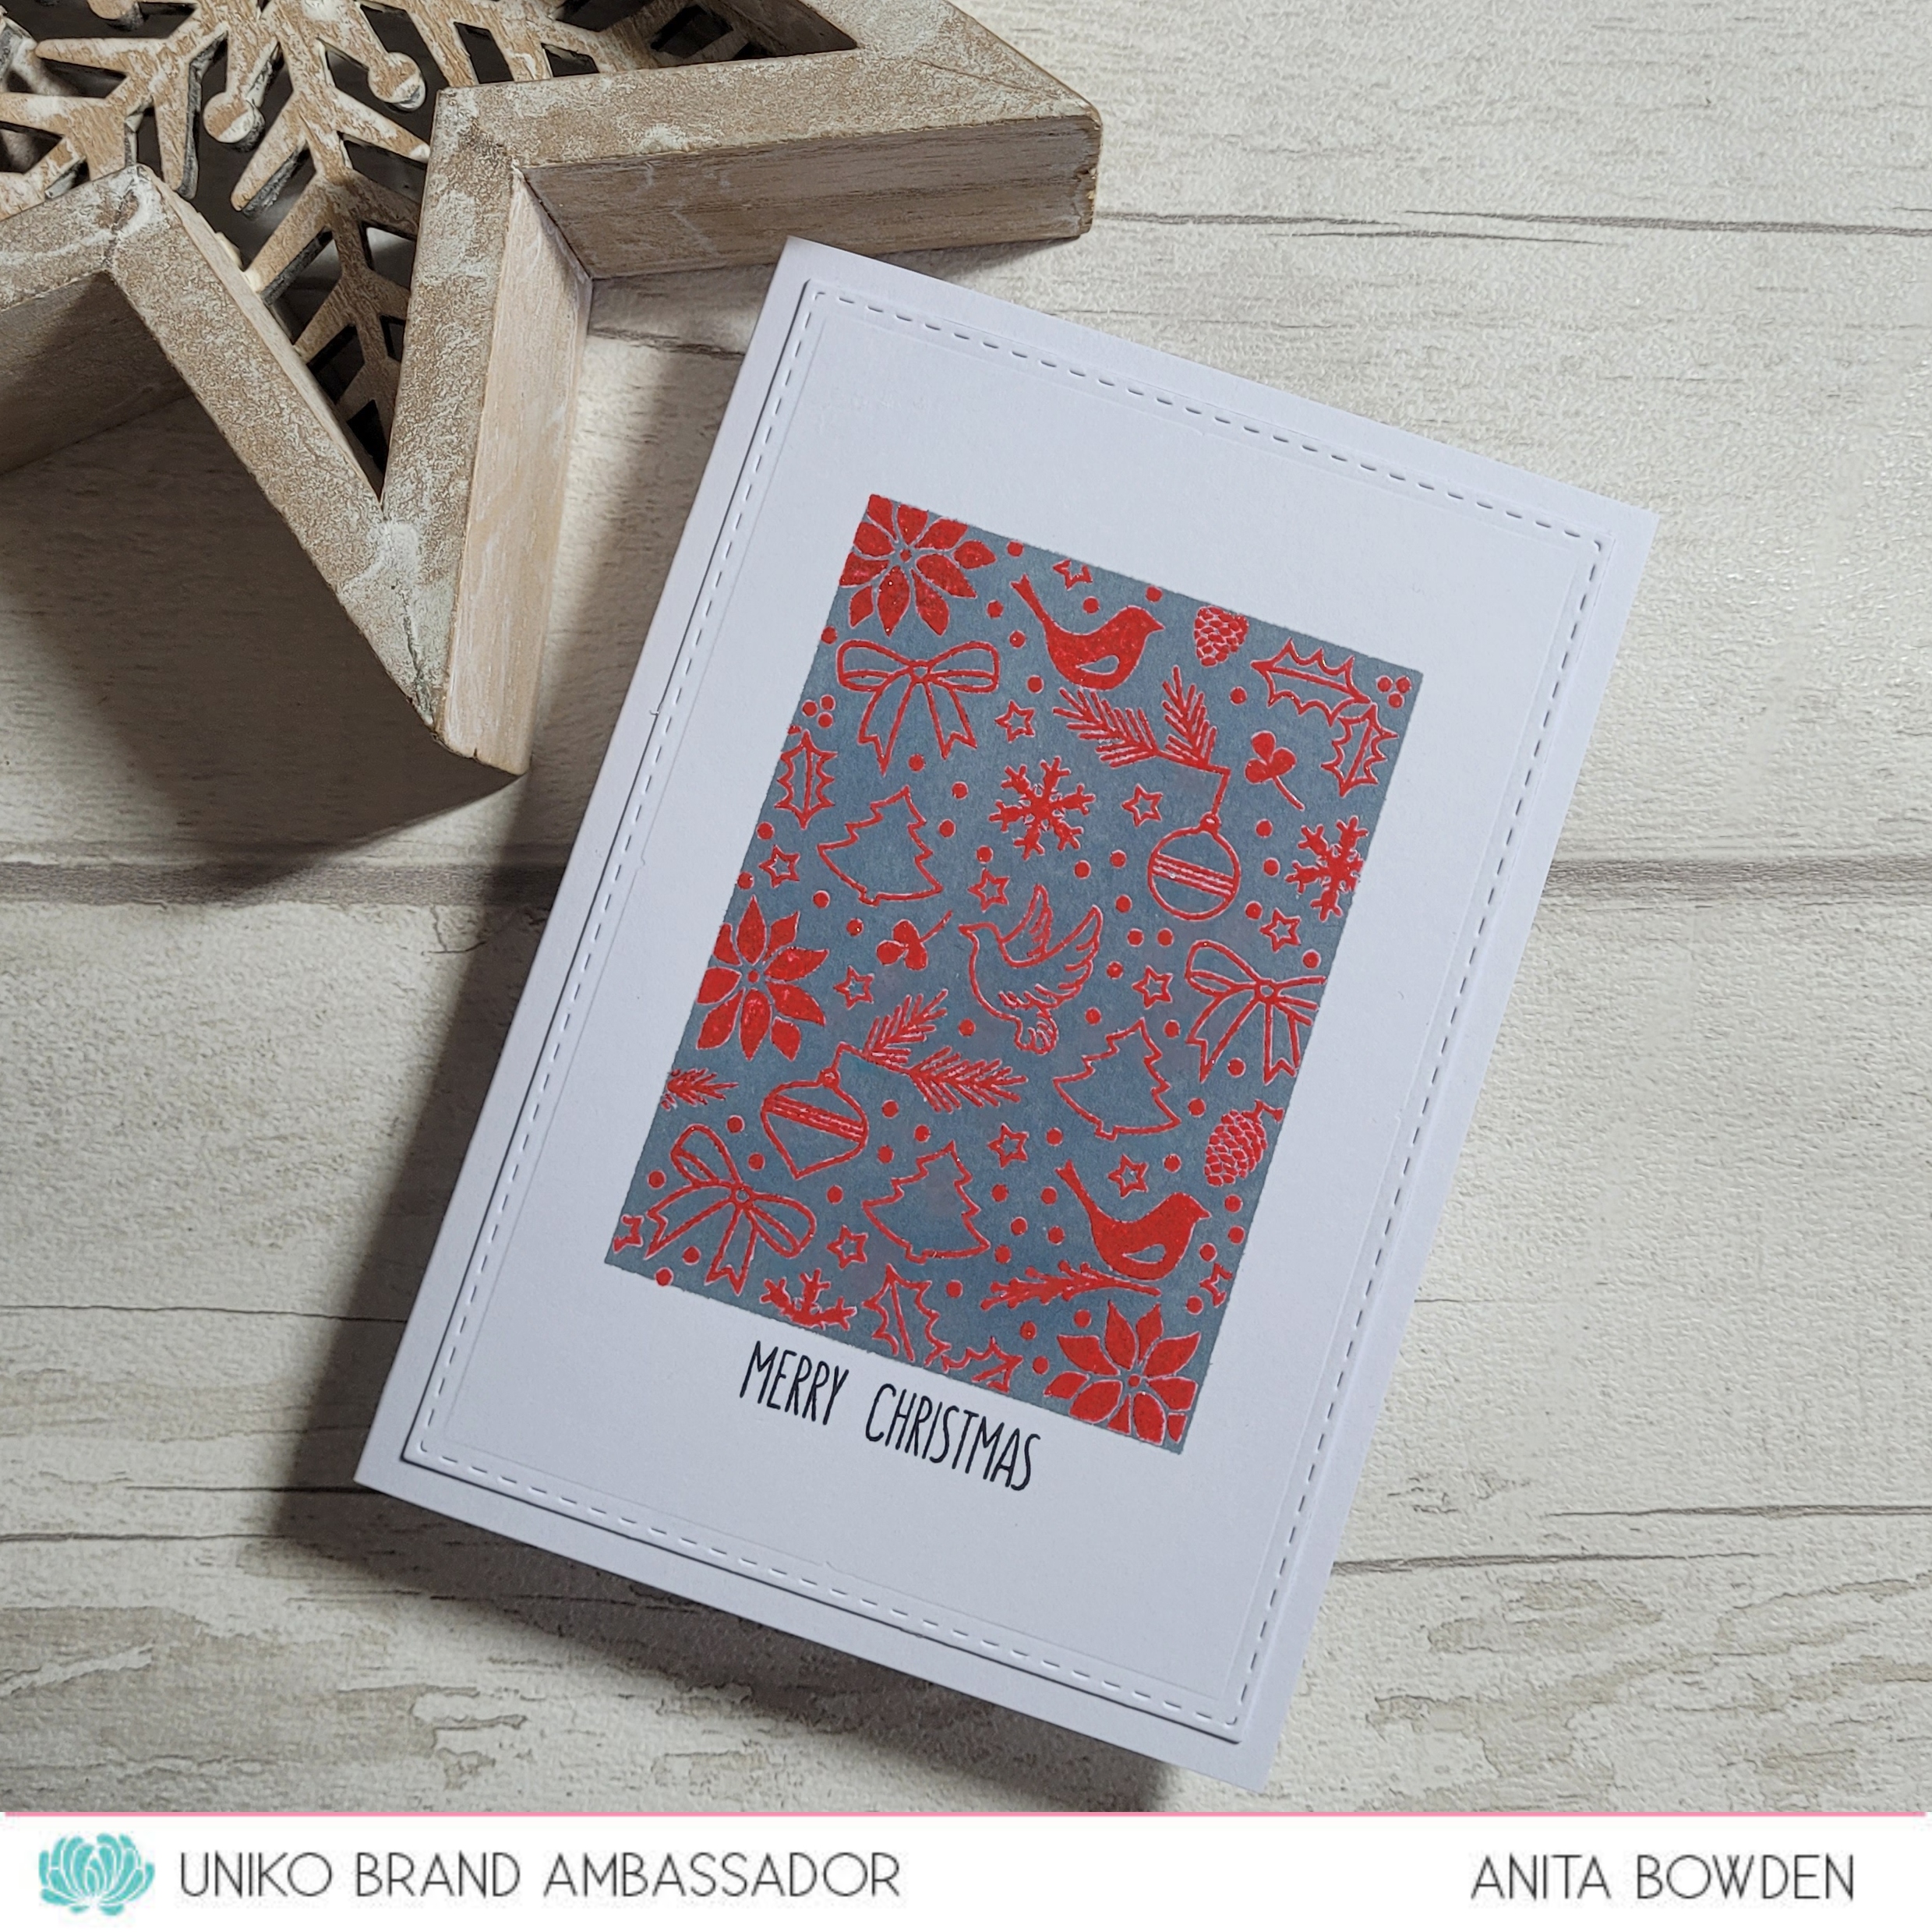
For my final card I used the Scandinavian Christmas stencil...


Materials used:
  • Stencil: Uniko - Scandinavian Christmas
  • Stamp: Uniko - Pattern Building Christmas Tree
  • Ink: Distress Oxide - Candied Apple; VersaMark
  • Embossing Powder: Wow! - Opaque Bright White
  • Die: Create a Smile - Cool Cuts Double Stitched Rectangles; Lil Inker - Stitched Ovals
  • Accents: Signo Uniball pen - white


I hope you're enjoying Christmas in July this month, there's still lots more to come from Bev and the team.

Thanks for visiting today - happy crafting!

Take care


Saturday, 20 April 2024

Uniko: You're Going to Flip - Brand Ambassador Release Day Blog Hop and Giveaway!

Happy Saturday

I hope you've enjoyed the Uniko You're Going to Flip week.

We've finally reached release day so the new Ink & Flip Geometric Butterfly Layering stencil is now available to purchase from the Uniko shop, here.

This is the new stencil duo...


and on my next sample card I used both stencils together, and used a sentiment from the Just Because stamp set.


I created the background by inking and flipping one stencil, using shades of blue and aqua.  Then used the second stencil to create the central butterfly in citrus shades.  I die cut an oval with a stitched die and stamped the sentiment using stamps from the Just Because set, and mounted this on thin 3D foam so as not to add too much bulk to this otherwise one layer card.

Materials used:
  • Stencils: Uniko - Ink & Flip Geometric Butterfly Layering stencil
  • Stamps: Uniko - Just Because
  • Ink: Altenew - Arctic, Dew Drops, Sunkissed, Bamboo; Versafine Clair - Nocturne
  • Die: Lil' Inker Designs - Stitched Ovals


You can start the blog hop, here, by visiting and commenting on all the Brand Ambassador posts and you'll then be in with a chance of winning a prize.  Be sure to comment by midnight BST on Sunday 28 April 2024.

Thanks for visiting and I hope you have a lovely weekend.


Wednesday, 1 March 2023

Uniko February/March 2023 Release - Introducing...Hoppy Easter and Everyday Spring Sentiments

Good morning

More today using stamps from the upcoming release from Uniko.

Today, the team are showcasing two new sets...Hoppy Easter and Everyday Spring Sentiments.  Hoppy Easter is a cute set with, you've guessed it, the Easter bunny, with an outline and solid image.  And the sentiment set has lots of great Spring themed words using the font which features in many of Bev's already popular sets.


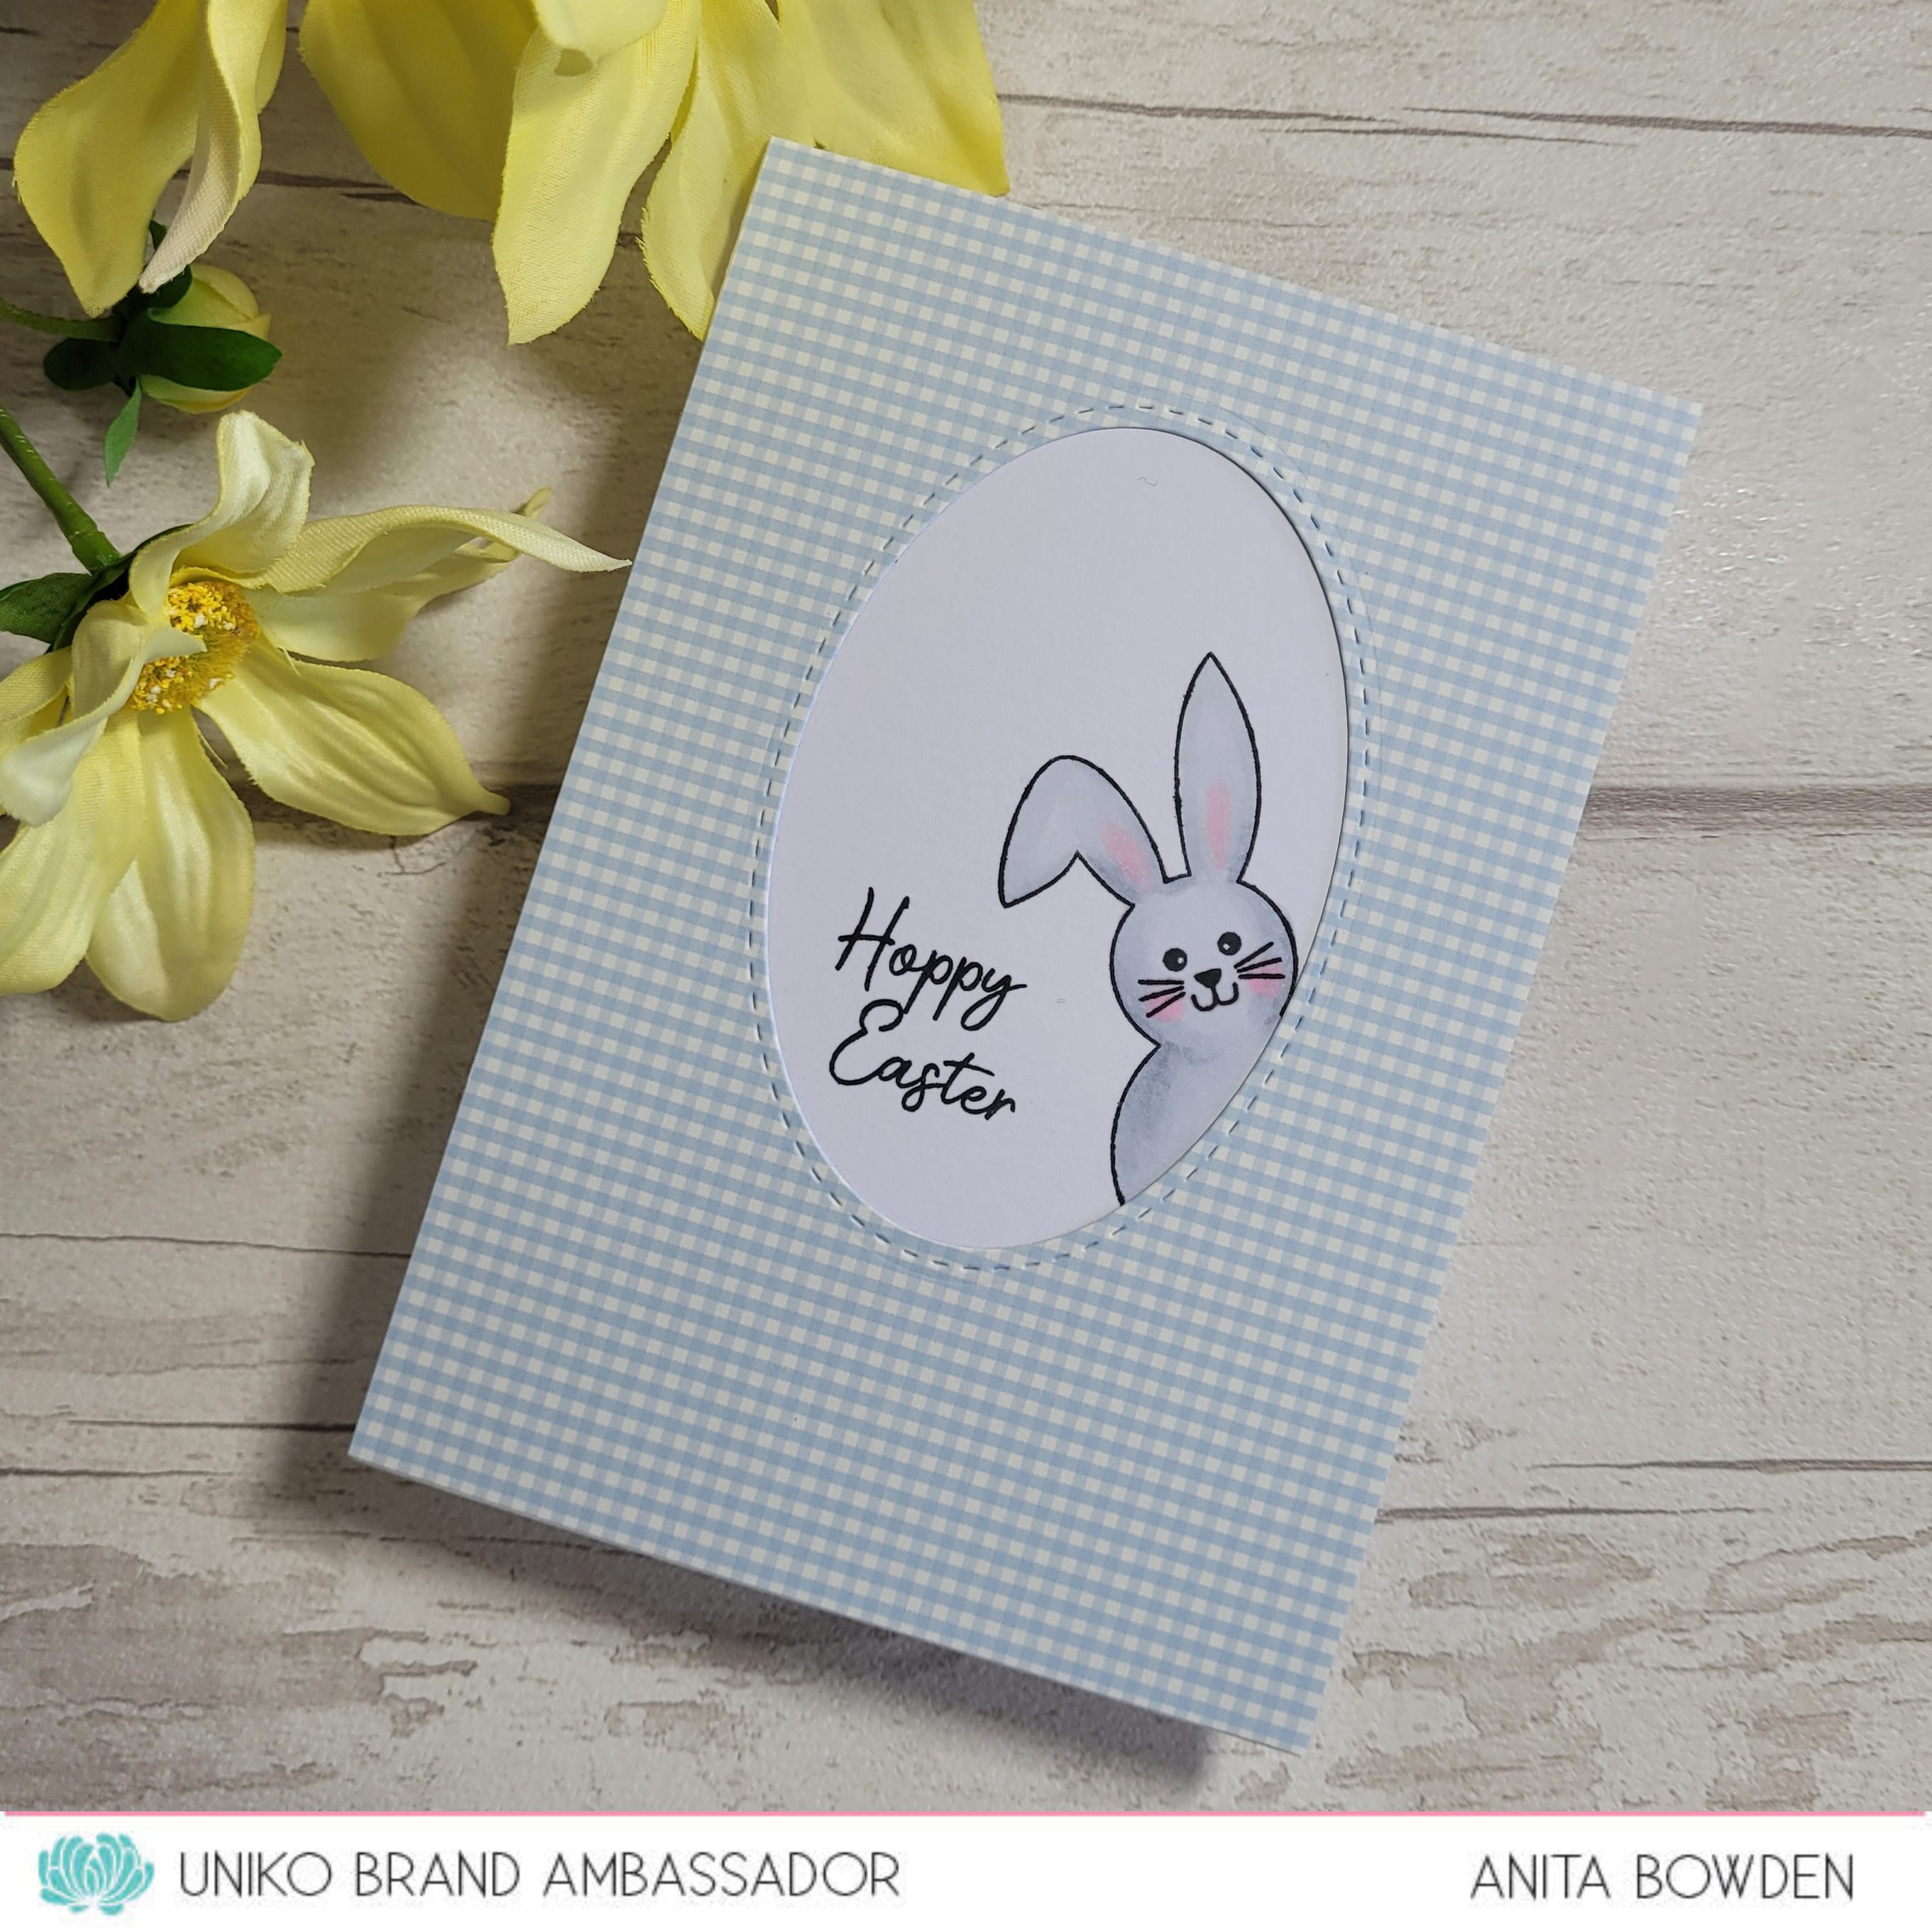
Here's my first card using the Hoppy Easter set...


I stamped the outline image of the bunny, along with the facial features, directly onto the card base and coloured him in using Copics.  I then die cut an oval aperture from some gingham patterned paper and adhered it over the card base so his face was peeping through.  The sentiment stamped in black finished the card.

Materials used:

  • Stamps: Uniko - Hoppy Easter
  • Ink: Memento - Tuxedo Black
  • Coloured with Copics
  • Die: Lil' Inker Designs - Stitched Ovals
  • Patterned Paper: Docrafts - Boofle


And for my second card I used the solid bunny image, along with some of the words from the Everyday Spring Sentiments set...


I stamped the solid bunny in a sandy brown shade and die cut him out with an oval stitched die.  I then sprinkled on some chunky embossing enamel to create the tail, heating from below so as not to blow the powder out of position.  Flock or a cotton ball would have been better for the dimension I was after but this bunny will have to make do with a shiny tail! :D 


To create the sentiment strips I used masking tape and ink blended the pink and yellow strips, before then stamping a selection of the sentiments in black.

Materials used:
  • Stamp: Uniko - Hoppy Easter, Everyday Spring Sentiments
  • Ink: Altenew - Sand Dunes, Buttermilk, Frosty Pink; Versafine Clair - Nocturne
  • Embossing Enamel: Stampendous - Chunky White Deep Impressions
  • Die: Lil' Inker Designs - Stitched Ovals

Don't forget to pop over to the main Uniko blog, here, to see more card examples from the team.

The new products will be available to purchase from the Uniko website from 4 March at 9.00am GMT.

I'll be back with more introductions tomorrow.  Enjoy your day! 


Saturday, 7 August 2021

Less is More Challenge #449

Good morning

This time over at Less is More it's the turn of a Colour challenge.  I'll get straight to the cue card...


We have a fabulous Guest Designer joining us for this one.  It's Sid who was our winner for the month of May.  Please do pop over to take a look at his project for this challenge and to say hi.

For my sample card I used some products which are brand new to my stash and only arrived in the mail earlier this week.  Yes, that's how last minute my Design Team makes are these days!  

I discovered Simply Graphic, a fabulous French company, thanks to my former LIM teamie, Chrissie, sharing some of her beautiful makes using their dies.  I just couldn't resist placing an order.

Here's what I made...


All the dies you see here are from Simply Graphic, apart from the sentiment oval.  I began with a piece of watercolour paper and used a mix of Brushos and water to create a background of differet blue shades, and it was this that the two main flowers were cut from.  I die cut the tall leafy stem from white cardstock and the shorter foliage from pale blue vellum.  I gave my card base a light splattering using Distress Ink mixed with water and then arranged and adhered the cluster of die cuts.  I stamped the sentiment in dark blue onto an oval die cut and adhered this using glue dots.  The card was then finished with a few pool toned jewels.


Materials used:
  • Dies: Simply Graphic - a selection of flowers and foliage; Lil' Inker Designs - Stitched Ovals
  • Stamp: Clearly Besotted - Simple Script
  • Ink: Brushos - Ultra Marine, Turquoise, Emerald Green; Distress Ink - Broken China; Altenew - Desert Night
  • Vellum from stash
  • Accents: Little Things from Lucy's Cards - Jewels: Shimmering Pool Mix

Challenge entries:

NBUS - Challenge #29 - I just had to share at Darnell's challenge, I don't think I've ever used new products so quickly before!


If you need more inspiration, don't forget that my teamies are sharing their projects over on the main LIM challenge post, and if you follow their links they may have more on their personal blogs too.

Happy Saturday, enjoy your weekend :)


Saturday, 12 June 2021

Favourite Gay

Hi there

Just popping by to share a card I made which was a request from a friend.

I can't take credit for this design as I was given a picture of the kind of card she wanted, which was an image of one she found online by You Said It Cards (pic at bottom of post).

So this is just my version of it using what I had in my stash...


I'm not able to use my printer to print on thicker card used for card bases so luckily I had all the wording required within three different stamp sets, and I think the mixed fonts work well here.  The 'happy' and 'birthday' were from one set, the 'to my' from another set and the 'favourite' from a third set.  For the coloured lettering I adhered thin strips of cardstock to create a rainbow, trimmed to specific widths to fit within the letter dies, onto some paper and die cut the letters.  I then die cut the letters once more from white cardstock and adhered them together to give a little more structure and dimension.  So, all in all, an easy card, the part that took the longest was making sure the stamps were all central.


Materials used:
  • Stamps: Uniko - All Occasion Sentiments #2, You Are...Sentiments Outlined; Clearly Besotted - Modern Calligraphy Additions
  • Dies: Lil' Inker Designs - Mixed and Stitched Alphabet
  • Ink: Versafine - Onyx Black
  • Cardstock from stash

And here is the picture of the design I was asked to recreate....


...a pretty good result!

Thanks for taking a look.  I've more to share in the next few days so please do check back :)


Tuesday, 2 February 2021

Happy Little Stampers February 2021 CAS Challenge

Hi there

It's a fresh new month and therefore we have a a bunch of fresh new challenges over at Happy Little Stampers.  Here is the cue card for the CAS challenge which is kicking off right now...


I decided to go super CAS for this card, just a simple 'love you'...


I began by die cutting the 'love' from a piece of cardstock which I had already ink blended with a gradient of pink and red Distress Ink.  I then die cut a heart from some black textured card stock and stamped and heat embossed the 'you' in white.  I adhered the die cut to the heart and placed it on my card base.  Now, I love simple cards more than any other kind but this one did look like it needed a little something else.  So I just added some ink splatters mainly towards the bottom right corner using a mix of Distress Ink and water flicked off a small brush.  To finish I popped the heart up on 3D foam.


Materials used:
  • Dies: Lil' Inker Designs - Doodled Love Word Die; Xcut - Nesting Hearts
  • Stamp: Uniko - You Are...Sentiments Outlined
  • Ink: Distress Ink - Picked Raspberry, Candied Apple;VersaMark
  • Embossing Powder: Brutus Monroe - Alabaster White


Challenge entries:

Moving Along with the Times - Challenge #127 - Valentines/Love
NBUS - Challenge #23 - first use of the 'love' die purchased in Lil' Inker Designs closing down sale last year


As with all the HLS challenges, the linky will remain open until the end of the month.  I hope you can join us.


Sunday, 14 June 2020

Perfectly CAS - June 2020 Challenge

Hi there

It's time for the June challenge at Perfectly CAS, I'll get straight to it with the cue word for this month...


There are lots of directions you can go in for the word 'sparkle'.  I chose diamonds as my theme which led me to making an engagement card.  I also added some sparkly elements to my design...


Although a really simple card, this one did take a little time to ensure the placement was right.  The letters were die cut from rose gold low shed glitter cardstock and I began by drawing a pencil line towards the bottom of my card base before adding the letters.  I adhered the letters slightly above the guideline to allow room to erase it afterwards.  I adhered all the letters apart from the 'C', stamped and heat embossed the ring in silver, then adhered the 'C'.  To finish I coloured in the ring with a silver pen, coloured the diamond using a very pale blue/grey ProMarker and added some final bling with a sparkle pen.


Materials used:
  • Dies: Lil' Inker Designs - Mixed and Stitched Alphabet
  • Stamps: Lawn Fawn - Happy Wedding
  • Ink: VersaMark
  • Embossing Powder: Wow! - Metallic Silver
  • Accents: Signo Uniball pigment pen - Silver; ProMarker - Dove Grey; Spectrum Noir sparkle pen - Clear

Thanks so much for visiting.  If you pop over to the main challenge blog you will find lots of inspiration from my fellow teamies, and also there is a note from Kylie.  After this June challenge there will be a six month break.  Kylie runs many challenges as has been doing so for eight years so understandably, she is taking a well deserved break!  We will be back so please do keep a look out for more information at the end of the year.

Tuesday, 2 April 2019

Guest Designer for Honey Doo Crafts - Selection Three

Hi guys

Tonight I'm sharing the last few of my makes for my Guest Designer spot with Honey Doo Crafts. 

The new sets will be showcased on TV shopping channel, Hochanda tomorrow, 3 April 2019 at 12pm and 4pm BST so please do tune in if you can (Sky 673 / Freeview 85).


So, my cards today have used three more of the new sets I've yet to share.

First up is a shaker card I made using a lovely set called Peony Crest...


To begin I blended a little pale pink ink on the card base and stamped the sentiment.  I then created the offset oval shaker window using a oval stitched die, backed with acetate, and edged the panel with a stitched rectangle die.  The panel was popped up on 3D foam strips, trapping the confetti shaker bits inside.  I then stamped, coloured and fussy cut the main peony crest image and adhered to the panel.


Materials used:

  • Stamps: Honey Doo Crafts - Peony Crest
  • Ink: Distress Ink - Spun Sugar; Memento - Tuxedo Black
  • Dies: Create a Smile - Cool Cuts Double Stitched Rectangles; Lil Inkers - Stitched Ovals
  • Coloured with ProMarkers
  • Shaker Contents: Nuvo Pure Sheen Confetti - Diamond Harlequin; Little Things from Lucy's Cards - Itty Bitty Stars (Neon Bright)


For this next card I used the small images from a new set called Garden Peony to create a background pattern...


I stamped and coloured the panel the same size as the card base.  I then used a border die to cut away an inner section (I can use the cut away part on another card).  The remaining two parts of the panel were popped up on fun foam and the sentiment stamped between, directly onto the card base.  Simples!

Materials used:

  • Stamps: Honey Doo Crafts - Garden Peony, Peony Crest (sentiment)
  • Ink: Memento - Tuxedo Black
  • Coloured with ProMarkers
  • Die: Avery Elle - Dotted Border Dies


And a nice sunny card to complete my selection, using a set called Hello Sunshine...


I masked the card base and blended ink through a sun ray stencil for the central background.  I then created a frame using two rectangle dies and stamped the sentiment along the top before popping up on foam strips.  I then stamped the sunflowers onto watercolour paper and watercoloured with my Zig markers.  The image was then fussy cut out, adhered over the base, using foam pads to pop up the parts within the frame, and then the edges were trimmed to align with the card base.

Materials used:

  • Stamps: Honey Doo Crafts - Hello Sunshine
  • Ink: Distress Ink - Squeezed Lemonade, Spiced Marmalade; Versafine - Onyx Black; Zig Clean Color Real Brush Markers
  • Stencil: MFT - Sun Ray
  • Dies: Create a Smile - Cool Cuts Double Stitched Rectangles

Challenge entry:

Allsorts - Challenge #513 - Use Yellow


Thanks so much for all your lovely visits and comments, I appreciate each and every one of you.  And I hope you love these new stamps and enjoy the show tomorrow if you are able to watch it, unfortunately I'll be at work during both shows so I'll be catching up afterwards.

Saturday, 30 March 2019

Guest Designer for Honey Doo Crafts - Selection One

Hi there

I'm excited to share the news that I'm once again joining Honey Doo Crafts as a Guest Designer for their latest release.

There are ten new stamp sets, all lovely floral designs that Amanda and the team do so well, and all so perfect for Spring.

The new sets will be showcased on TV shopping channel, Hochanda on 3 April 2019 at 12pm and 4pm BST so please do tune in if you can (Sky 673 / Freeview 85).

Honey Doo are also doing a Facebook Live on 1 April 2019 at 7pm BST which you can find here where they will be showing the new stamp sets in full detail.


Ok, onto my first few samples.

This first card uses a lovely new set and I think it's my favourite from this release, called Repot Rose!...


Here, I masked off my card base and used the emboss resist technique where I stamped and heat embossed the image in white and blended with Distress Oxides.  I then die cut the top panel and created a circular aperture, stamped the sentiment from the same set and popped the panel up on 3D foam.

Materials used:

  • Stamps: Honey Doo Crafts - Repot Rose!
  • Ink: VersaMark; Distress Oxide - Picked Raspberry, Shaded Lilac; Versafine - Onyx Black
  • Embossing Powder: Altenew - Pure White
  • Dies: Create a Smile - Cool Cuts Double Stitched Rectangles; Hero Arts - Infinity Circle Dies

Challenge entries:

Addicted to Stamps and More - Challenge #334 - CAS
AAA Cards - CAS Game #136 - One Image + Spring


Next up is the Repot Rose! set again, but it looks completely different in a sepia design...


I used a cream base and panel here, stamped the image in Distress Ink and watercoloured, drawing in the stamped ink and adding more watercolour details with the same ink.  I stamped the sentiment from the same set in a co-ordinating ink and then added gold watercolour to the flower centres and some gold splatters.  Then panel was popped up on fun foam.  The gold detail can be seen more clearly here...


Materials used:

  • Stamps: Honey Doo Crafts - Repot Rose!
  • Ink: Distress Ink - Gathered Twigs; Altenew - Espresso
  • Paint: Gansai Tambi Watercolours


The following card uses a new set called Summer Blossom, and the sentiment from the Repot Rose! set...


On a panel of lavender cardstock I initially stamped the image in a pale grey ink, before adding some highlights with coloured pencils.  It's easier to add the detail before embossing the image and if using a stamp positioner such as a MISTI this allows you to restamp in exactly the same spot.  I then restamped and heat embossed in white.  The sentiment was stamped in a co-ordinating ink, the panel adhered flat to the card base and some jewels added to finish.

Materials used:

  • Stamps: Honey Doo Crafts - Summer Blossom, Repot Rose!
  • Ink: VersaMark; Altenew - Hydrangea
  • Embossing Powder: Altenew - Pure White
  • Coloured with Faber Castell Polychromos
  • Die: Create a Smile - Cool Cuts Double Stitched Rectangles
  • Accents: Little Things from Lucy's Cards - Grape Mix Jewels


My final card in this first selection uses a gorgeous new set called What's Up Buttercup?...


I used the same process as the last card for this image, stamping in a yellow ink first, colouring with ProMarkers and adding detail with coloured pencils.  I then restamped and heat embossed in white.  Some polka dot paper was added to the card base, and the panel die cut with a curved edge and adhered flat.  The sentiment from the same set was stamped in green onto a die cut oval and popped up on 3D foam.

Materials used:

  • Stamps: Honey Doo Crafts - What's Up Buttercup?
  • Ink: VersaMark; Altenew - Hunters Green
  • Embossing Powder: Altenew - Pure White
  • Coloured with ProMarkers and Faber Castell Polychromos
  • Dies: MFT Die-namics - Stitched Basic Edges; Lil Inkers - Classic Ovals
  • Patterned Paper: Lawn Fawn - Let's Polka

Challenge entry:

Allsorts - Challenge #513 - Use Yellow


Here's a snapshot of all the new sets...


Thanks so much for stopping by, I'll be sharing my samples using the rest of these new sets ahead of the TV shows on Hochanda on 3 April, so would love for you to pop back and take a look.

Enjoy your weekend :)

Related Posts Plugin for WordPress, Blogger...