Showing posts with label Congratulations Cards. Show all posts

Thursday, 11 January 2024

Uniko January 2024 Non-Release Brand Ambassador Blog Hop & GIVEAWAY!

Hi there

Bev at Uniko is kicking off 2024 by bringing back the Non-Release Brand Ambassador Blog Hops and Giveaways, where the team revisit the oldie but goodie products and give them some well-deserved love.  Today we are revisiting the Beautiful Blooms I stamp set and Designer Dies Beautiful Blooms I.

I have four cards for you today, all a little different to hopefully give you some crafty inspiration.  Unfortunately, I don't have the die set in my stash so where the flowers have dimension I have fussy cut them.

First up, I've used vellum for the bloom and paired the stamp set with the Birthday Wishes stamp set...


I die cut a piece of pale green textured cardstock with a scalloped die to use as my card front panel.  I stamped and heat embossed the smaller of the flowers in the set in white on vellum and then fussy cut it out.  I then placed this in position in order to work out where I wanted the leaves to be stamped.  These were then stamped in a soft green and the flower was adhered on 3D foam.  I finished by stamping the sentiment from the Birthday Wishes set in grey ink.


Materials used:

  • Stamps: Uniko - Beautiful Blooms I, Birthday Wishes
  • Ink: VersaMark; Altenew - Mountain Mist, Grey Denim
  • Embossing Powder: Brutus Monroe - Alabaster
  • Die: Create a Smile - Cool Cuts Scalloped Rectangles
  • Cardstock and vellum from stash


My second project involved a little masking of the images and I combined it with the Quilted stencil and the Simply Said stamp set...


I think this is my favourite of the four cards today, and other than the sentiment strip, it's a one layer design.  I began by stamping the first flower in two shades of yellow/orange ink.  I then masked it to stamp the second flower and lower leaves, which were also stamped in two shades of ink.  I finally masked the second flower, stamped the upper leaf and then masked all the leaves.  I then inked through the Quilted stencil in grey ink, masking off a few sections to create the stepped design.  To finish I stamped and heat embossed the sentiment in white on grey cardstock.

Materials used:
  • Stamps: Uniko - Beautiful Blooms I, Simply Said
  • Stencil: Uniko - Quilted
  • Ink: Altenew - Warm Sunshine, Orange Cream, Frayed Leaf, Forest Glades, Silver Lake


Card three uses coloured cardstock for a tone on tone effect...


I stamped the flowers in blue ink on paler blue cardstock and the leaves in green on paler green cardstock.  These were then fussy cut.  I added some score lines to create some interest on the card base without adding any layers and then positioned and adhered the flowers and leaves, which are all adhered flat apart from the large flower which is adhered on 3D foam.  I finished with a stamped sentiment from the Simply Said set.

Materials used:
  • Stamps: Uniko - Beautiful Blooms I, Simply Said
  • Ink: Altenew - Caribbean Sky, Moss; Versfine Clair - Nocturne
  • Accents: Little Things From Lucy's Cards - Sprinkles: Little Dots


And for my final card I combined Beautiful Blooms I with Background Blocks Pinstripe and a sentiment from Pure Florals: Chrysanthemum...


I began by stamping the large flower from the set in shades of pink, adding the darker inks to the stamp with a blender brush.  I then masked the flower and stamped the Background Block Pinstripe image in a darkish grey.  I cut the mask right to the flower edge and some of the ink migrated under the mask but hey, this is handmade not Hallmark, right?!  I finished with a sentiment stamped in one of the same pink shades, adhered on a sentiment strip.

Materials used:
  • Stamps: Uniko - Beautiful Blooms I, Background Blocks Pinstripe, Pure Florals Chrysanthemum (sentiment)
  • Ink: Altenew - Pinkalicious, Purple Wine, Cosmic Berry, Industrial Diamond


And this is what you get in the stamp and die sets, which can also be purchased as a bundle...
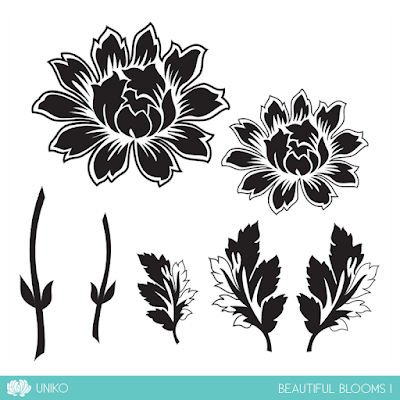


Don't forget to take a look at the main Uniko post, here, where the rest of the team are sharing their projects and if you follow the hop and comment along the way you could be the lucky winner of a £15 eGift Code!

Thanks for visiting today.

 

Wednesday, 6 December 2023

Uniko December 2023 Release - Introducing...Background Blocks Perspective

Good morning

Its day two of the new release introductions at Uniko and today it's all about another background stamp...Background Blocks Perspective.

I think this can be used for lots of occasions and may be a great solution for those oh so difficult cards for the guys.

Here's the card I made, and I paired it with sentiments from the Explosion! Additions stamp set...


On a die cut panel I stamped the perspective image and coloured it in with Copics.  I adhered this flat to the card base.  I then heat embossed the sentiments in white on black cardstock before adhering the strips on 3D foam

Materials used:

  • Stamps: Uniko - Background Blocks Perspective, Explosion Additions
  • Ink: Memento - Tuxedo Black; Versamark
  • Embossing Powder: Brutus Monroe - Alabaster
  • Die: MFT Die-namics - Wonky Stitched Rectangles


The team have some great projects for you today over at the main Uniko blog, here.  Pleaese do take a look.

The new products will be available to purchase from the Uniko website from Friday 8 December and there will also be a blog hop and giveaway so be sure to check back and comment along the way.

I'll be back with more inspiration using the last of the new products tomorrow.


Tuesday, 10 August 2021

Altenew Ultimate Challenge Blog Hop

Hi guys

Today I'm excited, on behalf of the team at Less is More, to be part of the Ultimate Challenge Blog Hop hosted by Altenew.


You can find full details and begin the start of the hop here.


Here are the projects I made for the hop, the first one using the gorgeous Flower Vine stamp set...


On some blush cardstock I stamped one of the vines in a pale ink first before colouring with Copics in blush and soft green shades, and then re-stamped using my MISTI and heat embossed it in white.  I die cut the panel with a scalloped rectangle and then stamped the sentiment in co-ordinating ink.  I love this set!  As well as the vines it has lots of tiny sentiments, great for so many occasions.


Materials used:
  • Stamps: Altenew - Flower Vine
  • Ink: Distress Ink - Antique Linen (first image before colouring); VersaMark; Altenew - Mountain Mist
  • Embossing Powder: Brutus Monroe - Alabaster White
  • Die: Create a Smile - Scalloped Rectangles
  • Coloured with Copics
  • Cardstock from stash

Challenge entries:

NBUS - Challenge #29 - these new stamp sets were kindly gifted by Altenew to take part in the hop
Stamping Sensations - August Challenge - Any Celebration


And for my second card I used the Ditsy Print stamp set...


On some pale yellow cardstock I used the various layering stamps from the set to create the image, using inks from Altenew.  I then die cut using a pierced square and cut another slightly larger to frame it, popping the smaller one up on 3D foam.  The sentiment was stamped below in black.

Materials used:
  • Stamps: Altenew - Ditsy Print, Flower Vine (sentiment)
  • Ink: Altenew - Peach Perfect, Orange Cream, Autumn Blaze, Frayed Leaf, Sweet Leaf, Forest Glades; Versafine - Onyx Black
  • Dies: MFT Die-namics - Pierced Square Stax

Challenge entries:

Just Add Ink - Challenge #566 - Just Add a Frame


Thanks for visiting.  Please do join in the blog hop, there are prizes to be won and you could have one of your creations on the Altenew Blog!


Saturday, 9 May 2020

Less is More Challenge #419

Hi guys

Another fortnight has whizzed by so it's new challenge day at Less is More.  And this time we have a Colour challenge for you...


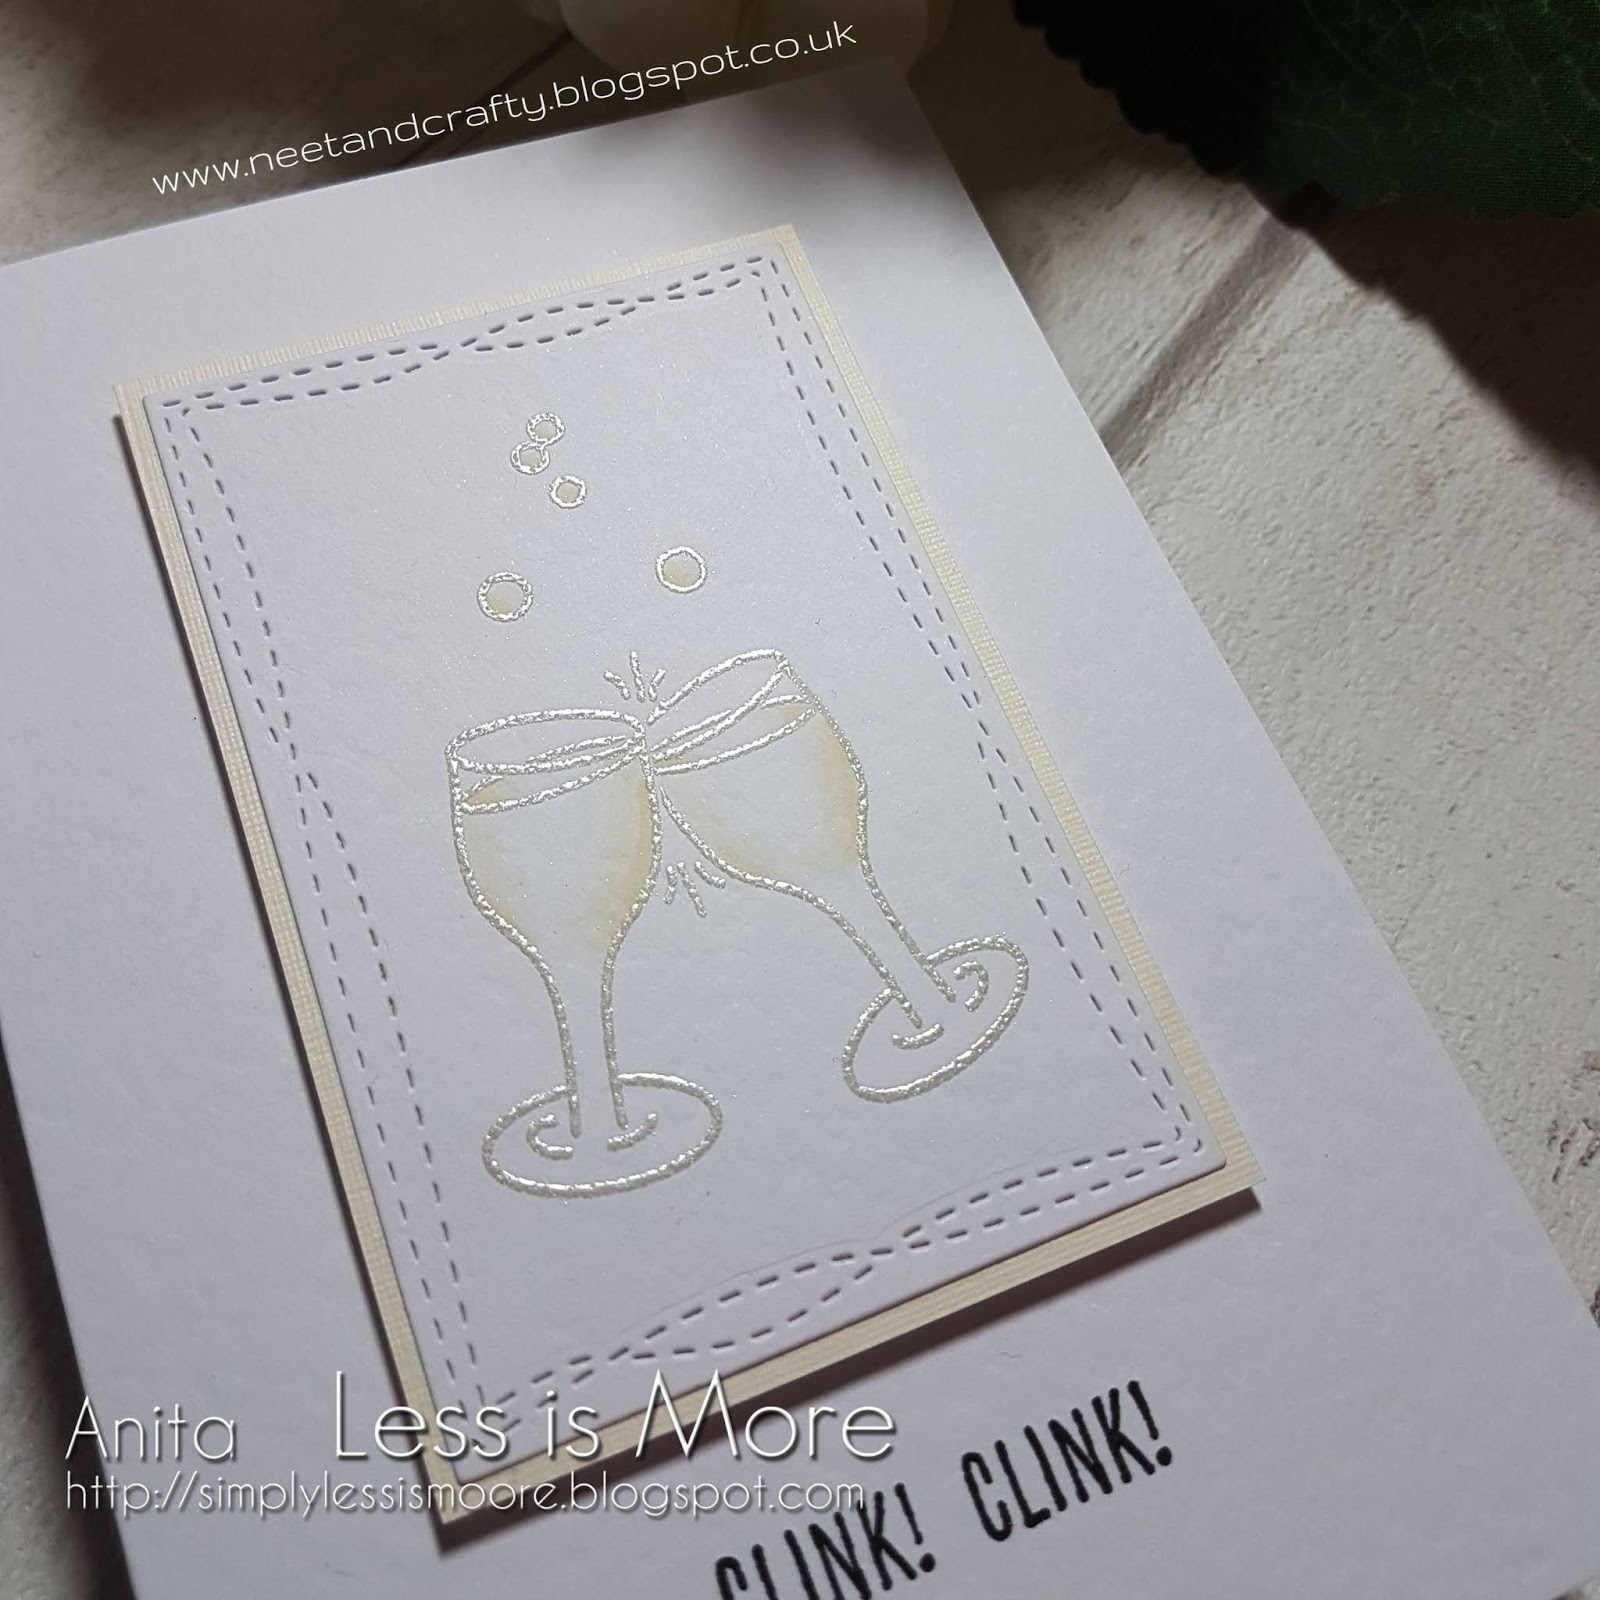
A bit of trial and error was required for this one and it took three attempts for me to make this card, but I got there in the end, I think!


The problem I had was achieving a cream hue for my focal image.  The first ink I tried was far too yellow and the second one I tried was too beige, so I had to try a few ink colours and embossing powder combos before I got this result.  I used hammered cardstock for the base and image panel although it's difficult to catch on camera.  I used a stitched rectangle die for my image panel and stamped and embossed the glasses and bubbles.  I then added some colour using ProMarkers.  This was then mounted onto a mat of cream linen cardstock and both were popped up onto the base using fun foam.  I finished with a sentiment stamped in black.


Materials used:

  • Die: MFT Die-namics - Wonky Stitched Rectangle Stax
  • Stamps: Avery Elle - Sip Sip Hooray; Reverse Confetti - Clink
  • Ink: Versa Color - Vanilla; Versafine - Onyx Black
  • Embossing Powder: Wow! - White Pearl
  • Coloured with ProMarkers
  • Cardstock from stash

Challenge entries:

Crafty Cardmakers - Challenge #256 - Celebrations


Thanks so much for visiting.  And don't forget that we had new members joining the Design Team last time so there's lots of inspiration over at the main Less is More challenge blog, here.

Saturday, 28 September 2019

Less is More Challenge #405

Good morning

I'm back to introduce the next challenge starting right now over at Less is More and this time we are back with a Recipe challenge.  Here is the cue card with the all important details...


so all cards have sparkle plus another from this list
sparkle + gloss
sparkle + matte
sparkle + pearl
sparkle + chalky


Our generous sponsor for this month is Visible Image and just by playing along puts you in the running for our monthly prize!

Visible Image


Ok, I have two sample cards for you, here's the first using the Sparkle + Gloss option...


I used a stitched die to add some background detail to the card base.  I then used a cocktail glass die and cut it out twice, once using white sparkle glitter cardstock and again using a glossy cardstock...boy, was this difficult to photograph!  The glossy cardstock is white with a pink/purple oil on water effect.  I used the glitter cardstock for the glass and inlaid the 'liquid' using the gloss card.  To finish I stamped a simple sentiment in black ink.


Materials used:

  • Dies: MFT Die-namics - Stitched Strip; Xcut - Cocktail Glass
  • Stamp: Clearly Besotted - Tiny Type
  • Ink: Versafine - Onyx Black
  • Cardstock from stash


Next up I chose the Sparkle + Pearl option...


I die cut two squares using a pierced square die from pearlescent cardstock.  On the smaller panel I stamped and heat embossed the diamond ring in using sparkly silver embossing powder. the die cuts were adhered, the upper one on 3D foam and the sentiment was stamped and heat embossed in silver.  I added more sparkle to the diamond using a sparkle pen but was unable to catch this on camera.


Materials used:

  • Dies: MFT Die-namics - Pierced Square Stax
  • Stamps: Lawn Fawn - Happy Wedding
  • Ink: VersaMark
  • Embossing Powder: Wow! - Metallic Silver, Metallic Silver Sparkle
  • Cardstock from stash


Thanks so much for joining me today.  This challenge is a great chance to have a rummage in your stash to mix and match your products, I can't wait to see what you create.


Friday, 2 August 2019

Happy Little Stampers August 2019 CAS Challenge

Hi there

Another month has whizzed by and we're back with new challenge week over at Happy Little Stampers.  Here is the cue card for the August CAS Challenge...


And don't forget to keep your entries clean an simple:


For my Design Team card I wanted to use the top third for my design so chose a balloon theme...


This was very simple to make.  On a white cardstock panel slightly smaller than the card base I used a balloon stencil and Distress Inks and blended them overlapping, perfect for balloons as they are transparent so no masking was required!  I added some light and shade to the blending too.  I die cut the panel with a stitched rectangle die and then stamped the sentiment banner in black.  To finish, the panel was simply popped up on fun foam.


Materials used:

  • Stencil: MFT - Big Balloons
  • Stamp: Altenew - Label Love
  • Ink: Distress Ink - Broken China, Crushed Olive, Dusty Concord; Versafine - Onyx Black
  • Die: Create a Smile - Cool Cuts Double Stitched Rectangles

Challenge entries:

Just Add Ink - Challenge #468 - Just add 'C' (congrats)
Addicted to Stamps and More - Challenge #352 - Make Your Mark
CAS on Friday - Challenge #162 - Use a Stencil
STAMPlorations - Summer CAS Card Challenge - Anything CAS Goes


Don't forget to pop over to the main HLS challenge blog, here, for more inspiration from my teamies, and keep an eye out for the other August challenges, all starting over the next few days and which all run until the end of the month.


Thanks so much for visiting, I'll be back in the morning with details of the new Less is More challenge.

Saturday, 28 July 2018

Shifted Stencilling

Hi guys

I saw a new challenge over at Inkspirational this morning which is to make a card in ten minutes or less!  I find one of the quickest ways to make a card is to use stencilling.  This card took me 8 minutes 56 seconds!

I've been meaning to ink up this new stencil from Skull and Cross Buns for a few weeks so today it received its first inking.  You can check out the full range of their stencils, here.

This one creates such a fabulous background design and I chose to do shifted stencilling on this card, I love the shadow effect...


On a panel of kraft cardstock slightly smaller than the card base I first inked through the stencil with white pigment ink.  After cleaning the white ink off the stencil I then shifted it up and over slightly and blended with three colours of Distress Oxide ink.  I gave it a blast with my heat gun to dry the ink and added a little anti-static powder to the centre so I could stamp and heat emboss the sentiment in white.  I then popped the panel up on fun foam.  I love the way these Distress Oxides blend on kraft cardstock, they're still very new to me so I'm still experimenting :)

Materials used:

  • Kraft cardstock:  Neenah - Dessert Storm
  • Stencil: Skull and Cross Buns - Decreasing Circles Stencil
  • Ink: Hero Arts - Unicorn; Distress Oxide - Picked Raspberry, Wilted Violet, Mermaid Lagoon; VersaMark
  • Stamp: Skull and Cross Buns - Congrats Script Font
  • Embossing Powder: Altenew - Pure White


I'm also linking up at the following challenge:

Addicted to Stamps and More - Challenge #302 - Make Your Mark


Thanks so much for popping by. 

Sunday, 20 November 2016

Happy Little Stampers New Release Blog Hop!

Hi there

Today I'd like to welcome you to the Happy Little Stampers blog hop to celebrate the release of six new fabulous stamp sets.


My fellow Design Teamies will be sharing their projects using these new stamp sets and to be in with a chance of winning a fabulous prize of a $50 gift certificate to the HLS Shop all you have to do is join in the hop and comment along the way.  A winner will be chosen at random from all the comments left.  The hop will run for one week, finishing at 12pm AEST on 28 November.

A full list of the designers taking part is shown below, so if you've joined mid-hop you can pop to the beginning following the link.


My first card uses a lovely new Christmas set called Christmas Joy, a great mix of festive sentiments and images...


I started by die cutting a stitched oval from some Strathmore Bristol cardstock and stamped the sentiment in black ink.  I then stamped and heat embossed the poinsettias and holly in white surrounding the sentiment.  I then coloured the images with Zig markers and blended with water.  I added a little shading around the images in a blue/grey colour just to add some interest.  I then popped the oval up on some 3D foam onto a card base which had been scored horizonally across the centre.

Materials used:

  • Stamps: Happy Little Stampers - Christmas Joy
  • Ink: Versafine - Onyx Black; VersaMark
  • Embossing Powder: Wow! - Opaque Bright White
  • Coloured with Zig Clean Color Real Brush Markers
  • Die: Lil' Inkers - Stitched Oval 

I'd like to link this card up at the following challenges:

Cute Card Thursday - Challenge #452 - Christmas/Holidays
Addicted to Stamps and More - Challenge #220 - Photo Inspiration
Crafty Cardmakers - Challenge #177 - Embossing Heat or Dry
Stamping Sensations - November Challenge - Christmas Greetings
Penny Black and More - November Challenge - Anything Christmas
Happy Little Stampers - November Christmas Challenge - Watercolour


I went a bit crazy with my second card, well, crazy for me as I usually create with clean lines but I wanted to give these balloons the Brusho treatment...and Brushos like to do their own thing!  This card uses the new Simply Said set which is full of great sentiments, a balloon and a heart...


On some Derwent watercolour cardstock I stamped the balloons and heat embossed in white.  I then brushed some water over and around each balloon before sprinkling some Brusho crystals over each one.  A little more water was required to activate the crystals so I spritzed a little and that's when it got a little out of control.  But I think the design suits the fabulous bold sentiment which was heat embossed in white onto some black cardstock.  The panel was adhered over some red cardstock and adhered flat to the cardbase before the strip was popped up on 3D foam.

Materials used:

  • Stamps: Happy Little Stampers - Simply Said
  • Ink: VersaMark; Brusho - Brilliant Red, Purple, Turquoise
  • Embossing Powder: Wow! - Opaque Bright White
  • Cardstock from stash

I'd like to link this one up at the following challenge:

AAA Cards - Game #78 - Circles (may not be CAS enough, please disregard if it's not)


And finally, a one layer card uses a great new set called Wish You Were Here which has sentiments in a great font, together with some world famous images, and the female silhouette which I've used here...


I masked off a vertical panel and blended three colours of Distress Ink.  I then used the Ghosting Technique of spritzing water through a stencil and blotting away some of the colour.  I stamped the silhouette and sentiment in black ink before adding some gentle splatters using the same colours of Distress Ink mixed with a little water.

Materials used:

  • Stamps: Happy Little Stampers - Wish You Were Here
  • Ink: Distress Ink - Cracked Pistachio, Mermaid Lagoon and Blueprint Sketch; Versafine - Onyx Black
  • Stencil: Tim Holtz - Dot Fade

I'd like to link this card up at the following challenges:

Addicted to CAS - Challenge #101 - Ombre
My Time to Craft - Challenge #334 - No layers
Sweet Stampin' Challenge - Happy Birthday


Here is the order of the hop, and be sure to comment along the way to be in with a chance of winning that fabulous prize!

Thanks so much for popping by, and good luck!


Saturday, 15 August 2015

Less is More - Week 237

Hi guys

Firstly, apologies that it's been a whole week since my last post.  It's been a hectic week at work, with me returning after a week off and my boss preparing for his two weeks away so I've just been crashing out in the evenings.  I also have my mum staying with me for a week so we've been catching up in the evenings.

Saying that, I did of course manage to make a couple of cards for the new challenge just going live at Less is More this morning.  We are back with our regular Theme challenge and this week our theme is...


Congratulations

So, an easy peasy challenge really but please remember to keep your entries clean and simple with some white space.


As most of you know I love Clearly Besotted products, that's what I have the most of in my stash and both of my cards today use CB stamps and dies.


Here's my first card...


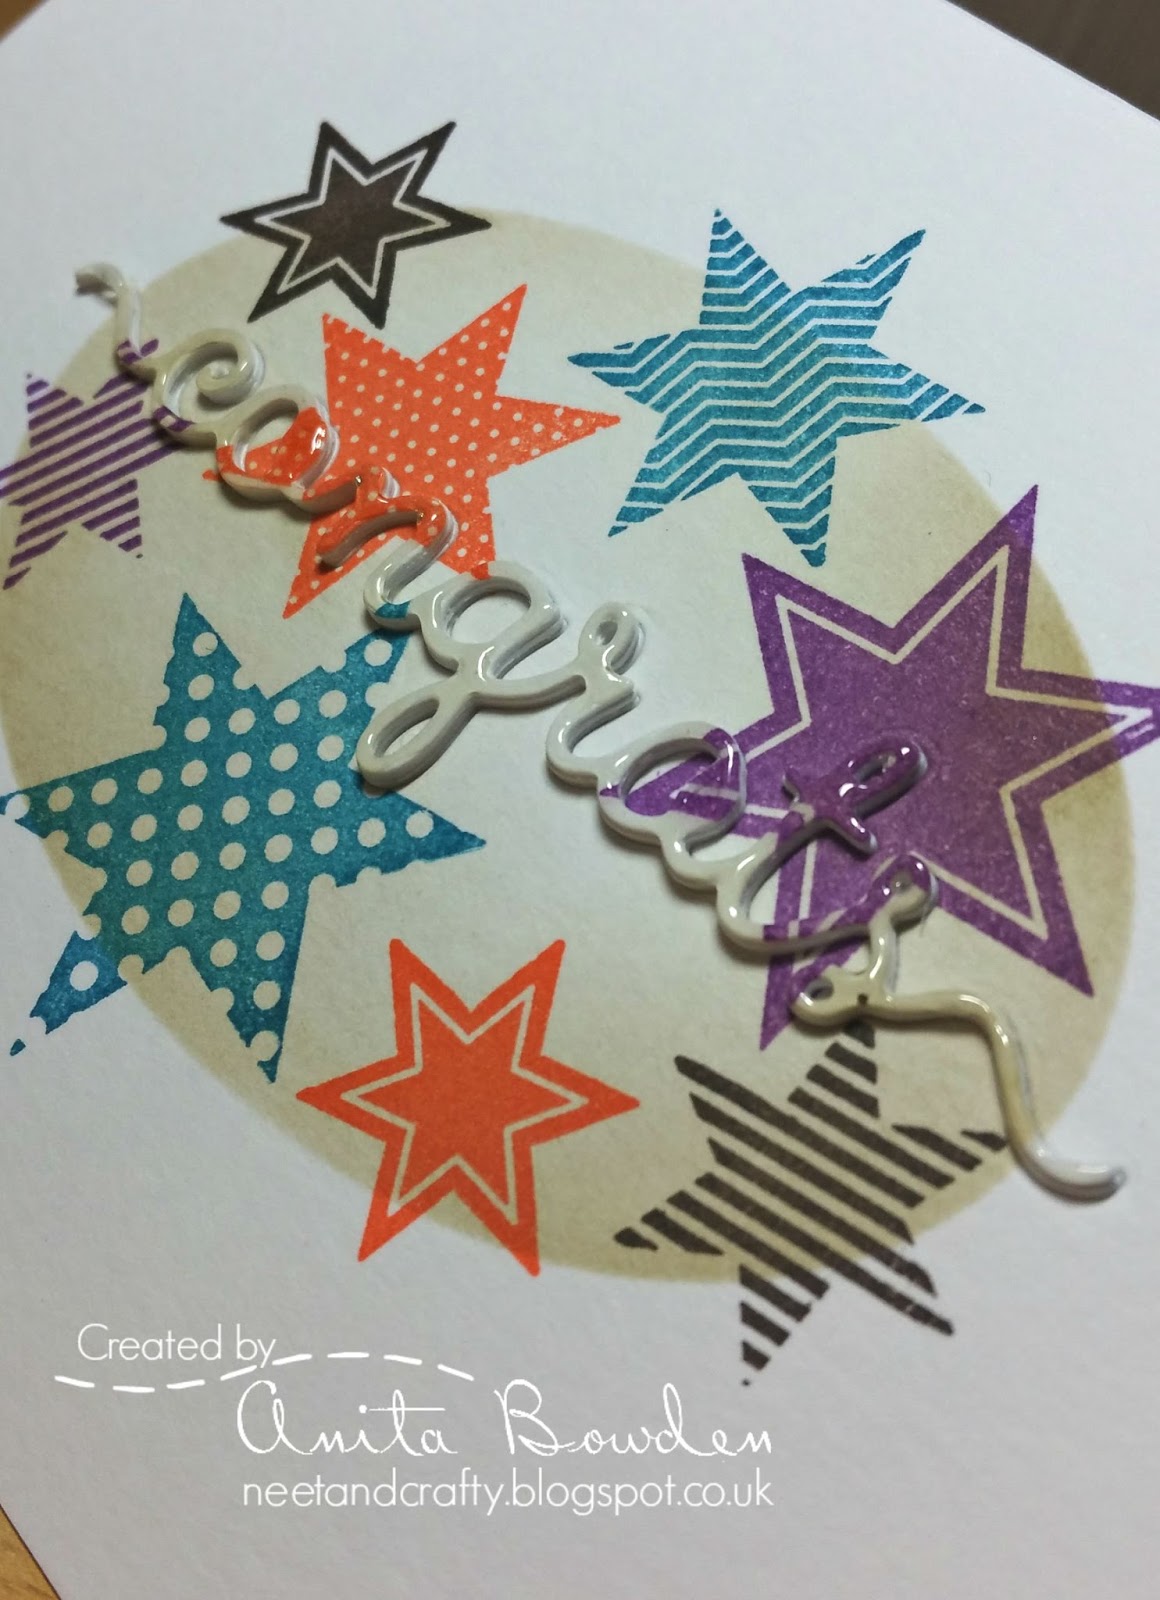
I created an oval mask using a die and gently blended the oval using Distress Ink.  I stamped the stars in different colours of Versa Color ink.  I die cut the 'congrats' from the stamped panel, added a cardstock panel to the reverse with some adhesive added, then stacked the word die up on more white die cuts before adhering the original stamped die cut as the top layer.  I then added some Glossy Accents to highlight.

Materials used:

  • Stamps: Clearly Besotted - Superstar
  • Ink: Distress Ink - Walnut Stain; Versa Color - Boysenberry, Mountain Lake, Orange and Pinecone
  • Dies: Lil' Inker Designs - Oval Stitched Dies; Clearly Besotted - Congrats Word Die
  • Accents: Glossy Accents

Challenge entries:

ColorQ - Challenge #303


Daring Cardmakers  - Talking Texture
Papertake Weekly Challenge - Spots and Stripes
Simply Create Too - Challenge #92 - Anything Goes


One of my friends brought a lovely little girl into the world this week so my second card is being sent off to her...


I stamped the sentiment onto a strip of pale pink vellum, heat embossed in white and wrapped this around a white cardstock panel.  I then stamped the onesie and the flower logo onto some polka dot paper and again heat embossed in white before fussy cutting out and popping up on 3D foam.  The panel was adhered flat to the card base and a few silver Doodlebug Sprinkles added to accent.

Materials used:

  • Stamps: Clearly Besotted - Baby Love (discontinued) and Little Onesie
  • Ink: VersaMark
  • Embossing Powder: Wow! - Opaque Bright White
  • Patterned Paper: Lawn Fawn - Let's Polka Mon Amie
  • Accents: Doodlebug Sprinkles - Silver

Challenge entries:

Crafty Catz - Challenge #288 - New Beginnings
Cute Card Thursday - Challenge #386 - Anything Goes
Stamping Sensations - August Challenge - Anything Goes with a Stamp and a Die


Please pop by my teamies' blogs to show them some love, they have some lovely examples to inspire you once again this week.  Lots of occasions call for Congratulations cards so I hope to see your entry in our gallery this week :)


Related Posts Plugin for WordPress, Blogger...