Showing posts with label Paper Piecing. Show all posts

Tuesday, 24 February 2026

Uniko 14th Birthday February 2026 Release - Introducing...Background Blocks Birthday Scramble

Hi there

It's the first day of the Uniko 14th Birthday Release introductions.

It's another mini release so the team are showcasing one new product each day this week.  And first up is another newcomer to join the Background Blocks...Background Blocks Birthday Scramble.

For this card I decided to do some paper piecing...


I stamped the whole image in black onto a die cut panel and then stamped parts of the image onto different patterned papers from the same paper pad.  I fussy cut these out and adhered them onto the letters and images on the main panel.  The panel was then adhered to the card base on fun foam.


Materials used:
  • Stamps: Uniko - Background Blocks Birthday Scramble
  • Ink: Versafine Clair - Nocturne
  • Patterned Paper: My Mind's Eye - Quite Contrary (free with publication many years ago)


For lots more inspiration from the rest of the team using this new stamp, please do visit the Uniko blog, here.  I'll be back tomorrow to introduce another of the new products.

All the new products will be available from Saturday 28 February 2026 at 9am GMT.

I hope you'll pop back over the next few days to check out the other new products.


Thursday, 27 February 2025

Uniko Celebrating 13 Years - Introducing...Spring Botanicals Primrose

Hi guys

It's the final introduction for the latest Uniko release.  Tomorrow is release day so be sure to stick around for the full reveal.

The final new stamp set is a new addition to a well loved collection...Spring Botanicals Primrose.


Just the one card for you today and I used a technique I've not done for a very long time...paper piecing!  


I began by stamping the image onto a die cut panel.  I then stamped parts of the image onto some patterned paper...the flowers onto yellow paper featuring tiny ditsy flowers, and the leaves onto green patterned paper which had a flecked design.  I fussy cut them out and adhered them over the main stamped image.  To add some depth, I used Copic markers to add some shading.  I finished by stamping a sentiment from the set and added some metallic yellow jewels.


Materials used:
  • Stamps: Uniko - Spring Botanicals Primrose
  • Ink: Memento - Tuxedo Black; Versafine Clair - Nocturne; Copic markers
  • Patterned papers from stash
  • Die: Create a Smile - Cool Cuts Scalloped Rectangles
  • Accents: Little Things from Lucy's Cards - Jewels: Lemon Mix


Bev and the Brand Ambassadors have some beautiful projects to share which you can find over on the main Uniko blog, here

The full release will be revealed tomorrow and the new products will be available to purchase from 9am GMT.


Friday, 31 March 2023

Uniko 11th Birthday Release In Review Brand Ambassador Blog Hop & Giveaway!

Hi there, Happy Friday!

Do you remember the wonderful Uniko release from right back at the beginning of March?  Well, today the team are revisiting it with a Release in Review Blog Hop and Giveaway!  Some of the team didn't receive their goodies in time to be able to join in with showcasing the new products so we're sharing lots of inspiration again here on this blog hop.

So, take a look at the Uniko blog post, here, for links to visit the whole team and for details of the fabulous giveaway.  Just comment along the way for a chance to win.


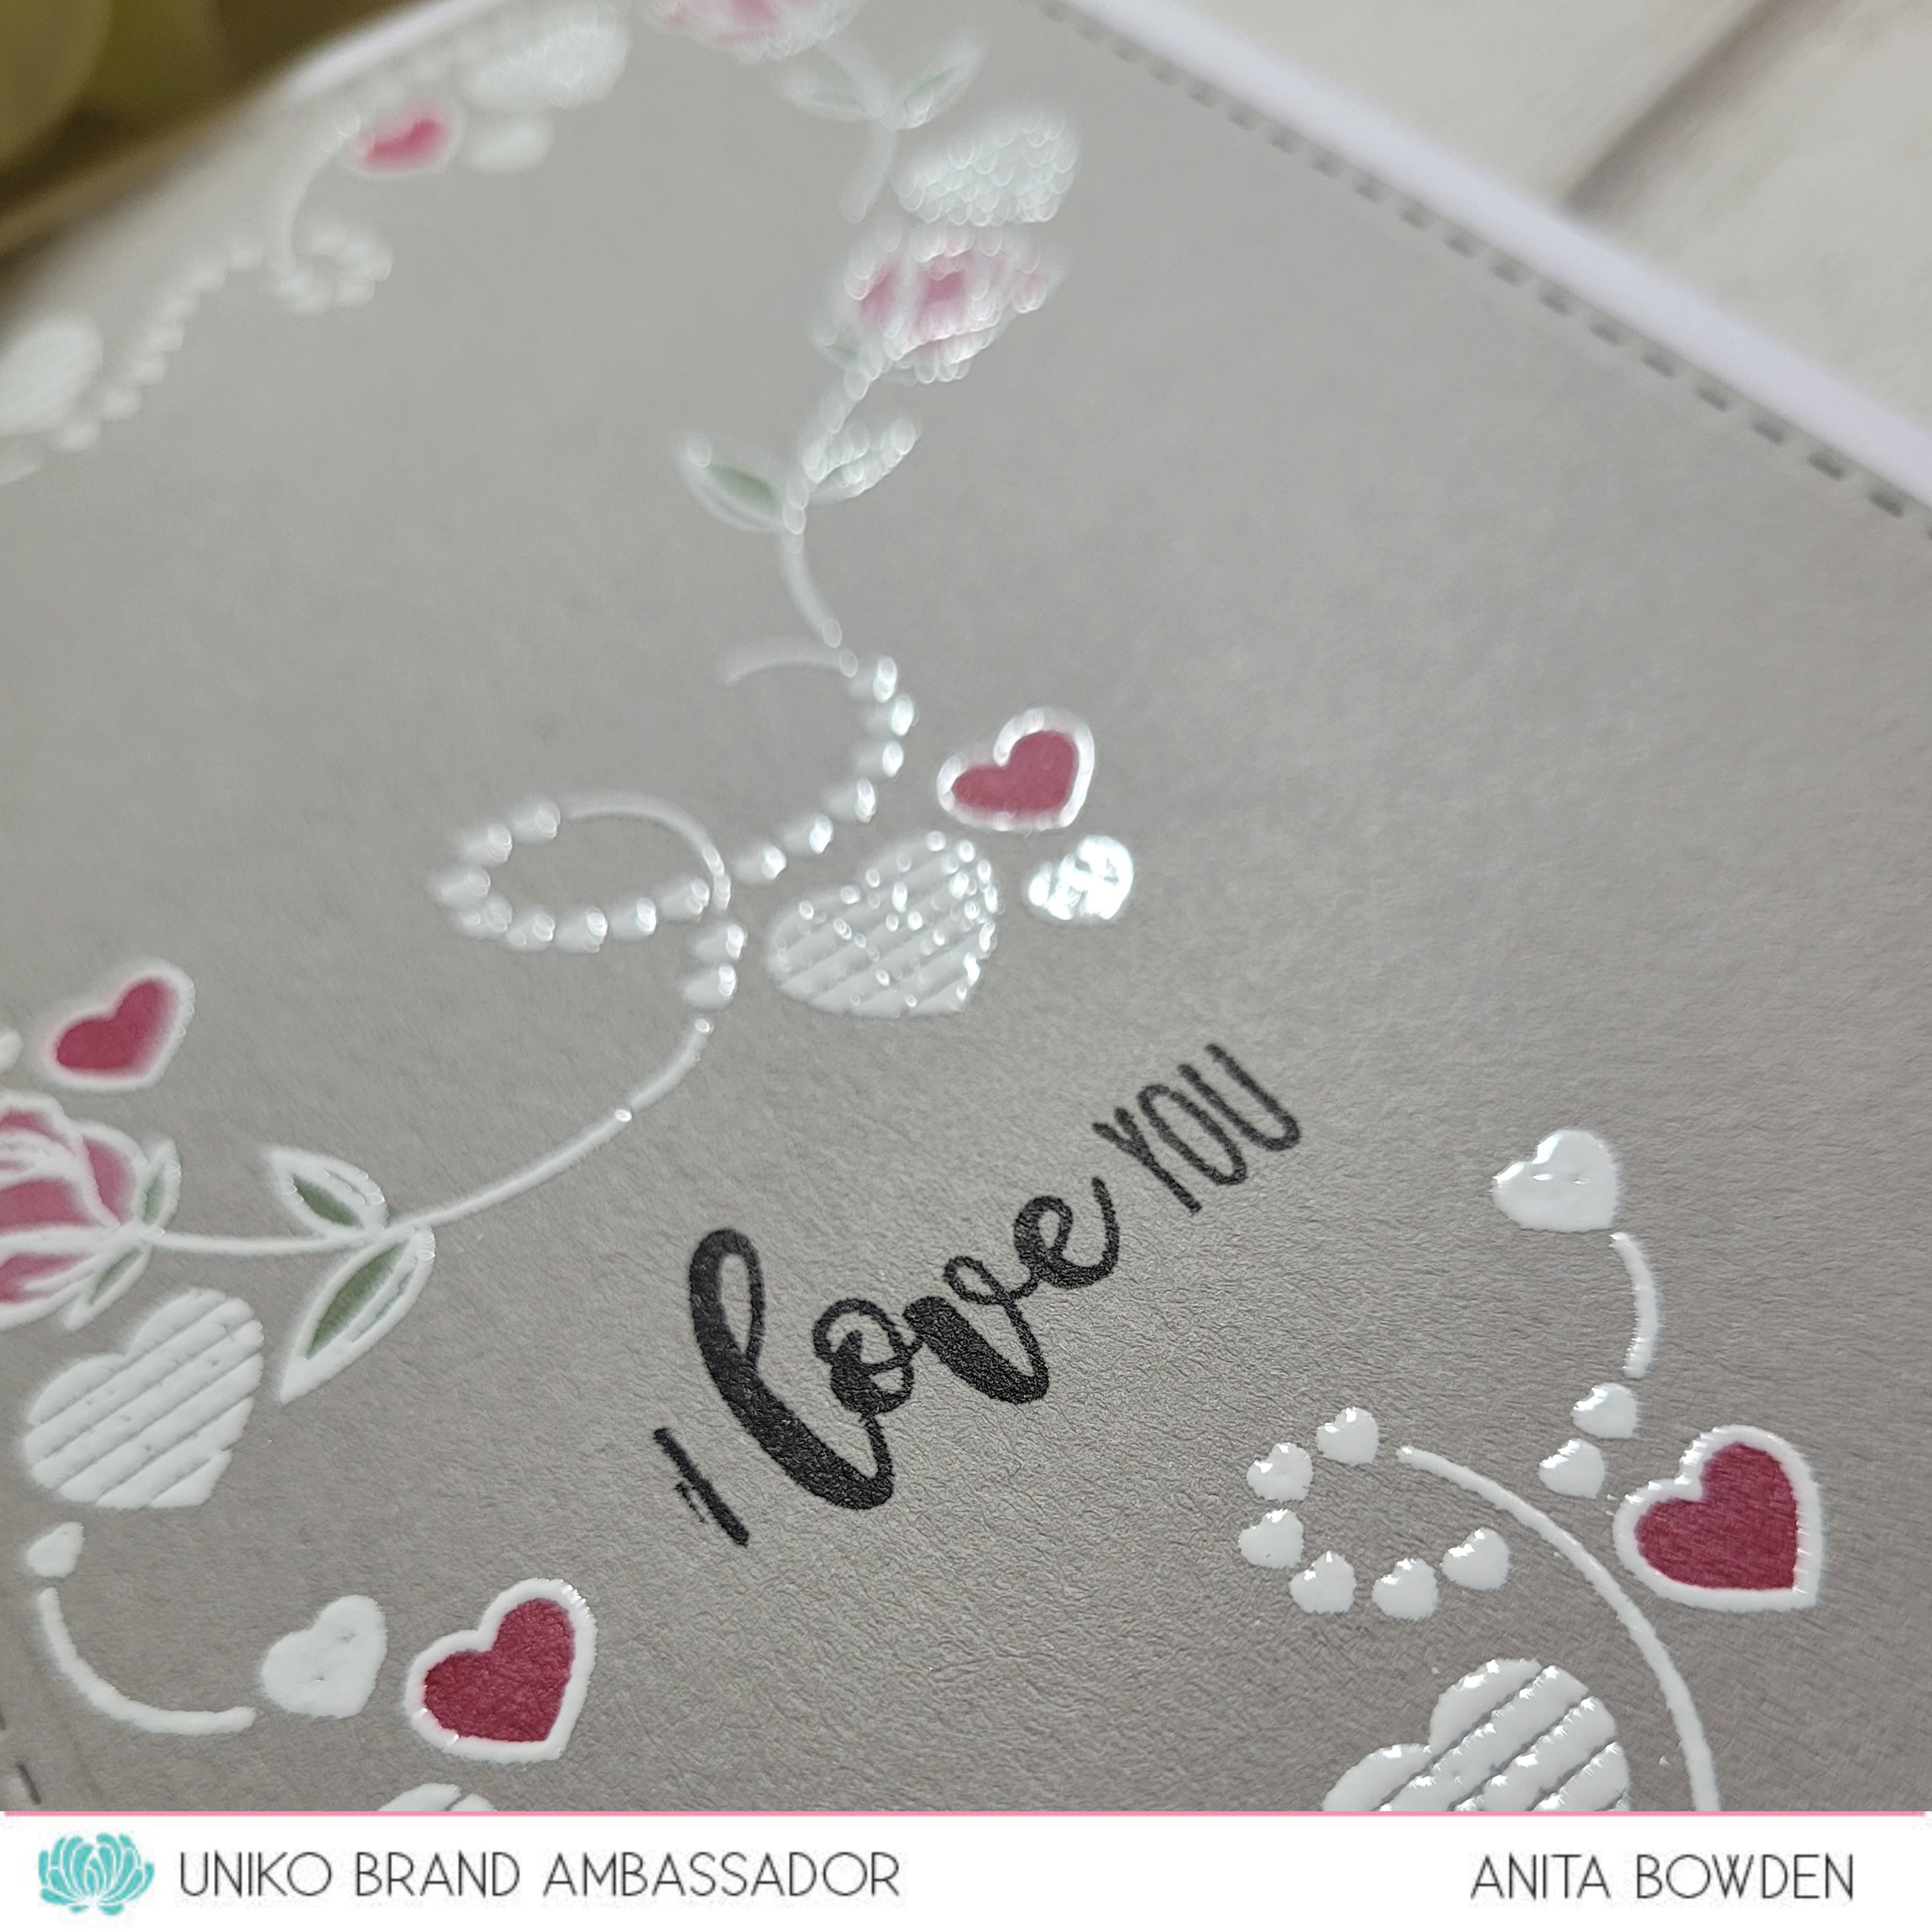
The first of my cards is showcasing the new Falling Hearts Serenade stamp set, which I hadn't received in time for the release...


On a grey die cut panel I stamped the image in a pale ink and coloured in the roses, leaves and hearts with Copics.  Then, with the stamp still in my MISTI, I restamped the image in VersaMark and heat embossed in white.  The sentiment, also from the set was stamped in black.


Materials used:
  • Stamps: Uniko - Falling Hearts Serenade
  • Ink: Distress Ink - Antique Linen; VersaMark; Versafine Clair - Nocturne
  • Coloured with Copics
  • Embossing Powder: Wow! - Opaque Bright White
  • Die: Create a Smile - Cool Cuts Double Stitched Rectangles


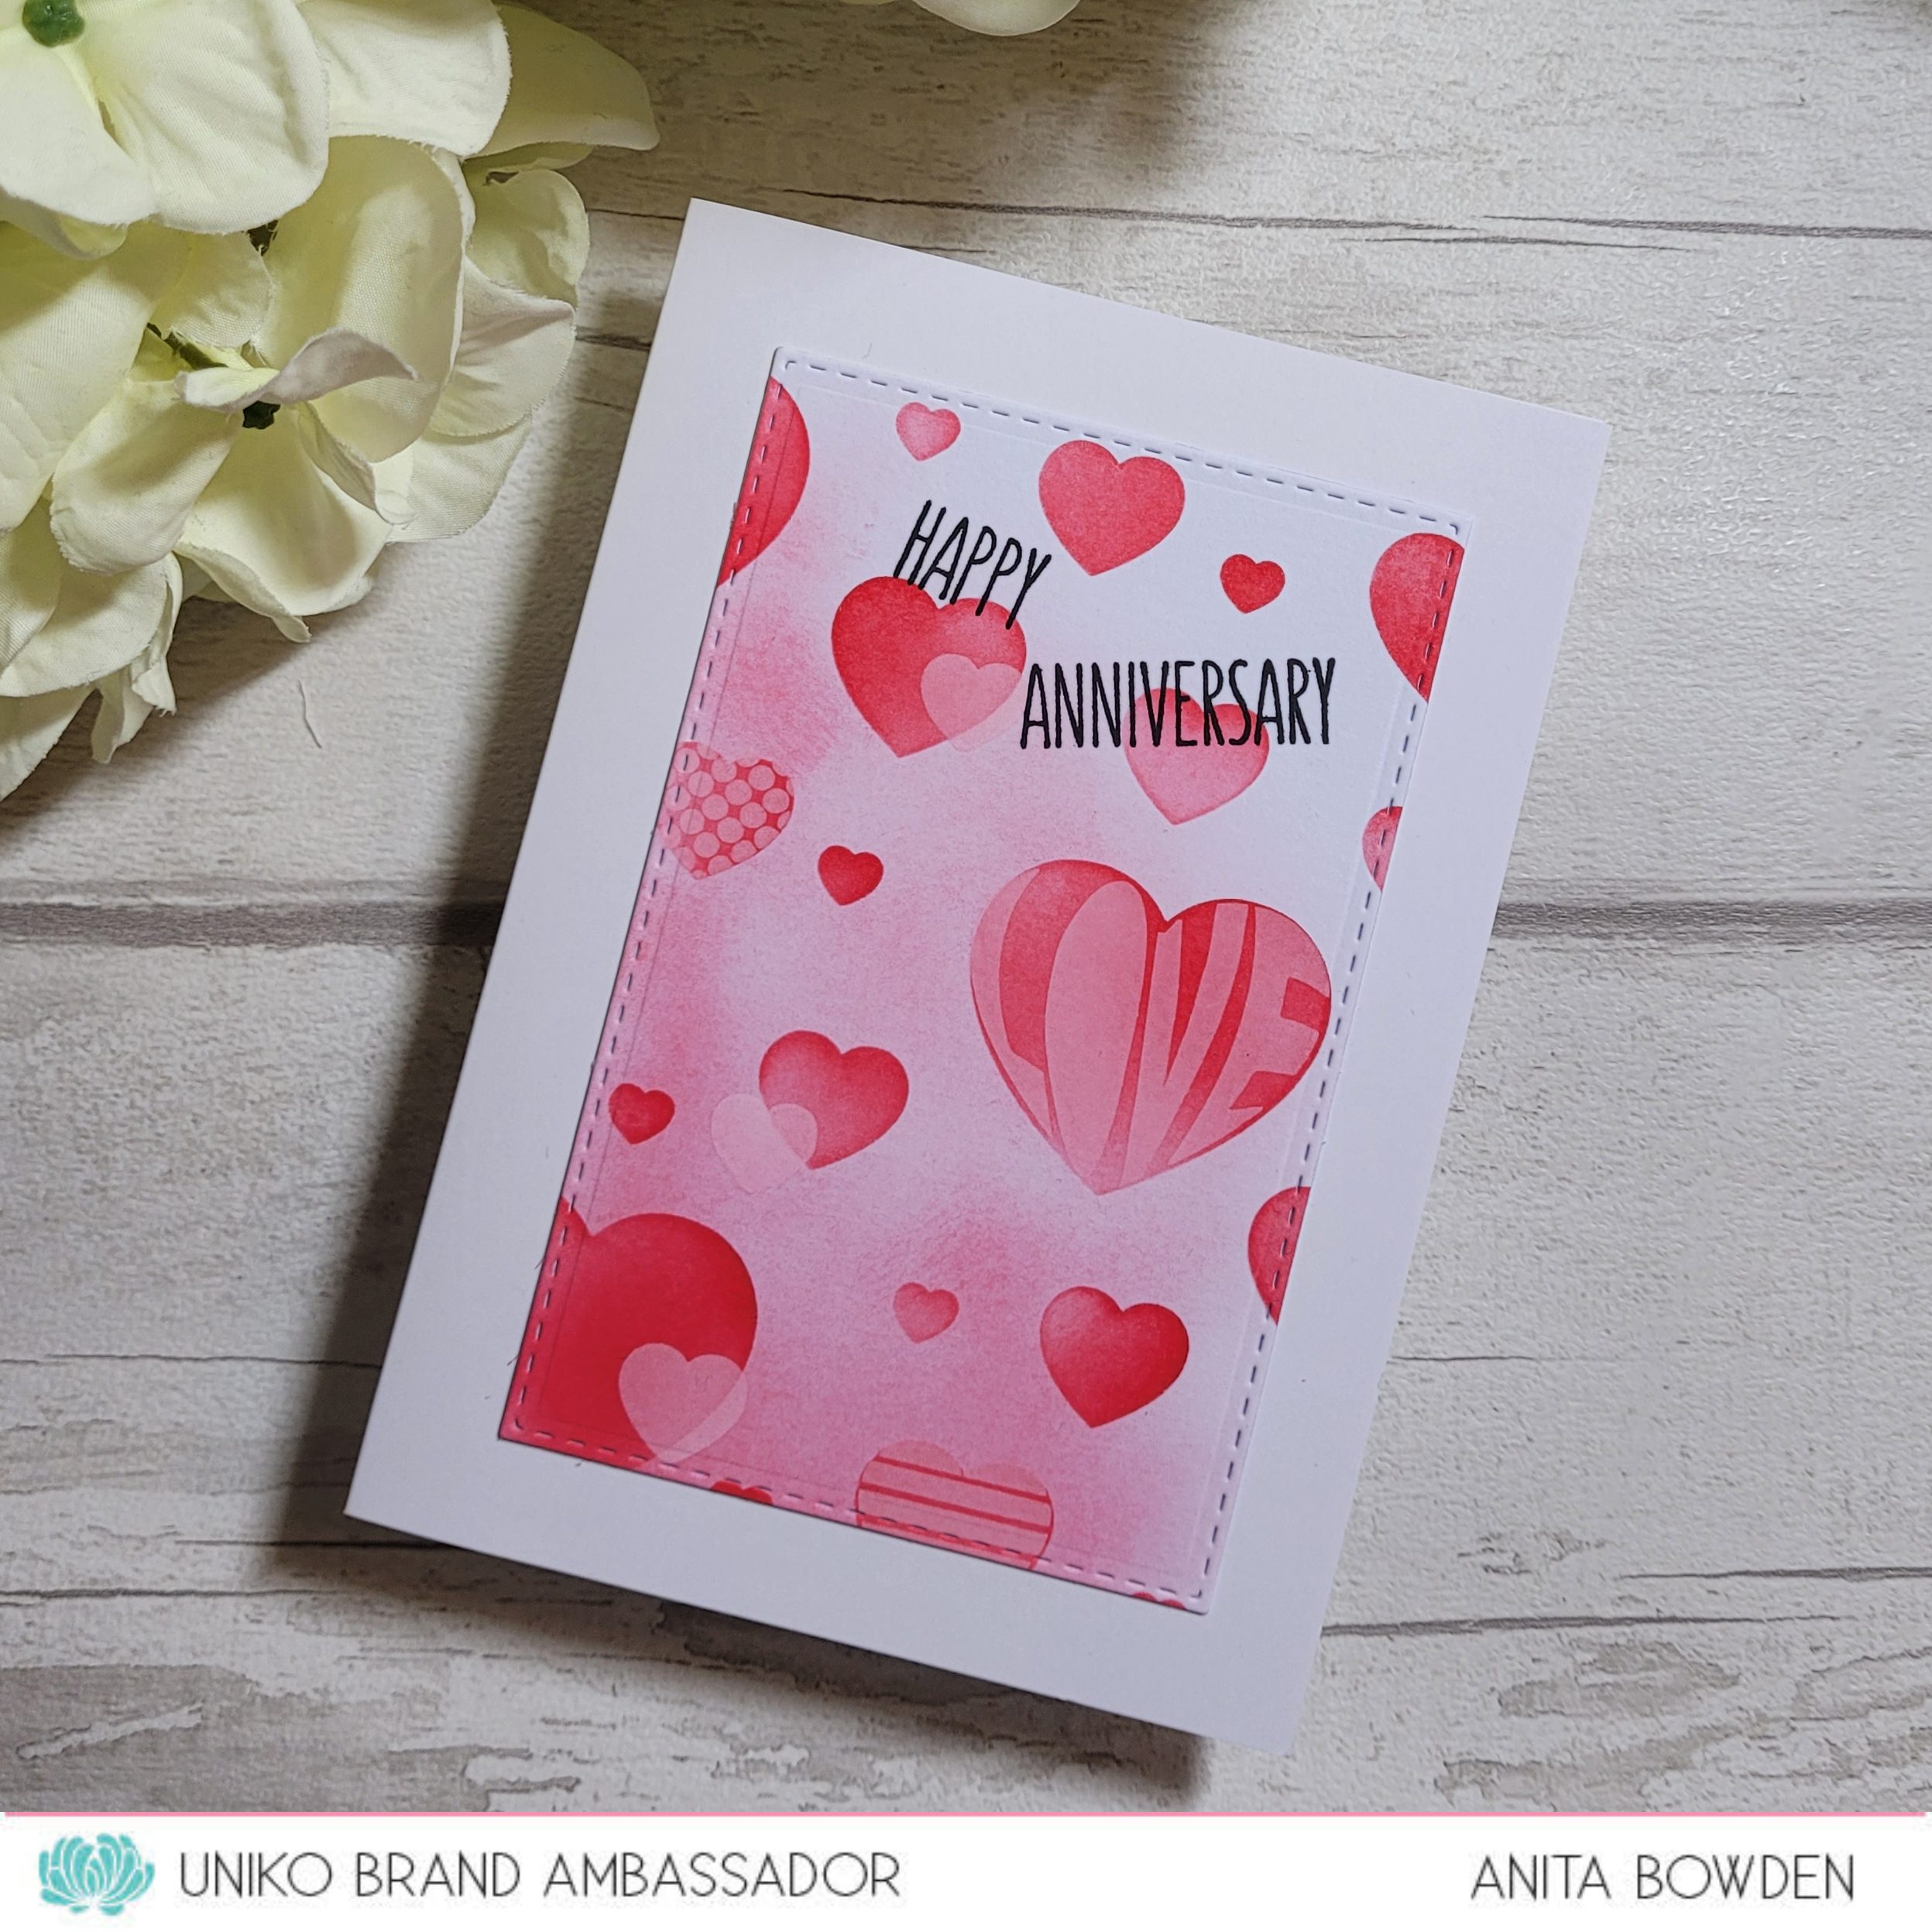
Next up is the stencil set I also didn't get a chance to play with for the release, Bokeh Layering Hearts, which I've paired with a sentiment from the new Everyday Love Sentiments stamp set...


I roughly blended a background with Distress Ink, fading it out and then randomly blended through one stencil to create the pink/red hearts.  Once dried a little I then blended over the top through the second stencil, using white pigment ink.  I die cut the panel with a stitched rectangle die and then stamped the sentiment in black before adhering the panel flat to the card base.

Materials used:
  • Stencils: Uniko - Bokeh Layering Hearts
  • Stamps: Uniko - Everyday Love Sentiments
  • Ink: Distress Ink - Worn Lipstick, Festive Berries; Hero Arts - Unicorn; Versafine Clair - Nocturne
  • Die: Create a Smile - Cool Cuts Double Stitched Rectangles


Next is my favourite stamp set from the release, Spring Botanicals Crocus...


I chose to use a panel of watercolour card for this one.  I stamped the crocus and heat embossed in white before then watercolouring with my Inktense pencils.  Finished with a sentiment from the set stamped in black.


Materials used:
  • Stamps: Uniko - Spring Botanicals Crocus
  • Ink: VersaMark; Versafine Clair - Nocturne; Derwent - Inktense
  • Embossing Powder: Wow! - Opague Bright White


The next card uses the Up & Away stamp set combined with the Cloud 9 stencil...


Here I stamped the balloon and masked the negative space to then be able to blend the ink within the balloon.  I stamped the basket, coloured with Copics, and then masked the positive sections to be able to ink blend the clouds using the stencil.  The sentiment from the stamp set finishes the card, a one layer with dimension due to the masked image.

Materials used:
  • Stamps: Uniko - Up and Away
  • Stencil: Uniko - Cloud 9
  • Ink: Memento - Tuxedo Black; Distress Oxide - Saltwater Taffy, Abandoned Coral; Tumbled Glass


And last up is the cute Hoppy Easter set...


Here I used the bunny image and paper pieced them using various co-ordinating papers.  I stamped a border in black along the top edge of the striped paper, this from the Background Builders: Classics stamp set.  The sentiment was stamped on black cardstock and heat embossed in white.

Materials used:
  • Stamps: Uniko - Hoppy Easter, Background Builders Classics
  • Ink: Versafine Clair - Nocturne; VersaMark
  • Embossing Powder: Wow! - Opaque Bright White
  • Patterned Paper: Dovecraft - Back to Basics IV


I hope you've enjoyed seeing a review of this release.  Please do pop over to the main Uniko post to join the blog hop and see lots of other products by my fellow Brand Ambassadors.  Good luck with the giveaway!


Saturday, 26 August 2017

Less is More Week #343

Good morning

Another week of August has rushed by and this morning over at Less is More we're back with a new challenge, and this time it's Recipe week.  We have an interesting one for you this time, here are the details...


I was at work the other day and with this challenge in mind began looking for ideas around the office.  I saw staples, paper clips, elastic bands, then my colleague shouted 'tissue'.  I took this idea and knew exactly which stamp set to use to go with it...


This was pretty quick to make.  I started by stamping the tissue box on some white cardstock then die cut around it with a stitched oval die.  I then stamped it again on some patterned paper and paper pieced the image  I then took a craft knife and cut a slit along the top of the box and tucked a real tissue inside, using just a little adhesive to hold it in place.  I cut another piece of the patterned paper using another slightly larger stitched oval die and adhered this flat to the card base.  I then popped the image oval up on 3D foam before stamping the sentiment below.

Materials used:

  • Stamps: Lawn Fawn - On the Mend
  • Ink: Versafine - Onyx Black
  • Patterned Paper: My Mind's Eye - Quite Contrary (free with a publication a few years ago)
  • Dies: Lil' Inkers - Stitched Ovals

Challenge entries:

Addicted to Stampers and More - Challenge #256 - Anything Goes
Stamping Sensations - August Challenge - Anything Goes


Now, for my second card I must give credit as this idea isn't mine.  There's a gift shop in the town where I work that also sells fabulous cards.  I got this idea from some card designs by Ruth Jackson who creates super simple designs and adds pencil shavings to parts of her images.  So I had a rummage through my stamps to find something that could work...


I started by stamping the stems and sentiment in black (I tried in green first but I wasn't happy with how it looked).  Once dry I ran the panel through my Big Shot in a wave effect embossing folder to add a little texture to the background.  I popped the panel onto the card base using fun foam and then to finish I adhered the pencil shavings in three colours as the flower buds, using Glossy Accents to ensure they stayed in place.  I think the effect would have been better had my coloured pencils been hexagonal but unfortunately, all of mine are round so gave a smooth edge to the shavings.

Materials used:

  • Stamps: Clearly Besotted - Pretty Petals
  • Ink: Versafine - Onyx Black
  • Embossing Folder: We R Memory Keepers - Next Level Wave
  • Accents: Coloured pencil shavings

Challenge entries:

CASology - Challenge #263 - Bud
Addicted to CAS - Challenge #118 - Friends
STAMPlorations - Summer CAS Card Challenge


Please do pop over to the main LIM challenge blog to find more inspiration from my teamies.  I'm looking forward to the gallery this week, it's going to be interesting to see what objects you come up with.

Happy Saturday, everyone!

Saturday, 31 October 2015

Lucky Dip at Less is More

Good morning

There's a new challenge just starting over at Less is More and as this is the fifth Saturday of the month we have a Lucky Dip challenge for you which is...


Paper Piecing
Don't forget to keep your creations clean and simple


We also have a fabulous Guest Designer joining us this week, Valerie of Canonbury Creations.  If you have the time, please stop by her blog and leave her some love.


I've had a crazy week this past week with not much time for crafting so just one card to share with you today.  So, let's get to it...


I bought this holly stamp a while ago but this was its first outing.  I started by stamping it onto a white cardstock panel, off the edge. I then stamped the leaves onto the polka dot green paper and the berries onto the red tiny heart paper.  The bow was stamped onto a piece of gold shimmer paper from my stash.  Once cut out, I positioned and adhered the papers over my stamped image and then added the sentiment below.  The panel was popped up on 3D foam strips.


Materials used:

  • Stamps: Woodware - Sprig of Holly; Clearly Besotted - Most Wonderful
  • Ink: Versafine - Onyx Black
  • Patterned Paper: Doodlebug - Santa Express
  • Gold shimmer paper from stash

Challenge entries:

613 Avenue Create - Challenge #147 - Anything Goes
The Friday Mashup - Challenge #232 - Leaves
Moving Along with the Times - Challenge #7 - Leaves and/or Trees


My teamies have also been having fun with paper piecing this week so why not pop along to their personal blogs too where you'll find more inspiration.


Thanks so much for visiting today.  Bye for now and...


Friday, 2 October 2015

Happy Little Stampers October 2015 CAS Challenge

Hi there

Can you believe another month has whooshed by and it's time for a new CAS challenge at Happy Little Stampers?  Where does the time go?  We were blown away by the amount of entries for our colouring challenge last month, and your talents are amazing.


So, without further ado, here is this month's CAS challenge for you...


This challenge is sponsored by


and one lucky winner will win this stamp set!


I must admit, paper piecing is something I've done very little of but I had great fun making this super cute card!


I started by stamping the umbrella and monkey onto various scraps of paper and then carefully fussy cut these out before adhering the layers together.  So the solid pink was laid on top of the polka dot pink, and the cream was adhered on top of the kraft.  I then went around the edges of the cuts with a black pen to give the edges a cleaner finish.  I then die cut some blue cardstock with a pierced square die and stamped the images directly onto it.  Before layering the paper pieces, I inked through a cloud stencil with white pigment ink using a sponge dauber.  The completed umbrella and monkey were then adhered in place, the scene popped up on 3D foam and the sentiment stamped in black underneath.

Materials used:

  • Stamps: Mama Elephant - Up and Away
  • Ink: Versafine - Onyx Black; Hero Arts - Unicorn
  • Die: MFT Die-namics - Pierced Square Stax
  • Stencil: MFT Mix-ables - Cloudy Day
  • Cardstock and paper scraps from stash

I'd like to link this card up at the following challenges:

Creative Inspirations - Challenge #329 - Anything Goes
Simon Says Stamp Wednesday Challenge - Anything Goes
Pixie's Snippets Playground - Week 196 - Lots of snippety bits were used on this card!


Stamping onto paper is something I always forget about but I must remember to try this out more often as you can create some really great effects.  Basically, any linear image that can be coloured in can be used for this technique.

Please pop over to my teamies at HLS as they have some great inspiration for you this month.

Thanks as always for popping by.


Wednesday, 9 April 2014

Make a Splash...

Hi guys

I'm back with a quick post tonight to share a card I've made for a few challenges.

I wanted to have a go at the latest CASology challenge where this week's cue card is 'Wet'.  I was trying to think outside the box but didn't find much in my stash.  I then had a flick through my digis and found this image I downloaded for free a while ago.  Unfortunately, I can't remember where I found it.  The image actually included two elephants but I managed to crop it just to include this little fellow.


Firstly I printed the image onto some white card and cut it out using an oval die.  I then printed it again on some blue gingham paper and again on some yellow paper.  Then came the time consuming bit, cutting him out so I could paper piece the design, something I've only tried once before.  The dots on the ear were part of the image so I coloured these in with a ProMarker, and also coloured in the water splashes.  Next I printed the sentiment from an MS Word document, after downloading a font called 'CK Splash Regular' to pick out the word 'splash'.  This was cut out using a tag die.  I scored two horizontal lines on the base card onto which I adhered the sentiment strip, and above it the oval panel, both of these with 3D foam.  Finally, I added some Glossy Accents to the water splashes.

Materials used:

  • Digi image: Unknown
  • Digi papers: Pink Petticoat
  • Dies: Spellbinders Nestabilities - Classic Ovals Large; Clearly Besotted - Tag Along
  • Glossy Accents and ProMarkers

I am also entering this card into the following challenges:

Oh La La Creations - Challenge #153 - For a Child
Totally Papercrafts - Challenge #213 - Pastels
My Time to Craft - Challenge #242 - Wildlife
Color Throwdown - Challenge #287


Thanks so much for visiting today, I really now need to tidy away some of my stash before I make any more, my lounge table is a bit chaotic!

Bye for now

Related Posts Plugin for WordPress, Blogger...